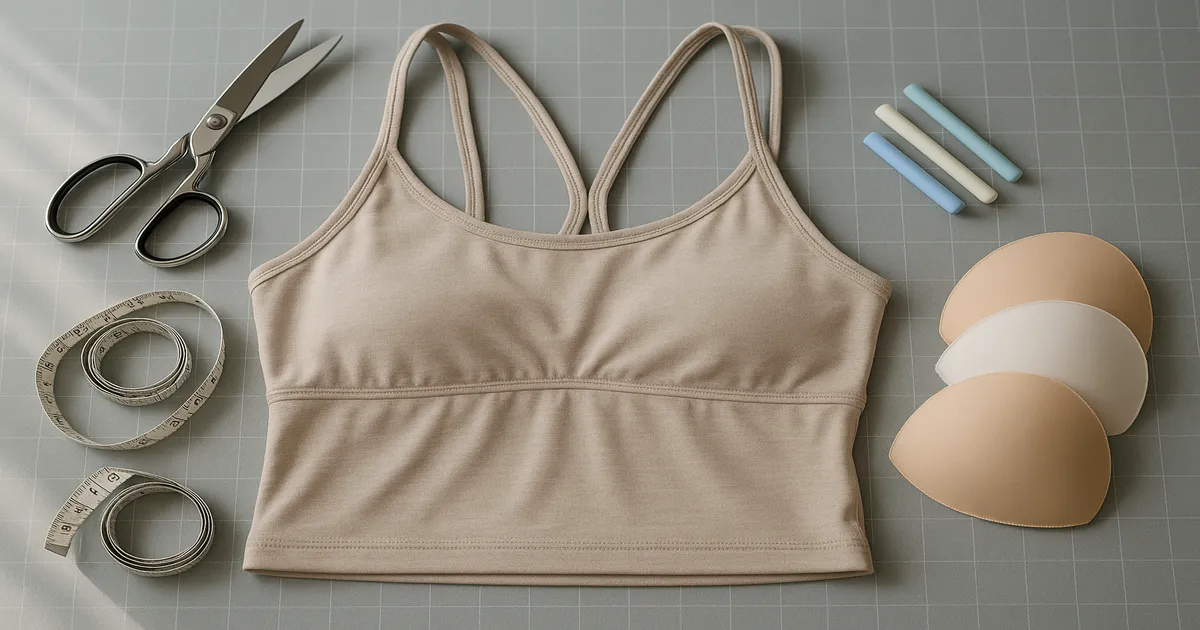
Quick Answer: To downsize a top with built-in bra pads, you need to alter both the outer shell and the interior shelf bra layer by exactly the same amount — then shorten the underbust elastic and resize or swap the foam cups if needed. Think of it as two garments sewn into one. Miss either layer and you’ll end up with puckering, migrating pads, and a fit that’s worse than before.
Figuring out how to downsize a top with built-in bra pads is one of those alterations that looks simple until you’re staring at the inside of the garment wondering why there are three separate layers and two different elastic attachments. Here’s the thing: once you understand that you’re altering two garments simultaneously — the outer shell and the inner shelf bra — the whole process clicks. The phases below will take you from “this top is two sizes too big” to a clean, wearable result.
What You Need Before You Start
Don’t try to muscle through this with whatever’s on your sewing table. Stretch fabrics punish the wrong tools.
Sewing Machine, Serger, and Presser Feet
A serger is strongly preferred — a 4-thread overlock stitch is the most durable option for nylon-spandex seams. If you’re working with a regular sewing machine, make sure it has zigzag capability and use a walking foot for sewing through multiple layers.
Needles and Thread
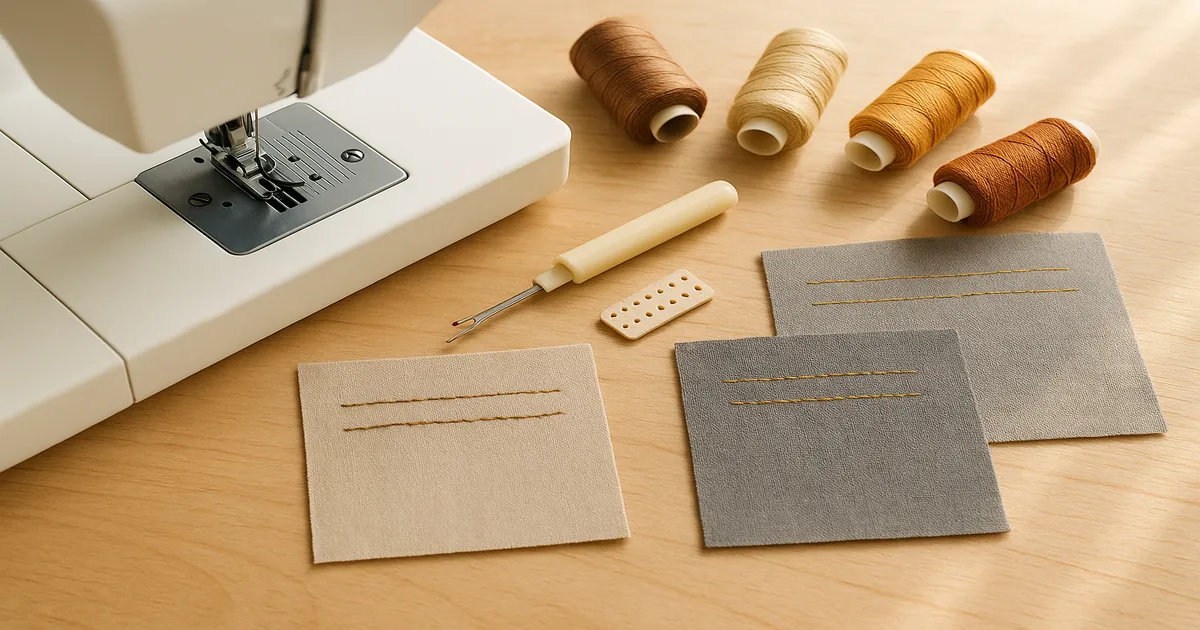
Use a stretch ballpoint needle — size 75/11 for lightweight fabrics, 90/14 for heavier athletic material. The ballpoint tip slides between knit fibers instead of piercing them, which prevents skipped stitches. Replace the needle every 8–10 hours of sewing on stretch fabric; a dull needle causes more problems on knits than on any other fabric type.
For thread, 40wt polyester is your minimum — it has enough give that it won’t snap under stretch stress. Wooly nylon in the serger loopers is even better: soft against skin, excellent stretch recovery. Never use cotton thread on athletic wear.
Notions and Pressing Supplies
- Fine-tipped seam ripper
- Fabric clips rather than pins — pins distort stretch fabric and leave holes
- Tailor’s chalk or a stretch fabric marker
- Sharp fabric scissors (dedicated to fabric only)
- Pressing cloth and an iron set below 275°F / 135°C — nylon and spandex melt at higher temperatures, and that’s not a hypothetical warning
Elastic and Replacement Pads
If the underbust elastic needs replacing, use 3/4-inch (19mm) or 1-inch (25mm) knitted elastic — knitted elastic doesn’t narrow excessively when stretched the way braided elastic does. Replacement foam bra cups run $3–$8 per pair from lingerie supply retailers and are often the cleaner solution versus trimming the originals.
How to Measure How Much to Remove
Try the top on and pinch the excess fabric at one side seam, holding both the shell and bra layer together. Whatever that pinch measures, divide by four. That’s how much you remove from each individual seam line — because there are two side seams, each with a front and back allowance, giving you four seam lines total. If the top is 2 inches (5cm) too big in circumference, you’re taking in ½ inch (1.3cm) per seam line.
Before you touch anything with a seam ripper, take photos. Shoot the inside of the garment showing how the pad pocket is attached, where the elastic is secured, and how the bra layer connects to the shell at the side seams. You’ll thank yourself when you’re reassembling at midnight and can’t remember which layer was on top.
Phases 1–2: Unpicking and Separating the Layers
Most built-in pad pockets have a small opening — usually 3–4 inches (7.5–10cm) at the top or underarm edge of the cup — for removing the foam inserts. Slide them out and set them aside.
Use your seam ripper to open the side seams on both the outer shell and the bra layer from hem to underarm. Work slowly on serged seams: run one point under the looper chain and snip every inch or two rather than dragging the ripper the full length.
Once the side seams are open, gently separate the bra layer from the shell. You only need to release the underbust elastic at the side seam areas — about 3–4 inches (7.5–10cm) on each side. Leave it attached at center front and back; there’s no reason to remove the whole band and create extra work for yourself.
Phases 3–4: How to Downsize a Top with Built-In Bra Pads — Altering Both Layers
The Outer Shell
Lay the shell flat and mark your new seam lines with chalk, measuring in from the original seam edge by your calculated amount. Sew the new side seams with a 4-thread serger or a 2.5mm zigzag stitch. Trim seam allowances to ¼ inch (6mm) if you’re not serging, and press with a pressing cloth on a low setting.
The Shelf Bra Layer — Same Amount, No Exceptions
This is the rule that matters most: the bra layer must be reduced by the identical amount as the outer shell. Not approximately. Exactly. Stack both layers on top of each other after unpicking and mark through both at once — it’s faster and eliminates the guesswork.
Shortening the Underbust Elastic
Measure the new underbust circumference of the altered bra layer. Cut your elastic to that measurement minus 1–2 inches (2.5–5cm) — that subtraction is what gives the band its tension. Overlap the elastic ends by ½ inch (1.3cm) and sew with a wide zigzag (4mm width, 2mm length) or a box stitch.
Fit the Bra Layer Before You Reassemble Anything
Put the altered bra layer on — or hold it against your body — before sewing anything back together. Check that the cup pockets sit where they should and that the underbust band feels snug but not constricting. This is your last easy chance to fix a problem.
Phase 5: Resizing the Pad Pockets and Foam Cups
Insert the original pads into the altered pockets. If they sit snugly without bunching or shifting, you’re done with this phase. If the pockets feel loose or baggy, keep going.
Draw a new seam line around the perimeter of the cup pocket — typically ¼ to ½ inch (6–13mm) inside the existing stitching per edge for roughly a one-cup-size reduction. Sew along the new line with a straight stitch (2.0–2.5mm) and trim the excess.
If the pads themselves are slightly too large, trim them with sharp scissors in small increments — no more than ¼ inch (6mm) at a time. Bevel the cut edge at a 45-degree angle. A straight-cut foam edge creates a visible ridge through the fabric; a beveled edge blends in. Most people skip this step. Don’t.
Honestly, if you’re reducing more than half a cup size, just buy new pads. Replacement foam cups in the correct size cost $3–$8 and give a cleaner result than repeatedly trimmed originals with uneven edges.
Phase 6: Reassembly and Final Fitting
Place the bra layer inside the shell and align center front, center back, and side seams. Use fabric clips to hold everything at the underarm and side seam areas.
Sew through all layers at the side seams with a ¼-inch (6mm) seam allowance using your serger or zigzag stitch. If you’re using a walking foot, put the trickier mesh layer on top — the walking foot feeds from above, so you’ll have better control over the layer you can see.
Reattach the elastic to the bra layer using a zigzag stitch (3–4mm width, 2mm length), stretching the elastic slightly as you sew. That gentle stretch distributes the ease evenly around the band instead of leaving you with one tight spot and one loose spot.
Before you call it done, run through this checklist:
- Pad position — sitting flat against the chest, not migrating toward the armhole
- Side seams — hanging straight, not twisting forward or back
- Underbust band — snug and supportive, not digging in or riding up
- Neckline and armhole — stable, not gaping or pulling
- Stretch recovery — pull the garment fully in all four directions and release; if any seam pops or the fabric tunnels, resew it now
If the neckline or armhole starts to gape after the alteration, apply a narrow strip of ¼-inch (6mm) clear elastic to the inside edge to restore stability.
Mistakes That’ll Send You Back to Square One
Only altering the shell. By far the most common error. The result is a puckered, bunched interior that’s uncomfortable and visible through the fabric. Both layers, every time.
Using a straight stitch on stretch seams. A straight stitch has zero stretch recovery. It’ll pop on the first wear — sometimes on the first attempt to put the garment on. Use a zigzag, a dedicated stretch stitch, or a serger.
Taking in too much at once. Always err conservative. Take in ¼ inch (6mm) less than your estimate, do a fitting, then trim more if needed. Unpicking a serged seam is miserable. Unpicking it twice is worse.
Getting the elastic length wrong. If you cut the elastic to exactly the new underbust measurement, it’ll be too loose — there’s no tension. Subtract 1–2 inches (2.5–5cm) for proper stretch-and-recover function.
Too much heat on synthetic fabric. Keep the iron below 275°F (135°C) and always use a pressing cloth. Test on a scrap first. Melted nylon-spandex is not fixable.
Frequently Asked Questions
Can I downsize a top with built-in bra pads without a serger?
Yes. Use a 2.5mm zigzag stitch or your machine’s built-in stretch stitch, a stretch ballpoint needle, and a walking foot to prevent layer shifting. The seams won’t be quite as durable or flat as serged ones, but they’ll hold through normal wear if sewn correctly.
How much can I take in before the cups no longer fit?
Reductions up to about 1 inch (2.5cm) in total circumference usually don’t require cup pocket resizing — the pads still fit with a little snugness. Beyond that, you’ll likely need to reduce the pocket or swap to smaller foam pads. For reductions over 2 inches (5cm), expect to do both, and consider working the princess seams if the top has them.
Do I need to replace the foam bra pads after altering the top?
Not always. If the pads fit snugly in the altered pockets without bunching or shifting, keep them. If they feel loose, either reduce the pocket opening or buy replacement cups in a smaller size — they’re $3–$8 per pair and widely available from lingerie supply retailers.
What stitch should I use on a regular sewing machine?
A 2.5mm zigzag (both width and length) is the most reliable option. Some machines also have a dedicated lightning bolt or stretch stitch that works well. Whatever you choose, test it on a scrap of the same fabric and pull the seam firmly — if it pops, adjust before sewing the actual garment.
How do I shorten the elastic band without removing the whole thing?
Use a seam ripper to release the elastic from the side seam area on each side — about 3–4 inches (7.5–10cm) is enough. Measure the new underbust circumference, cut the elastic to that length minus 1–2 inches (2.5–5cm), overlap the ends by ½ inch (1.3cm), and sew with a wide zigzag or box stitch. Reattach to the bra layer by stretching slightly as you sew.