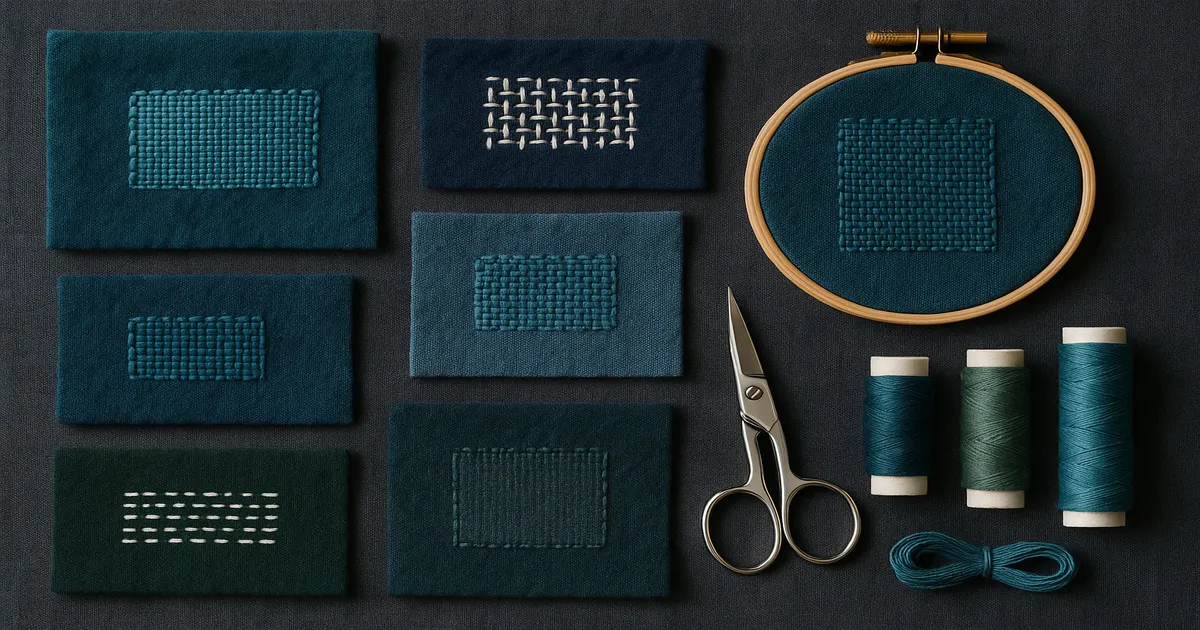
Quick Answer: A fabric repair looks good when it passes four tests: grain alignment, colour match, texture match, and edge blending. The practical gold standard is the 10-foot test — step back 10 feet (3 metres) and if you can’t spot it, it’ll pass casual inspection. Everything between that and a museum-grade invisible reweave is a matter of technique, materials, and patience.
Asking “how does this repair look?” sounds simple, but it’s actually a layered question. A repair that looks fine under a bedroom lamp can look obviously patched in daylight. One that passes a quick glance can reveal itself under raking light as a puckered mess. This guide walks you through evaluating a repair objectively — and doing the work so it holds up to scrutiny in the first place.
What Makes a Fabric Repair Look Good?
The Four Axes of Repair Quality
Every repair, from a quick iron-on patch to a painstaking professional reweave, gets judged on the same four things:
- Grain alignment — are the repair threads running parallel to the original fabric threads?
- Colour match — does the repair thread match the fabric in natural light?
- Texture match — does the repaired area feel and reflect light the same way as the surrounding fabric?
- Edge blending — does the repair transition smoothly, or is there a visible border?
Miss even one of these and the repair announces itself. That’s not an opinion — it’s just how the eye works.
The 10-Foot Test
The 10-foot (3-metre) test is my go-to benchmark for everyday garments. Step back, look at the repair at normal room distance, and be honest. Invisible at 10 feet? It’ll pass anything short of close examination. Still visible? Something went wrong with colour or grain — find out which before you wear the piece.
That said, invisible isn’t always the goal. The visible mending movement, championed by makers like Tom van Deijnen, treats repairs as design features — sashiko darning, contrasting thread, intentional texture. Both approaches are legitimate, and the evaluation principles apply either way.
Assessing the Damage Before You Begin
Use Backlighting to Reveal Hidden Damage
Hold the garment up to a window or lay it on a light box. Backlighting reveals thin spots, moth trails, and stress fractures that look fine under normal light. I’ve started repairs on what looked like a single small hole only to discover the surrounding fabric was so weakened it would have failed within weeks. Don’t skip this step.
Photograph the damage with a ruler in frame before you touch anything. Useful for insurance claims, resale documentation, and a genuinely meaningful before/after comparison.
Measure the Damage and Identify the Weave
A hole under ½ inch (13mm) can usually be hand darned. Anything over 1 inch (25mm) in diameter needs a patch or professional reweaving. In between, your skill level and the fabric’s value determine the approach.
Look closely at the weave structure. Plain weave has threads crossing in a simple over-under grid. Twill shows diagonal lines — think denim. Satin has long floating threads with a smooth surface. Knits have interlocking loops and need a completely different repair approach. Getting this right is what lets you mimic the original structure convincingly.
Check Grain Lines and Fibre Content
Mark the grain direction with a clear quilting ruler and chalk pencil before you disturb the fabric. Even a 5° deviation from true grain causes the repair to catch light differently — immediately visible to anyone looking.
For fibre content, check the care label first. If you need confirmation, ravel a thread from a hidden seam allowance and do a burn test: cotton burns clean and smells like paper; wool smoulders and smells like hair; silk burns slowly with a crushable ash; synthetics melt. This matters because repair thread must match fibre content — cotton thread on a wool garment will shrink differently and pucker over time.
Preparing the Repair Area
Apply a small amount of fray sealant to any fraying edges with a fine brush and let it dry completely — 15 to 20 minutes — before proceeding. Rushing this step is how you end up with edges that keep unravelling under your repair.
Press the area flat with a pressing cloth at the correct temperature for the fibre. Trim ragged threads flush with fine embroidery scissors — cut, don’t pull. For holes, trim to a clean oval or rectangle. Irregular edges are genuinely harder to repair invisibly than geometric ones.
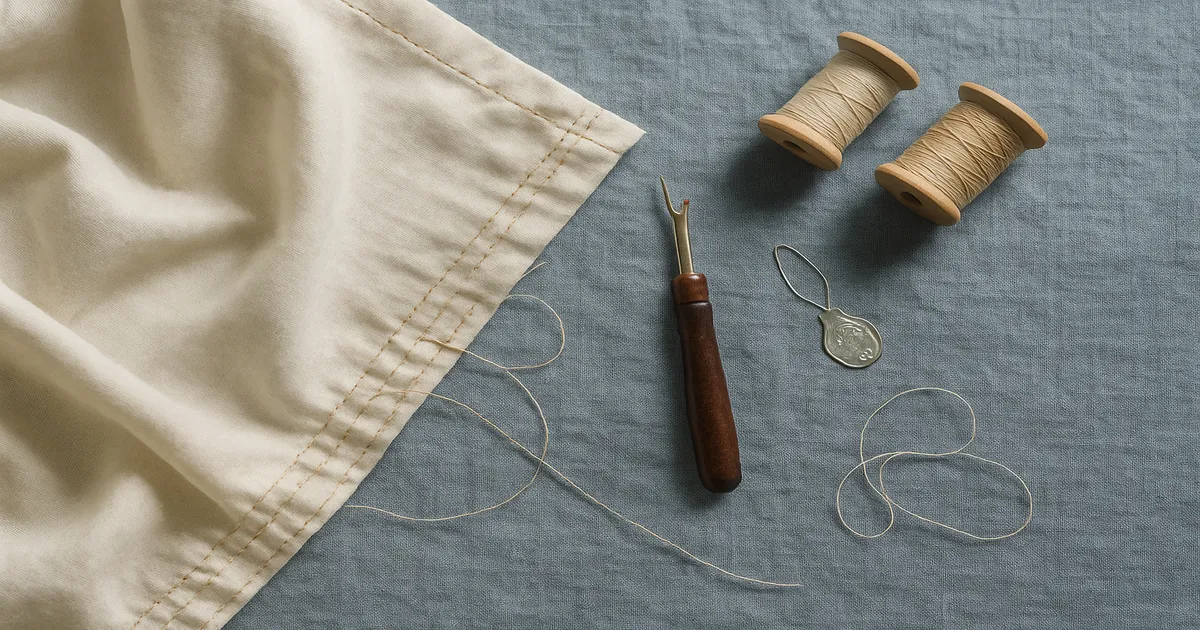
Then cut a piece of silk organza or cotton organdy 1 inch (25mm) larger than the damage on all sides. Silk organza is my preference — it’s nearly invisible, adds almost no bulk, and presses beautifully. Baste it in place with long stitches in a contrasting thread you’ll remove later. For woven fabric repairs, this backing is non-negotiable: it anchors your repair threads and stops the area from distorting as you work.
Repair Techniques by Fabric Type
Hand Darning for Woven Fabrics
This is the core technique for most woven repairs, and it’s more straightforward than people expect.
- Thread a size 10 darning needle with a single strand of matched thread — no knot.
- Start ¾ inch (19mm) outside the damage on solid, undamaged fabric.
- Work parallel rows following the warp grain, spacing stitches about 1/16 inch (1.5mm) apart for fine fabrics, up to ⅛ inch (3mm) for medium weights.
- Carry threads across the gap to create your warp threads.
- Turn 90° and weave weft threads over and under the warp threads, mimicking the original weave structure exactly.
- Maintain even tension throughout — the repair should lie flat, neither puckering nor sagging.
- Secure the end by running the needle back through ¾ inch (19mm) of completed stitching. No knots.
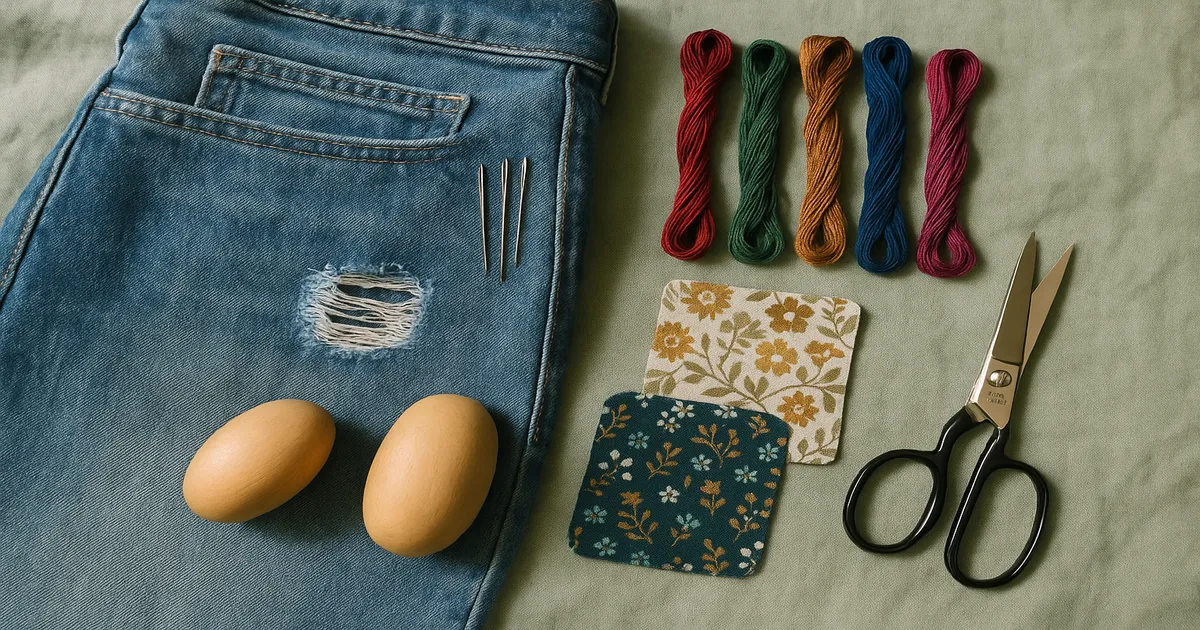
A darning mushroom keeps the fabric taut without distorting it. Worth having.
Swiss Darning (Duplicate Stitch) for Knits
Swiss darning is elegant once you understand what you’re doing: you’re tracing the path of the original yarn with a new strand, literally rebuilding the stitch structure.
- Use a blunt tapestry needle threaded with matching yarn.
- Bring the needle up through the base of a knit stitch — the bottom of the V.
- Insert the needle under both legs of the stitch directly above, then back down through the base.
- Work right to left, then back left to right on the next row.
- Extend the repair at least 2 stitches (approximately ¼ inch / 6mm) beyond the visible damage in every direction.
Ladder Stitch for Tears Without Fabric Loss
For straight tears where no fabric is missing, ladder stitch is the right tool — and when done correctly, it disappears completely.
- Press the torn edges under by ⅛ inch (3mm) on each side.
- Using a size 10 or 11 sharps needle and single thread, bring the needle up through the fold on one side.
- Take a ⅛-inch (3mm) stitch directly across into the fold on the opposite side.
- Continue in a ladder pattern, pulling gently every 4–5 stitches to close the seam.
When the tension is right, the stitches vanish from the right side entirely.
How Does This Repair Look? Evaluating Your Finished Work
Arm’s-Length and Raking Light Tests
Once you’ve removed the basting threads and pressed the repair from the wrong side, evaluate at arm’s length — roughly 24 to 30 inches (60–75cm). That’s the realistic viewing distance for a worn garment.
Then do the raking light test: hold a lamp at a very low angle to the fabric surface. Any puckering, ridging, or texture inconsistency that flat lighting hides will show up immediately. This test has humbled me more than once.
Photography and the Newspaper Test
Your eye is remarkably good at correcting for colour mismatches — which is exactly why you shouldn’t trust it alone. Photograph the repair area against the surrounding fabric. The camera doesn’t compensate the way your brain does, and differences that seemed acceptable in person often become obvious in a photo.
The newspaper test is useful too: lay the garment flat on newsprint after repair. Any puckering creates a shadow visible from across the room.
Wash and Re-Evaluate
A repair that looks perfect off the needle can pucker after washing if the repair thread wasn’t pre-washed. Thread shrinkage is real, and it’s uneven when repair thread and fabric have different fibre contents. Wash the garment according to its care label, then evaluate again under raking light. If it still passes — that’s a good repair.
Materials and Tools That Make the Difference
Match Thread Weight and Fibre Content
The single most common reason a repair looks obvious is thread that’s too heavy. Always go one weight finer than instinct suggests.
| Fabric | Thread Weight | Fibre |
|---|---|---|
| Fine wool suiting | 100–120wt silk | Silk |
| Denim / canvas | 50wt cotton | Cotton |
| Knits / jersey | Woolly nylon or fine wool | Nylon/wool |
| Linen | 60–80wt linen | Linen |
| Silk charmeuse | 100wt silk | Silk |
Pre-wash all repair thread before use. YLI Silk 100 is excellent for fine fabric repairs.
Essential Tools
A 5000K daylight lamp is non-negotiable for colour matching — warm indoor lighting will lie to you every time. Beyond that: fine embroidery scissors with 3-inch (75mm) blades, a darning mushroom or egg, a fabric-safe chalk pencil, a 3×–5× magnifying glass or Optivisor headset for fine work, and a silk organza pressing cloth you can see through while you press.
Don’t overlook donor fabric. Threads pulled from the garment’s own seam allowances are irreplaceable for invisible repairs. Save them before you do anything else.
Common Mistakes That Make Repairs Look Obvious
Colour matching under the wrong light. Warm indoor lighting skews everything toward yellow-orange. Always colour-match under a 5000K daylight bulb or north-facing natural light. Hold the thread against the fabric and squint slightly — your eyes average colour better when slightly unfocused.
Starting stitches at the edge of the damage. Anchoring right at the hole means the repair is only as strong as the weakest fabric in the garment. It’ll fail again, probably sooner than you’d like. Start and end at least ¾ inch (19mm) into sound fabric — and darn at least ½ inch (13mm) beyond the visible damage to catch the surrounding thin spots that are the next failure point.
Ignoring grain lines. A 5° deviation from true grain is enough to cause the repair to catch light differently from the surrounding fabric. Check alignment every 10 stitches.
Skipping the final press. An unpressed repair looks lumpy regardless of how good the stitching is. Press from the wrong side first with a damp pressing cloth, then from the right side with a dry cloth. This single step transforms the appearance of a repair more than almost anything else.
Repair Options by Skill Level
Beginner: Iron-on patches with fusible webbing are fast and require no sewing skill. They’re visible at close range and not suitable for dry-clean fabrics, but they’re durable for children’s clothing and workwear. Apply at 320°F (160°C) with a press cloth for 30 seconds of firm pressure.
Intermediate: Machine satin stitch (zigzag at 0.5mm length, 3–4mm width) over a fused patch creates a visible but neat border — works well on denim and canvas. Appliqué repair covers the damage with a decorative fabric shape secured with machine satin stitch. It’s an honest approach that doesn’t pretend the damage didn’t happen.
Advanced: Professional reweaving is the gold standard — individual warp and weft threads woven back in using threads harvested from hidden seam allowances. Truly invisible, and it requires 2 to 8 hours per square inch (6.5cm²) of damage, which explains the cost. Worth every penny for a valuable garment.
Needle felting works beautifully on wool: a barbed felting needle works matching wool roving into the hole until the fibres interlock mechanically. Invisible on loosely woven wools and tweeds.
Sashiko darning uses 40-weight cotton thread in geometric patterns to turn damage into a deliberate design feature. On the right garment, it honestly looks better than the original.
Quick Reference: Which Method for Which Damage?
| Damage | Best Method |
|---|---|
| Small hole (under ½ inch / 13mm) | Hand darning |
| Large hole (over 1 inch / 25mm) | Reweaving or patch + darning |
| Straight tear, no fabric loss | Ladder stitch |
| Knit hole or run | Swiss darning |
| Wool hole | Needle felting |
| Sentimental or visible garment | Sashiko or appliqué |
Pro Tips for Repairs That Pass Close Inspection
The thread pull trick. Before buying repair thread, pull a single thread from the garment’s seam allowance. Even if it’s too short to sew with, hold it against commercial thread options in good light. The match becomes obvious in a way that’s almost impossible to achieve by eye alone.
Wax your thread. Run hand-sewing thread across a block of beeswax, then press it with a warm iron through a cloth. This reduces tangling, strengthens the thread, and slightly dulls the sheen — which matters because new thread is often brighter than aged fabric. If it still reads too bright, soak it in weak black tea (one tea bag per cup of water, 10 minutes) for a subtle aged tone. Test on a sample first.
Work in sessions. Hand fatigue leads directly to uneven tension, and uneven tension is visible. Forty-five minutes, then stop. Fresh eyes also catch things tired eyes miss.
Keep a repair journal. Note the thread brand, colour number, needle size, and technique for every repair. When the same garment needs attention in three years, that information is invaluable. I keep mine in a small notebook with a thread sample taped next to each entry — low-tech, but it works.
Frequently Asked Questions
How does this repair look — and how can I tell objectively?
Run through four tests: arm’s-length visual check, raking light, the 10-foot test, and photography. A repair that passes all four — including after washing — is functionally invisible for everyday wear. Museum-grade invisibility (undetectable under 10× magnification) requires professional reweaving with donor threads from the garment itself.
What’s the best thread for invisible clothing repairs?
Match fibre content first, then weight. Use silk thread on wool and silk garments, cotton thread on cotton and linen, woolly nylon or fine wool on knits. Always go one weight finer than feels right — thread that’s too heavy creates a ridge that’s visible even when the colour is perfect.
How do I repair a hole without it looking patched?
Hand darning with matched thread on a silk organza backing, starting ¾ inch (19mm) outside the damage and mimicking the original weave structure. The organza backing is the step most people skip, and it’s the step that makes the difference. For knits, Swiss darning rebuilds the stitch structure so completely that the repair is genuinely hard to find.
Why does my repair pucker after washing?
Almost always a thread shrinkage issue — the repair thread and the fabric have different fibre contents, or the thread wasn’t pre-washed. Pre-wash all repair thread before you use it. If puckering still occurs after washing, the repair tension was probably too tight off the needle.
When is a repair not worth doing yourself?
When the fabric is valuable enough that a botched repair would cost more than a professional one. Reweaving services charge £50–£200+ per repair, but for a good wool suit or a sentimental piece, that’s money well spent. If the damage is larger than 1 inch (25mm) on a fine or complex weave, get a professional assessment before you touch it.