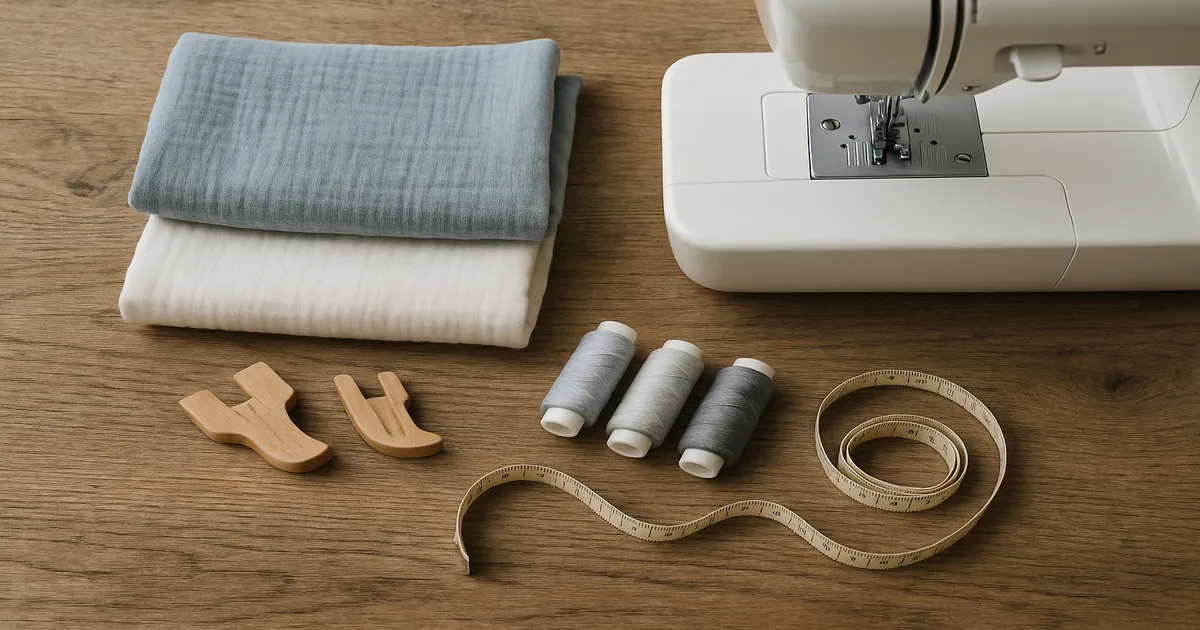
Quick Answer: To sew double gauze fabric successfully, pre-wash it at least twice before cutting, use a Microtex 70/10 needle with a 2.5–3.0mm stitch length, cut with a fresh rotary blade and pattern weights instead of pins, and finish your seam allowances immediately after sewing each seam. Once you understand its quirks, it’s genuinely one of the most rewarding fabrics to work with.
Double gauze has a reputation for being fussy, and honestly, I get it — the first time I sewed with it, I ended up with puckered seams and a hem that looked like it had survived a washing machine tornado. But that reputation is mostly undeserved. Knowing how to sew double gauze fabric really just comes down to a handful of adjustments from your usual routine. Make those adjustments, and you’re working with something forgiving, beautiful, and so soft after a few washes it almost doesn’t seem real. The key is understanding why it behaves the way it does.
What Is Double Gauze Fabric?
Double gauze is two layers of loosely woven gauze lightly needle-punched or bonded together at intervals. Those bonding points create the fabric’s characteristic subtle puckered texture — the layers are slightly offset, which gives you that gentle crinkle you can see and feel. Despite being two layers, it stays lightweight and breathable, typically weighing 85–135 gsm (about 2.5–4 oz per square yard).
Most double gauze is 100% cotton. Cotton-linen blends have a crisper hand; cotton-modal blends are more fluid and drapey. Width varies by origin: Japanese imports typically run 42–44 inches (107–112 cm), while some domestic versions go up to 60 inches (152 cm).
Double gauze originated in Japan, where it became a staple for baby and children’s clothing in the 1990s. Brands like Nani Iro and Kobayashi set the quality standard, and their prints are still some of the most sought-after in the indie sewing world. Western sewists discovered it largely through Japanese pattern books in the 2010s and haven’t looked back since.
It’s brilliant for swaddle blankets, baby items, children’s garments, adult loungewear, scarves, and lightweight quilts. New off the bolt it feels slightly rough, but after a few launderings it develops an almost flannel-like softness. That transformation is part of the appeal.
Double gauze vs. single gauze vs. muslin: Single gauze is one loose layer — think cheesecloth — and it’s too unstable for most garment sewing. Muslin is a tightly woven single layer used primarily for toiles. Double gauze sits between the two: more stable than single gauze because of its bonded layers, but far drapier and more textured than muslin. That middle-ground quality is exactly what makes it special, and also why it needs specific handling.
Tools You Need to Sew Double Gauze Fabric
Needle: Use a Microtex (Sharp) 70/10 — I won’t budge on this one. The sharp point pierces individual threads cleanly rather than pushing them aside, which is what prevents skipped stitches. A Universal 70/10 or 80/12 will work in a pinch. Avoid ballpoint/jersey needles entirely (they’re designed for knits and cause skipped stitches in woven gauze), and avoid anything 90/14 or larger, which leaves visible holes in the open weave. Change your needle at the start of every project. A dull needle is the single most common cause of problems with double gauze.
Thread: Stick with 50-weight cotton or polyester. (Gutermann Mara 100) It buries into the weave without adding bulk or stiffness. Avoid 40-weight — it sits on top of the weave and makes seams look and feel heavier than they should. For complex prints, match your thread to the background color rather than trying to chase every hue.
Cutting tools:
- 45mm or 60mm rotary cutter with a brand-new blade (Olfa 45mm)
- Self-healing mat, at least 24 × 36 inches (61 × 91 cm)
- Clear acrylic rulers: a 6 × 24-inch and a 12.5-inch square cover most needs
- Pattern weights — at least 8 to 10; metal washers or specialty weights both work fine
- Sharp dressmaker’s shears, 8–10 inches (20–25 cm), freshly sharpened
Presser foot: A walking foot is the single best upgrade you can make for this fabric. It feeds both layers evenly, which matters a lot when you’re already working with a fabric that’s two layers wanting to shift independently. A standard straight stitch foot works for simpler seams; a rolled hem foot is worth having for scarves and lightweight edges.
Marking and pressing: Use a water-soluble fabric marker or tailor’s chalk — test on a scrap first. Avoid heat-transfer pens on printed surfaces. For pressing, you need a steam iron at the cotton setting, a pressing cloth to protect printed fabrics, and a spray bottle for stubborn wrinkles. A seam roller is genuinely useful for pressing seams open without stretching the fabric.
How to Prepare Double Gauze Before Cutting
Pre-Wash Twice — No Exceptions
Double gauze shrinks 5–8% in both directions. Skip the pre-wash and you’ll end up with a finished garment that puckers at every seam after its first trip through the laundry. Wash in warm (not hot) water on a gentle cycle with mild detergent, then tumble dry on low or hang dry. Do this twice before cutting. Most shrinkage happens in the first two washes, and for baby items that get laundered constantly, you want to get ahead of it.
The fabric will come out looking rumpled and slightly misshapen. That’s completely normal — press it out and move on.
Press Without Distorting
Set your iron to the cotton setting with steam. The key is pressing — lift and lower the iron — rather than dragging it across the fabric. Dragging stretches the bias and can permanently distort the weave. Use a pressing cloth on printed surfaces. The fabric will smooth out significantly, but some texture will remain. That’s the point; you’re not trying to flatten it completely.
Straighten the Grain Before You Cut
Double gauze is almost always off-grain when it comes off the bolt. Don’t assume the cut edge from the fabric store is straight. Pull a single thread across the width to find the true grain line and cut along it, or tear the fabric across the width — it tears relatively cleanly along grain. Cutting off-grain means garments that twist, seams that pull, and hems that hang unevenly. It takes five minutes to fix and saves a lot of frustration later.
A light mist of spray starch pressed into the fabric before cutting temporarily stabilizes the weave so it behaves almost like quilting cotton. It washes out completely with the first laundering.
How to Cut Double Gauze Accurately
Pins distort the loose weave and leave visible holes — especially on the fabric’s face. Use pattern weights instead, placed every 4–6 inches (10–15 cm) along pattern edges. If you absolutely need to pin, keep pins within the seam allowance only.
Use long, smooth strokes with a fresh rotary blade. Short, choppy cuts fray the edge immediately. A dull blade drags the fabric rather than cutting it, which distorts the weave before you’ve even started sewing. Blades are cheap; fabric is not.
Cut single layers whenever precision matters. If you need to cut double layers to save time on symmetrical pieces, use extra weights and cut slowly — the two layers will shift relative to each other if you rush.
Use a ½-inch (12mm) seam allowance as your standard for double gauze. It’s wider than quilting’s typical ¼ inch (6mm) but slightly narrower than the standard ⅝ inch (16mm) used in dressmaking. The extra allowance gives you room to work with, especially given how readily this fabric frays.
How to Sew Double Gauze: Step-by-Step
Machine Settings
- Needle: Microtex 70/10
- Stitch length: 2.5–3.0mm
- Tension: Reduce by 0.5 from your default if you see puckering
- Presser foot pressure: Reduce if your machine allows it — heavy pressure compresses the layers
- Presser foot: Walking foot
Always sew a 4-inch (10 cm) test seam on a scrap before touching your actual project. Check for puckering, skipped stitches, and tension issues. It takes two minutes and it’s saved me from ruining more fabric than I care to admit.
At the Machine
Never pull or push the fabric — guide it gently with both hands and let the feed dogs do the work. Sew at moderate speed. Start ½ inch (12mm) from the fabric edge rather than right at the corner; this prevents the fabric from being pulled down into the needle plate at the start of a seam.
Finishing Seam Allowances
Double gauze unravels fast. Finish every seam allowance immediately after sewing — don’t leave raw edges sitting while you move to the next piece.
Options, in order of preference:
- 3-thread serger overlock — the best finish for this fabric (Brother 1034D)
- Zigzag stitch — width 3.0–4.0mm, length 2.0–2.5mm, sewn right at the edge
- French seam — beautiful for lightweight garments; encloses all raw edges
- Hong Kong finish — bias tape bound around each seam allowance; time-consuming but gorgeous
Press each seam before crossing it with another. Press open for garments (reduces bulk); press to one side for quilts.
Hemming Double Gauze
Build in at least 1 inch (2.5 cm) of hem allowance — 1.5 inches (3.8 cm) is better. Narrow allowances roll and shift during hemming.
Double-fold hem: Fold up ½ inch (12mm), press, fold up another ½ inch (12mm), press again, then topstitch at 3.0mm. Reliable and clean for most garment types.
Rolled hem: A rolled hem presser foot creates a narrow, elegant hem that suits scarves and lightweight garments perfectly. It takes a little practice to get started, but once you’re rolling it’s fast. A serger rolled hem gives a similar result with even less fuss.
Hand-stitched hem: For garments where machine topstitching would pucker or show too much, a hand-stitched slip stitch is the answer. It takes longer, but the result is invisible from the right side — worth it for anything you’re putting real effort into.
Common Mistakes When Sewing Double Gauze
Skipping the pre-wash. The fabric shrinks 5–8% — your finished garment will pucker and distort after the first wash. Pre-wash twice, no exceptions.
Wrong needle or a dull needle. Ballpoint needles push threads aside instead of piercing cleanly, causing skipped stitches. Use a Microtex 70/10 and change it every project.
Sewing too fast. Speed causes the layers to shift and seams to pucker. Slow down, use a walking foot, and keep both hands guiding the fabric.
Ignoring grain lines. Double gauze is almost always off-grain from the bolt. Pull a thread or tear to find true grain before cutting anything.
Stitch length too short. Anything shorter than 2.5mm perforates the loose weave and creates a tear line — the fabric can literally pull apart along the seam. Stay at 2.5–3.0mm.
Not finishing seam allowances immediately. This fabric unravels aggressively. Finish every seam allowance right after sewing it.
Pressing too aggressively. Dragging a hot iron stretches the bias and can permanently distort the fabric. Press (lift and lower), don’t iron (drag).
Choosing the wrong pattern. Structured bodices, tight set-in sleeves, and intricate pleating fight against double gauze’s drapey nature. Stick with A-line silhouettes, gathered skirts, loose blouses, and simple rectangular constructions until you’re comfortable with the fabric.
Frequently Asked Questions About Sewing Double Gauze Fabric
Does double gauze need to be pre-washed before sewing?
Yes — twice if possible. Double gauze shrinks 5–8% in both directions, which means a garment cut from unwashed fabric can come out of its first laundry cycle noticeably smaller and puckered at every seam. Wash in warm water on a gentle cycle, tumble dry on low, and repeat before cutting any pattern pieces.
What needle should I use for double gauze fabric?
A Microtex (Sharp) 70/10. The sharp point pierces individual threads cleanly, which prevents the skipped stitches that plague double gauze sewists using ballpoint or dull needles. Change your needle at the start of every project — a fresh needle makes a bigger difference than most people expect.
Why does my double gauze pucker when I sew it?
Puckering usually comes from one of three things: stitch length that’s too short (go to 2.5–3.0mm), presser foot pressure that’s too heavy (reduce it if your machine allows), or sewing too fast. A walking foot helps enormously by feeding both layers evenly. Always sew a test seam on a scrap first so you can dial in your settings before touching the actual project.
Can you use double gauze for quilting?
Yes, and it makes beautiful quilts — especially baby quilts and lightweight lap quilts. Use a ¼-inch (6mm) seam allowance and finish all seam allowances with a zigzag or serger immediately. Because double gauze is already two layers, quilts made with it are often left unlined or used as the quilt top only, with a single backing layer and minimal batting.
How do you stop double gauze from fraying?
Finish every seam allowance immediately after sewing it. A 3-thread serger overlock is the most effective finish. Without a serger, a zigzag stitch at 3.0–4.0mm width sewn right at the edge works well. For garments, French seams enclose all raw edges entirely and are an elegant solution.