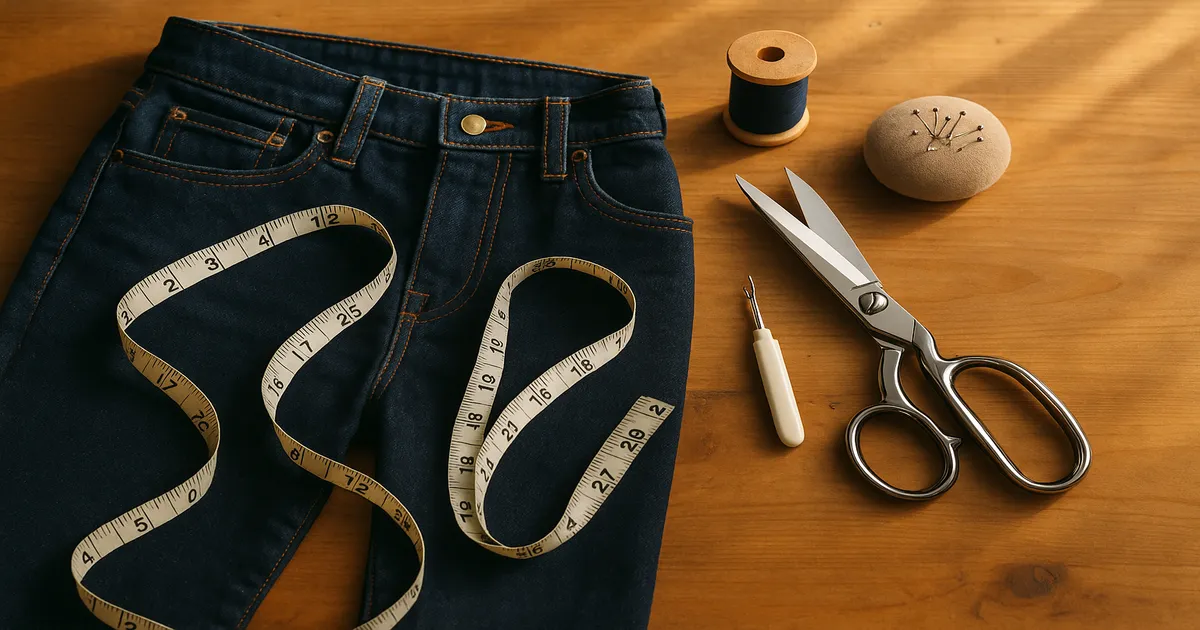
Quick Answer: The most reliable way to sew a jeans waist smaller is to take in the center back seam — seam-rip the waistband, sew a tapered new seam, and reattach the waistband. This removes up to 2 inches (5cm) and costs nothing compared to the $20–$60 a tailor charges. Two easier alternatives exist if that sounds like too much: an elastic insert (beginner-friendly, reversible) and a simple dart (best for reductions under 1 inch).
Learning how to sew jeans waist smaller is one of those alterations that sounds harder than it is. The main thing working against you isn’t skill — it’s denim’s stubbornness. With the right needle, the right thread, and a little patience, you can get a result that looks like it came from a tailor. Plan on 1–2 hours for the back seam method if you’re comfortable at the machine. The other two methods are faster.
Why Jeans Waists Gap
Ready-to-wear jeans are drafted for roughly a 10-inch (25cm) hip-to-waist difference. That works fine for some bodies and fits terribly on others. If your hips are significantly wider than that ratio assumes, you’ll get the classic gap at the back waistband every time you size up to fit your hips. It’s not a fit failure — it’s just how standardized sizing works.
A jeans waistband isn’t just a folded strip of fabric. It’s a separate, interfaced, topstitched band — often stiffened with heavy woven or non-woven interfacing — stitched onto the body of the jeans. That construction is what makes waist alterations more involved than taking in a side seam on a dress. You have to partially detach the waistband, alter the seam underneath, and put everything back together convincingly.
For most home sewists, up to 2 inches (5cm) is the comfortable range using the back seam method. Beyond that, you’re usually better off consulting a tailor or combining methods.
Tools You Need
Needles and Thread
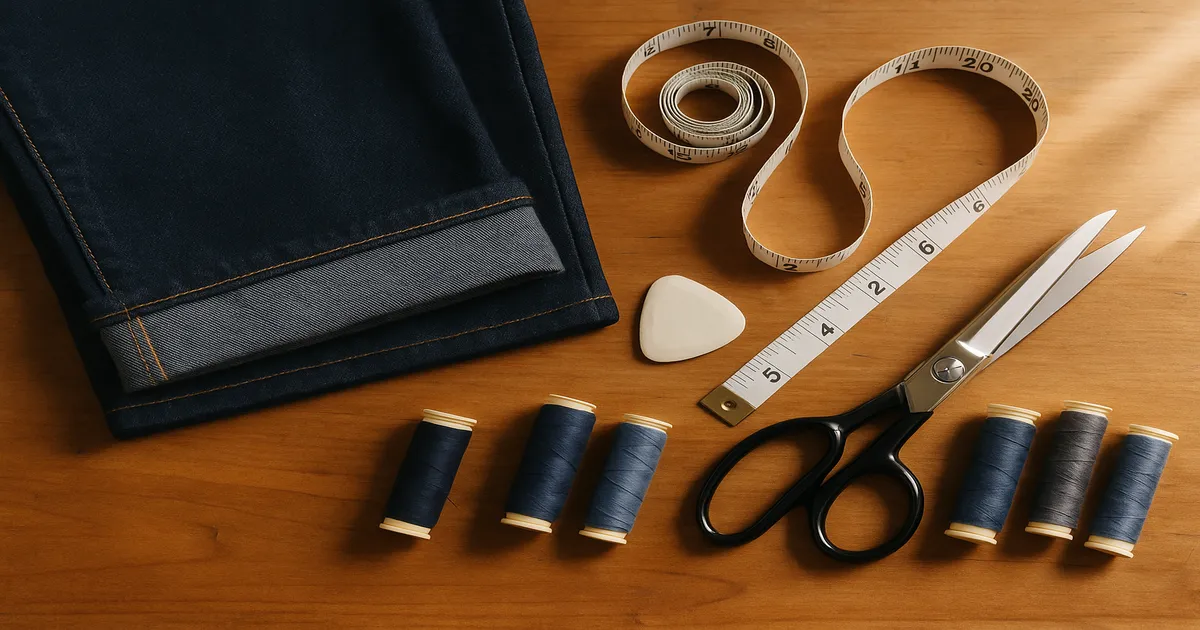
A denim needle is non-negotiable. Standard universal needles deflect off denim’s tight twill weave and cause skipped stitches and broken needles. Use a denim/jeans needle in size 90/14 or 100/16 for construction seams, and a topstitch needle in the same size range for visible stitching. Change it at the start of every project — a dull needle causes more problems in denim than almost anything else.
You’ll need two types of thread:
- 50wt all-purpose polyester for the construction seam (the part no one sees)
- 30wt or 40wt topstitching thread in gold/amber (Gutermann Mara 30) to match the original jeans stitching
If the waistband interfacing gets damaged when you open it up, replace it with a medium-to-heavy woven fusible interfacing (Pellon SF101).
Presser Feet
- Standard foot for construction seams
- Topstitch or edge-stitch foot for consistent topstitching
- Walking foot when topstitching through multiple denim layers — it prevents shifting and is genuinely worth the swap
- Zipper foot for getting close to hardware
Everything Else
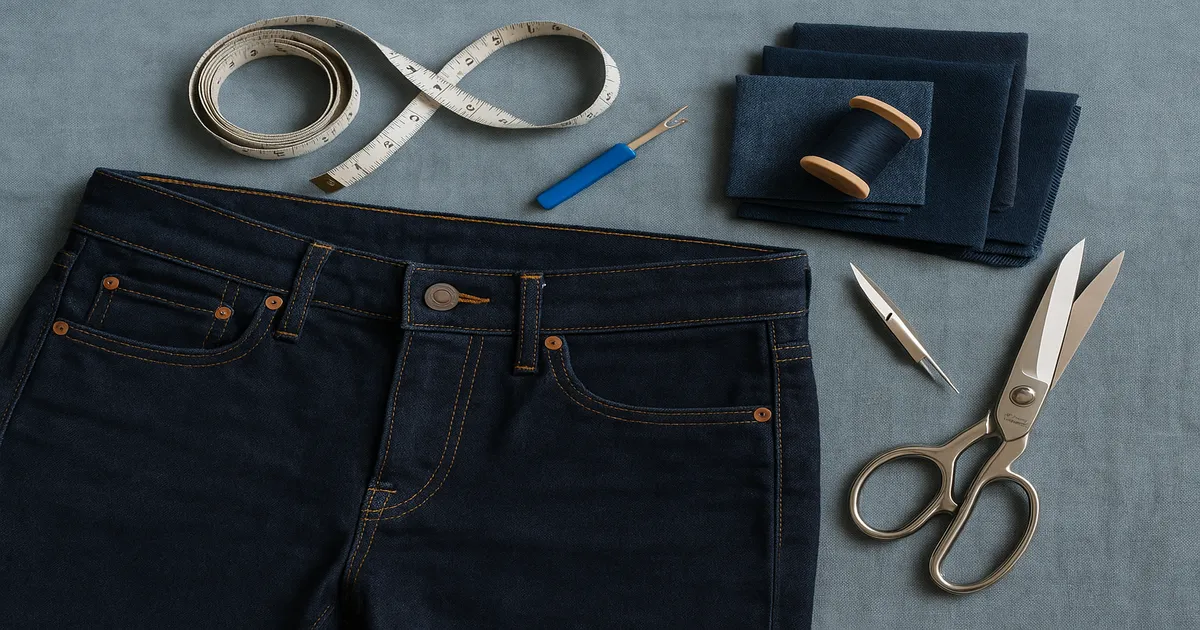
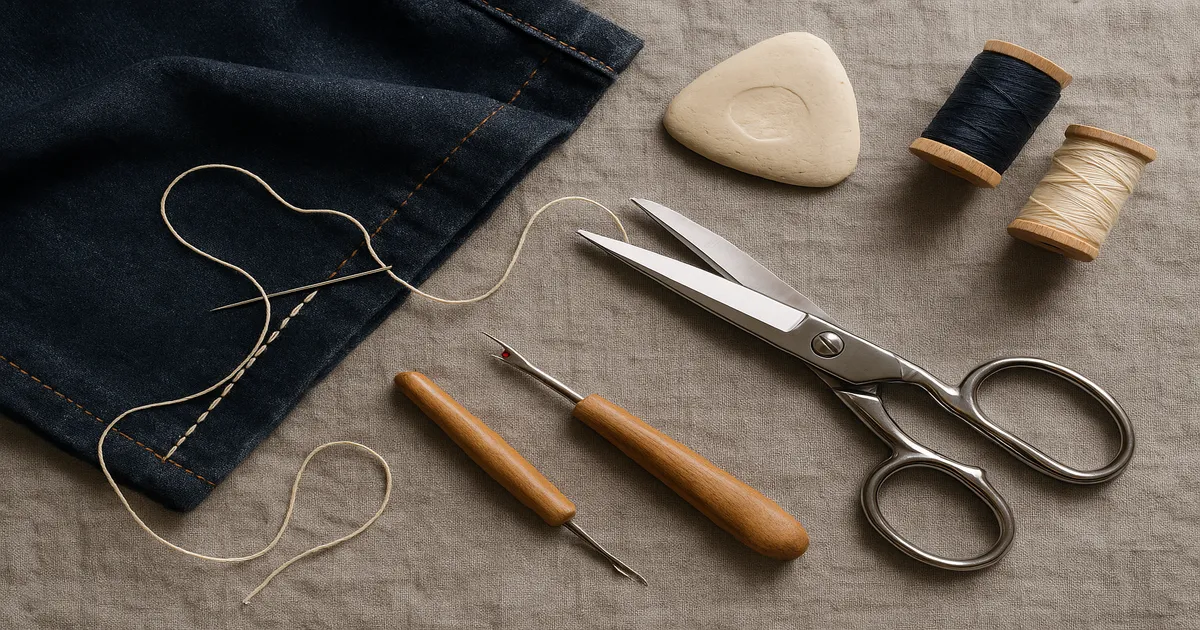
- Sharp seam ripper
- Fabric chalk pencil or Frixion heat-erasable pen
- Curved/hip curve ruler for drawing smooth taper lines
- Tailor’s ham for pressing curved seams
- Wonder clips instead of pins — pins are hard to push through thick denim and leave marks
- Seam gauge
- Rubber mallet for flattening thick seam intersections
- Heavy-duty iron set to cotton/high-heat (around 400°F / 204°C)
How to Sew Jeans Waist Smaller: 3 Methods
Method 1: Taking In the Center Back Seam (Best Results)
This is the standard professional approach. Most work, most invisible result.
Step 1: Pin and calculate your reduction. Try the jeans on inside out and pinch the excess at the center back seam. Pin it. That total pinched amount is your total reduction — but since you’re working a single seam, you take half from each side. A 1-inch (2.5cm) total reduction means sewing 1/2 inch (1.3cm) deeper on each side.
Step 2: Open the waistband at the center back. Seam-rip the topstitching on the waistband for about 2–3 inches (5–7.5cm) on each side of the center back seam. Remove any bartack at the top of the seam. You only need to detach this section — not the whole waistband.
Before you rip anything, take a close-up photo of the original topstitching. Stitch length, distance from edge, thread color — you’ll want that reference when you put it back together.
Step 3: Mark the new tapered seam line. Lay the jeans flat, back side up. Using a curved ruler and chalk or a Frixion pen, draw your new seam line. The taper should start 4–6 inches (10–15cm) below the waistband and gradually widen to your full reduction amount at the top. Don’t skip the curved ruler — a straight line here will pull the seat out of shape and shift your back pockets.
Step 4: Sew the new seam.
- Rigid denim: straight stitch at 2.5–3.0mm length
- Stretch denim: narrow zigzag (1.5mm wide, 2.5mm long) or a dedicated stretch stitch
Backstitch at both ends. Don’t cut anything yet.
Step 5: Try on before you trim. Put the jeans on and check everything: does the waistband lie flat? Are the back pockets still symmetrical? Can you sit comfortably? Make adjustments now, while you still have fabric to work with. This is the step most people skip, and it’s the one that saves projects.
Step 6: Trim and finish the seam allowance. Trim the excess to 5/8 inch (1.6cm) — or match the original seam allowance. Finish raw edges with a serger or zigzag stitch (3.0mm wide, 2.5mm long). Press using a tailor’s ham for the curved sections, with a damp pressing cloth and high heat.
Step 7: Reattach the waistband and topstitch. Fold the waistband back into position and clip it in place. Topstitch with your heavier topstitching thread and a topstitch needle, matching the original stitch distance (usually 1/4 inch / 6mm from the edge) and stitch length (typically 3.0–3.5mm). Add a new bartack at the center back seam using a tight zigzag: 0.5mm length, 3–4mm wide, sewn several passes over the same spot.
At thick seam intersections, use the hand wheel for 4–6 stitches rather than the foot pedal. It prevents needle breakage and skipped stitches.
Step 8: Final press. Press the entire waistband area with steam and a damp pressing cloth. This is what separates an alteration that looks homemade from one that looks intentional.
Method 2: Elastic Insert at the Center Back (Beginner-Friendly)
If you’re new to sewing, working with a complex waistband, or want something reversible, this is your method. It doesn’t require seam-ripping the outer waistband and can take in 1–3 inches (2.5–7.5cm) depending on elastic tension.
- Seam-rip a 3–4 inch (7.5–10cm) opening in the interior of the waistband at the center back — between the outer fabric and the facing layer, not through the outside.
- Cut a piece of 1-inch (2.5cm) non-roll elastic several inches shorter than the opening. How much shorter determines how much you gather.
- Thread the elastic through the channel using a bodkin or large safety pin.
- Secure each end of the elastic to the waistband seam allowance with a box stitch (a rectangle with an X inside) for maximum hold.
- Close the opening with a slip stitch or machine stitch.
That’s genuinely it. And if you ever want to undo it, you can.
Method 3: Center Back Waistband Dart (Small Reductions Only)
For reductions of 1/2 to 1 inch (1.3–2.5cm) where you want to preserve the original center back seam, a dart works well. It’s faster than Method 1 but more visible — you’ll see it from the outside. It works best on dark or heavily textured denim where it blends in.
Mark a wedge-shaped dart at the center back of the waistband — widest at the top edge, tapering to nothing about 1.5–2 inches (3.8–5cm) below the waistband seam. Sew it, press it flat, and topstitch to secure. If you need more than an inch of reduction, skip this and use Method 1.
Common Mistakes to Avoid
Cutting before you try on. Sew the seam, try the jeans on, confirm the fit, then trim. Leave at least 5/8 inch (1.6cm) of seam allowance.
Sewing a straight line instead of a taper. A straight vertical seam creates a hard angle that distorts the seat and shifts the back pockets. Always taper over 4–6 inches (10–15cm) with a curved ruler.
Using the wrong needle. A universal needle on denim causes skipped stitches and broken needles. Use a denim needle, size 90/14 or 100/16, and change it at the start of every project.
Skipping the press. Unpressed seams stay thick and lumpy, and topstitching over them looks terrible. Press every seam before you topstitch — damp cloth, high heat, rubber mallet on the really thick bits.
Mismatched topstitching. Wrong thread weight or color makes the alteration obvious. Source your topstitching thread before you start, test on a scrap, and match the original stitch length (usually 3.0–3.5mm).
Forgetting the belt loop. If there’s a belt loop at or near the center back seam, remove it before altering and reattach it centered over the new seam when you’re done.
Using a straight stitch on stretch denim. The seam will pop the first time you sit down. Use a narrow zigzag or stretch stitch for any stretch denim construction seam.
Pro Tips for a Professional Finish
Match topstitching like a tailor. If you can’t find a single thread heavy enough to match the original, try the two-thread trick: run two strands of standard 50wt thread through a topstitch needle’s large eye together. It often matches the weight of the original stitching better than one heavy thread. For consistent distance, place a strip of 1/4-inch (6mm) quilter’s tape on your presser foot or needle plate as a guide — it peels off cleanly and leaves no residue.
Handle thick seam intersections carefully. When your presser foot hits a thick crossing — especially where the waistband meets the center back — switch to the hand wheel for 4–6 stitches. Don’t just slow your foot pedal speed; actually use the wheel.
Press denim correctly. Test your iron temperature on a hidden interior seam allowance first, especially with dark or black denim — too much heat causes shine or color shift. Once confirmed safe, press every seam with a damp pressing cloth on the cotton setting.
Keep alterations invisible. When reattaching the waistband, try the stitch-in-the-ditch method: sew from the inside, stitching directly into the existing seam groove. The new stitching disappears into the groove and is essentially invisible from the outside.
Frequently Asked Questions
How much can you take in a jeans waist by sewing?
Most home sewists can comfortably remove up to 2 inches (5cm) using the center back seam method. Reductions of 3–4 inches are possible but require more advanced techniques or combining methods. Beyond 4 inches, the alteration starts to affect the seat and hips in ways that are hard to correct.
Can you alter stretch denim the same way as regular denim?
Yes, with one important difference: use a narrow zigzag or stretch stitch instead of a straight stitch for the construction seam. A straight stitch on stretch denim will pop the first time the fabric stretches. Everything else — the tapering, waistband reattachment, topstitching — works the same way.
Is taking in a jeans waist permanent?
The center back seam method and the dart are both permanent — you’re cutting and resewing the fabric. The elastic insert (Method 2) is reversible: remove the elastic and close the opening with no lasting change to the jeans. If you’re unsure about committing, start there.
How much does a tailor charge to take in a jeans waist?
Most tailors charge $20–$60 USD for this alteration, depending on location and waistband complexity. Doing it yourself costs only thread and your time.
Do you need a serger to alter a jeans waistband?
No. A serger is helpful for finishing raw edges neatly, but your machine’s zigzag stitch (3.0mm wide, 2.5mm long) does the job fine. The seam is hidden inside the waistband anyway, so a perfectly finished edge matters less here than in garments where seams are exposed.