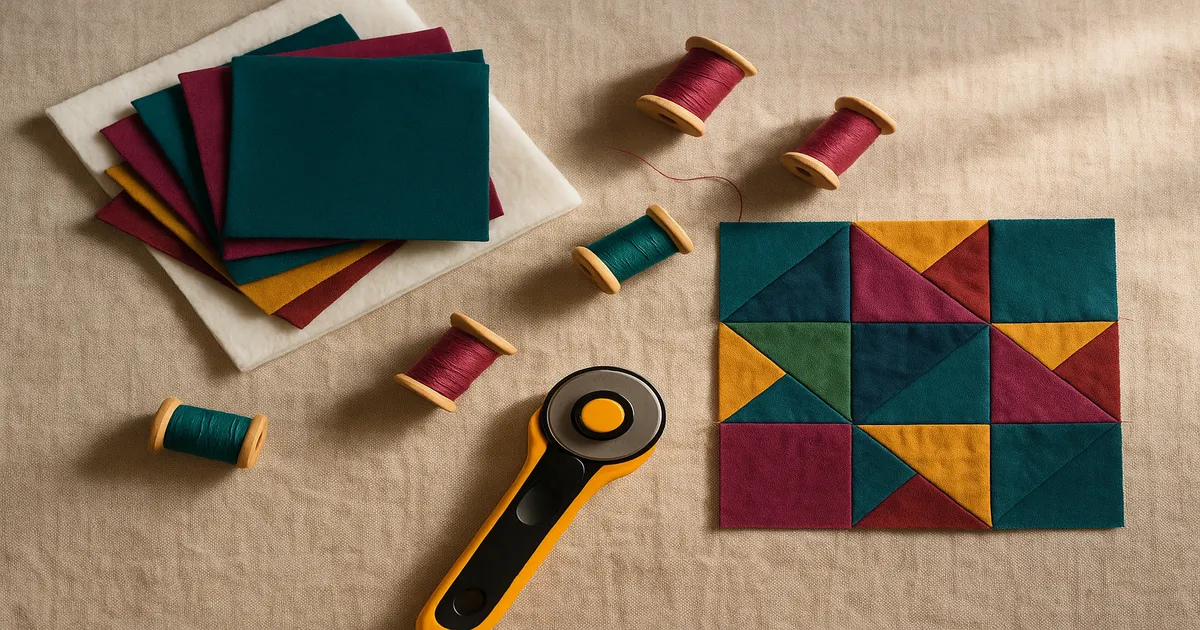
Quick Answer: Making a quilt that lasts a lifetime comes down to three things — quality materials (200+ TPI cotton fabric, long-staple thread, and wool or cotton batting), precise construction (accurate ¼-inch seams, correct grain line, thorough pressing), and quilting lines no more than 2–4 inches apart. Get those three right, and your quilt can outlast you by generations.
The oldest surviving bed quilt in America — the Saltonstall Quilt, made around 1704 — is still structurally intact after more than 300 years. So when people ask how to make a quilt that lasts a lifetime, the honest answer is: it’s entirely possible, and the techniques aren’t even that complicated. What separates a quilt that survives a century from one that falls apart in a decade is a series of small, deliberate decisions made at every stage — in the fabric store, at the cutting mat, and at the machine.
What Actually Makes a Quilt Last a Lifetime?
A durable quilt rests on three foundations: materials, construction, and quilting density. Compromise any one of them and you’re shortchanging the other two.
- Materials: 100% cotton fabric at 200+ threads per inch, long-staple cotton thread, and wool or cotton batting
- Construction: accurate ¼-inch (6mm) seams, cuts made on the straight grain, and thorough pressing at every stage
- Quilting density: stitching lines no more than 2–4 inches (5–10cm) apart — closer for anything you’re calling an heirloom
A properly constructed quilt should last 50–100+ years with reasonable care. Antique Amish and Hawaiian quilts from 100–150 years ago are still in daily use, which tells you everything you need to know about what’s possible when the fundamentals are right.
Choosing Materials Built to Last
Fabric: Thread Count and Fiber Content
Thread count matters more than most quilters realize. Big-box craft store cotton often runs 60–80 threads per inch — fine for a practice project, genuinely terrible for anything you want to keep. Quality quilting cotton like Robert Kaufman Kona Cotton or Moda Fabrics comes in at 200+ TPI, and the difference in durability is dramatic. The weave is tighter, the surface wears better, and it just feels different in your hands.
Stick to 100% cotton. Polyester blends feel fine in the store, but polyester abrades cotton fibers over time, and the two fibers respond differently to washing and heat — not what you want in a quilt you’re planning to pass down. If you want something with a little more strength than pure cotton, linen-cotton blends are genuinely excellent and actually improve with age. Avoid novelty fabrics with metallic threads or unusual finishes for anything structural — fun as accents, but they won’t hold up.
Batting: Cotton, Wool, and What to Avoid
Your batting choice affects both how the quilt feels and how densely you need to quilt it, which directly impacts longevity.
| Batting Type | Max Quilting Distance | Notes |
|---|---|---|
| 100% Cotton (Warm & Natural) | 2–3 inches (5–7.5cm) | Bonds to fabric over time; shrinks ~3–5% on first wash |
| Wool (Hobbs Heirloom Wool) | Up to 4 inches (10cm) | Museum conservators’ top pick; naturally moisture-wicking |
| 80/20 Cotton/Poly Blend | 3–4 inches (7.5–10cm) | More loft; acceptable longevity if it’s a quality brand |
| Cheap Polyester | — | Avoid — pills, beards, and compresses permanently |
Wool is the best choice for an heirloom quilt, full stop. It’s what museum conservators reach for, and it gives you the most flexibility with quilting density. Cotton batting is an excellent runner-up if you’re willing to quilt a bit more densely.
Thread: The Mistake That Destroys Quilts Slowly
This is the one most people get wrong. Polyester thread is stronger than cotton fabric — which sounds like a good thing until you understand what that means in practice. Under stress, something has to give, and with polyester thread through cotton fabric, it’s always the fabric that loses. Over 20–30 years, polyester thread will literally cut through cotton fibers at stress points. You won’t see it happening, and by the time you do, the damage is done.
Use 50-weight, 100% long-staple cotton thread for both piecing and quilting. Aurifil 50wt is the standard recommendation for good reason — it’s strong, consistent, and produces minimal lint. Gutermann Natural Cotton is a solid, more budget-friendly alternative. Either one is worth every cent on a project you’re putting 100+ hours into.
Planning and Cutting: Getting the Foundation Right
Pre-Washing: Non-Negotiable
Skipping pre-washing is the single most common beginner mistake, and it’s one of the few that causes permanent, unfixable damage. Cotton can shrink 3–10% depending on the weave. Mix pre-washed and unwashed fabrics in the same quilt and differential shrinkage will pucker it permanently on the first wash — and there’s no fixing it after the fact.
Wash in warm water with a small amount of mild detergent. If a fabric bleeds significantly, wash it again until the water runs clear — or replace it entirely. Dry on medium heat, then press while still slightly damp.
Grain Line: Why It’s Worth the Extra Thirty Seconds
When you cut on the straight grain (warp threads parallel to the longest edge of each piece), the fabric is stable. Cut on the bias and you get stretch — and bias-cut edges will cause seams to ripple, blocks to distort, and stress points to develop over years of use. Every piece you cut should have its longest edge running parallel to the selvage. Check it every time.
Cutting Accurately and Keeping Your Blade Sharp
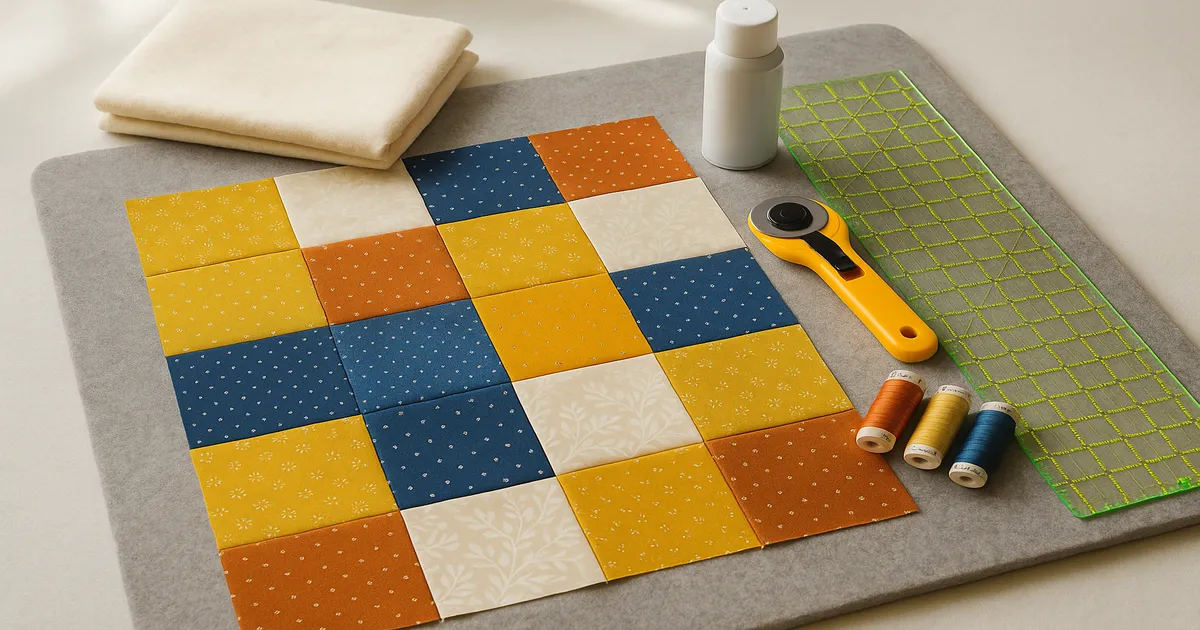
Replace your rotary blade more often than you think you need to — every 3–4 hours of cutting time, or whenever you notice it dragging rather than slicing cleanly. A dull blade doesn’t just make cutting harder; it distorts the fabric as it drags, giving you pieces that are subtly off before you’ve touched the machine. Always cut on a self-healing mat, use a 6 x 24-inch (15 x 61cm) ruler for strips, and add 10–15% to all yardage calculations. Fabric shrinks, cuts go slightly wrong, and directional prints eat more yardage than you expect.
Piecing for Lasting Seams
Stitch Length and Seam Allowance
Set your machine to 2.0–2.2mm (12–13 stitches per inch) for piecing. Shorter and you’ll struggle to remove mistakes without damaging the fabric; longer and your seams are simply weaker than they should be.
The ¼-inch (6mm) seam allowance is the foundation of quilting, and precision here matters more than anywhere else. A consistent error of just 1/32 inch (0.8mm) — barely visible — compounds across a full quilt and can throw your finished measurement off by nearly an inch. Use a dedicated ¼-inch presser foot, or place a strip of painter’s tape on your machine bed exactly ¼ inch from the needle. Test before starting any project: sew two pieces together, press, and measure.
Pressing: Open vs. To-the-Side
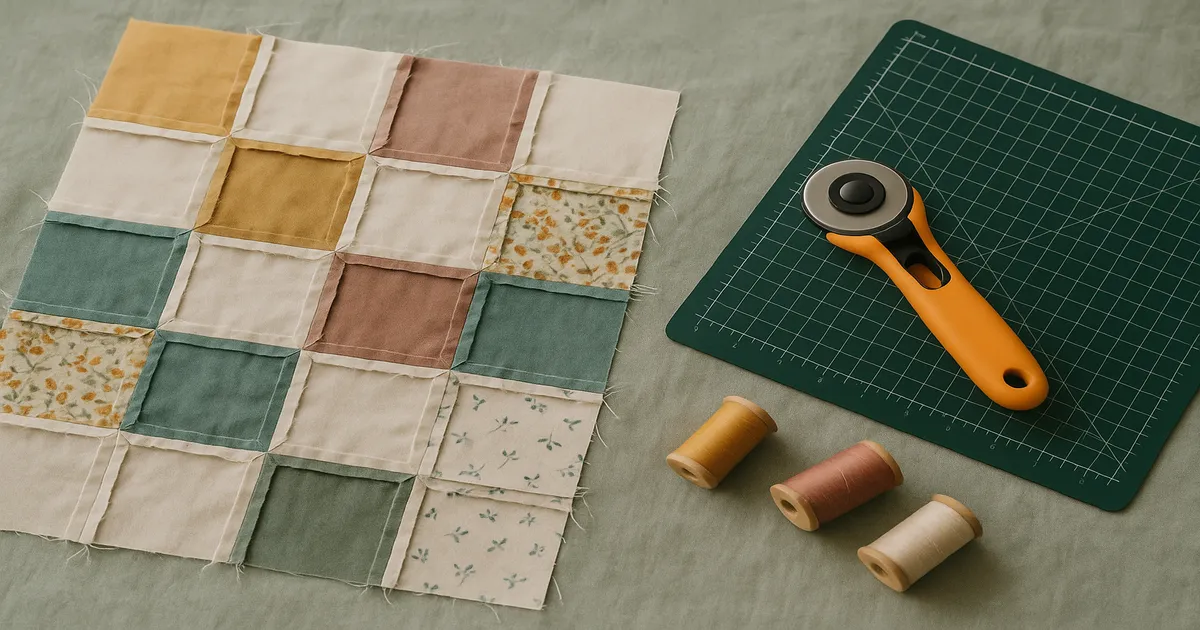
Traditional advice says press seams to one side, toward the darker fabric. It works. But for longevity, pressing seams open is actually superior — it distributes stress more evenly across the seam line rather than concentrating it on one side. I’ve switched to pressing open for most of my piecing, and the blocks lie noticeably flatter.
When you do press to the side — and there are times it makes sense, like when nesting seams at intersections — make sure you’re pressing, not ironing. Set the iron straight down onto the seam. Don’t drag it sideways.
Squaring Up Blocks
Every block should measure exactly the same before you sew the rows together. For a standard 12-inch (30.5cm) finished block, your unfinished block should measure 12.5 inches (31.75cm). Trim any block that’s even slightly off using a square ruler. This step is tedious, and it’s the one most people skip. Don’t. Blocks that are even ⅛ inch (3mm) off will cause rippling in the finished quilt top that no amount of pressing will fix.
Quilting Density: The Single Most Important Factor for a Quilt That Lasts a Lifetime
I can’t overstate this. Quilting density is what holds a quilt together over decades. Lines more than 4 inches (10cm) apart allow batting to shift, bunch, and break down — and once that happens, the quilt is effectively done.
For regular use, quilt no more than 2–4 inches (5–10cm) apart. Antique quilts that have survived 100+ years are typically quilted at ½ to 1 inch (12–25mm) intervals. You don’t have to go that dense, but closer is always better for longevity.
Walking foot quilting is the most beginner-friendly approach for straight lines. Use a stitch length of 3.0–3.5mm and let the walking foot feed all three layers evenly. Free-motion quilting gives you design freedom but requires practice — lower the feed dogs, attach a darning foot, and aim for consistent 8–10 stitches per inch. Hand quilting produces beautiful results and, done well, is extraordinarily durable. Use a between needle (size 8–12), waxed hand quilting thread, and a thimble. Work a running stitch through all three layers, aiming for 8–10 stitches per inch.
For machine quilting, start and end every line with a locking stitch (stitch length 0.5mm for 4–5 stitches) or 8–10 backstitches. For hand quilting, use a quilter’s knot buried in the batting layer. Unsecured thread ends are where quilting fails — take the extra ten seconds.
Binding: Don’t Rush the Finish
Binding takes more handling and washing abuse than any other part of a quilt. Cut strips 2.5 inches (6.35cm) wide on the straight grain — straight-grain binding is more durable than bias for bed quilts. Join strips at a 45-degree diagonal seam to distribute bulk. Sew to the quilt front with a ¼-inch seam allowance, miter the corners at precisely 45 degrees, and hand-stitch the binding to the back. Machine-stitching is faster; hand-stitching is better. When you blind-stitch or ladder-stitch by hand, the binding can flex and move independently during washing — which extends its life significantly compared to machine stitching, which locks it rigidly in place.
Before you finish, add a label. Embroider it or use permanent ink — iron-on labels delaminate after years of washing. Include your name, the date, and where you made it. It takes fifteen minutes and transforms the quilt from a beautiful object into a documented piece of history.
Caring for Your Quilt
Museum conservators identify three primary enemies of quilt longevity: UV light, moisture, and mechanical stress. Washing addresses dirt and moisture — but done wrong, it introduces mechanical stress.
Use the gentle cycle, cool to warm water, and a mild detergent like Woolite Delicates. Dry flat or on low heat. Never wring a wet quilt — the stress on wet fibers can cause permanent damage.
For storage: wrap in acid-free tissue paper and store in a cotton muslin bag or pillowcase — never plastic, which traps moisture. Refold every 3–6 months to prevent permanent crease stress. A linen closet is fine; an attic or basement is not.
Catch problems early. A loose section of binding takes ten minutes to re-stitch. Left alone, it becomes a torn corner that damages the quilt top. Small repairs stay small only if you make them promptly.
Frequently Asked Questions
What is the best batting for a quilt that will last 100 years?
Wool batting — specifically Hobbs Heirloom Wool — is the top choice of museum conservators for heirloom quilts. It’s naturally moisture-wicking, exceptionally durable, and can be quilted up to 4 inches (10cm) apart. 100% cotton batting like Warm & Natural is an excellent runner-up, though it requires slightly denser quilting (2–3 inches apart).
Should I pre-wash quilt fabric before cutting?
Yes, always. Cotton can shrink 3–10% depending on the weave and dye process. If you mix pre-washed and unwashed fabrics in the same quilt, differential shrinkage will permanently pucker it on the first wash. Wash in warm water, dry on medium heat, and press while slightly damp before cutting.
Is polyester thread okay for quilting?
No — not for a quilt you want to last. Polyester thread is stronger than cotton fabric, which means that under stress, the fabric tears rather than the thread breaking. Over 20–30 years, polyester thread will cut through cotton fibers at seam stress points. Use 50-weight, 100% long-staple cotton thread for both piecing and quilting.
How far apart should quilting lines be for a durable quilt?
No more than 2–4 inches (5–10cm) apart for regular use. Beyond 4 inches, batting can shift and break down over time. Antique quilts that have survived 100+ years are often quilted at ½–1 inch intervals. For an heirloom quilt, err on the side of denser quilting.
Does the pattern I choose affect how long a quilt lasts?
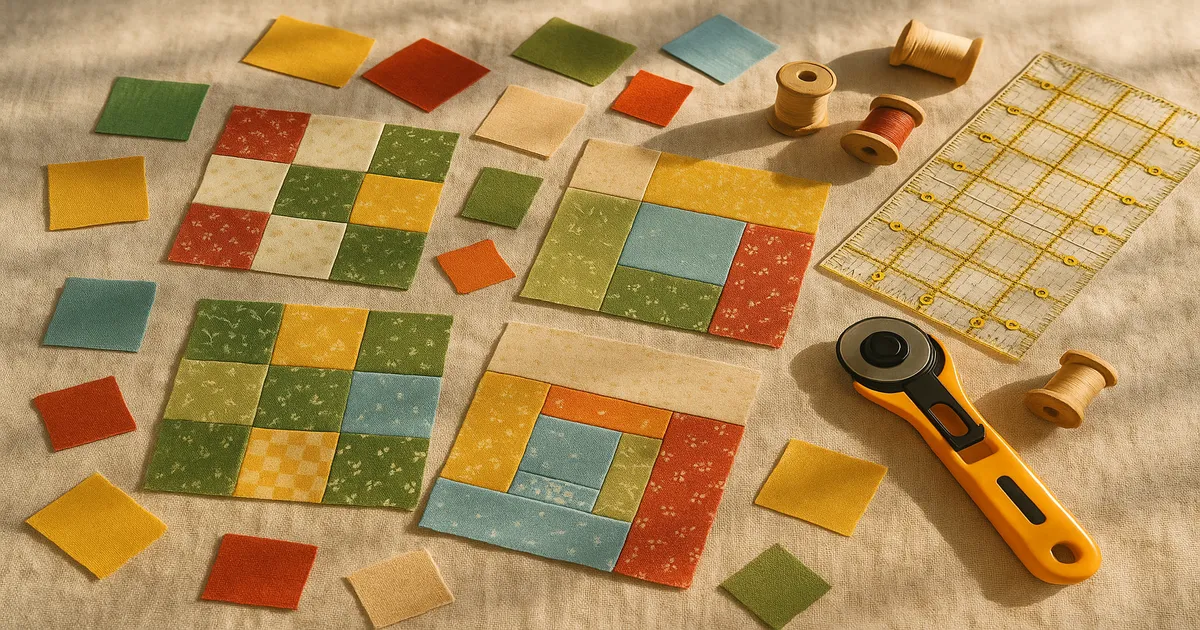
Yes, to a degree. Simpler patterns with fewer seams and intersections — a nine-patch, a rail fence, large half-square triangles — have fewer stress points than complex patterns with hundreds of tiny pieces. That’s not a reason to avoid intricate designs, but it’s worth knowing that construction complexity adds potential failure points.