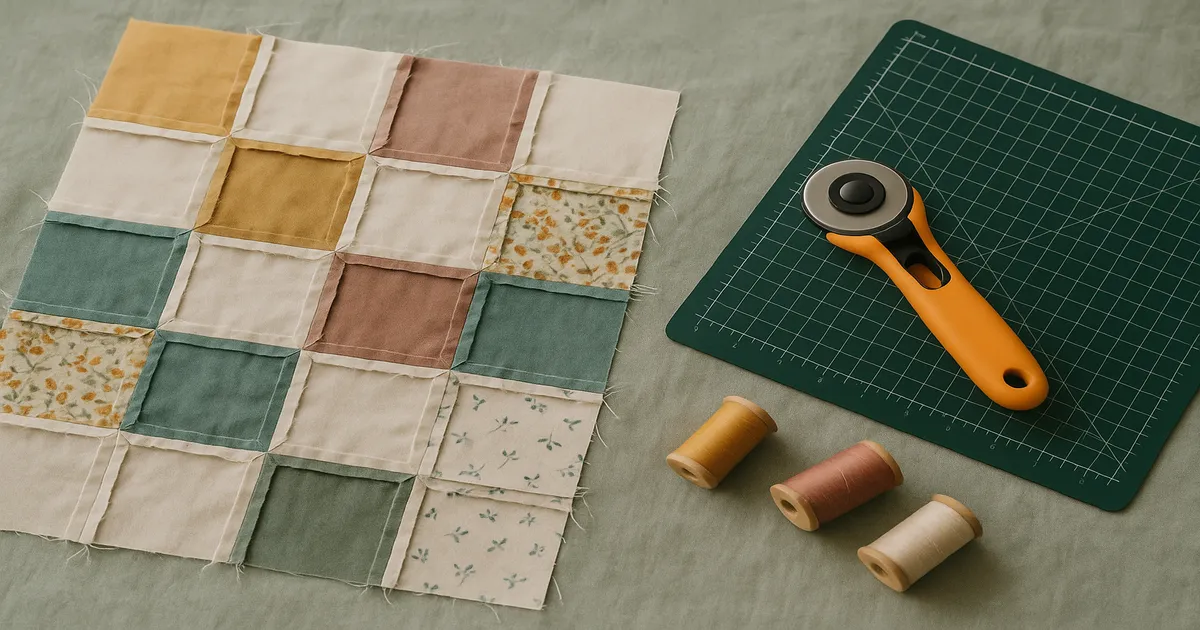
Quick Answer: The most reliable way to stop fraying on the back of a quilt top is to press your seams to one side — this folds one raw edge against the other and dramatically cuts down on unraveling. For extra insurance, especially with flannel, linen blends, or loosely woven fabrics, combine pressing with a zigzag stitch, serging, or a liquid sealant like Fray Check. Quilting density matters too: widely spaced quilting lines leave seam allowances unsupported and vulnerable.
If you’ve ever pulled a quilt out of the wash and found seam allowances dissolving into fuzz, you already know why this matters. It’s not just cosmetic — uncontrolled fraying eats into your ¼-inch (6mm) seam allowances and can eventually blow out the seam itself. Here are six methods that actually work, roughly in order from “do this first” to “bring out the big guns.”
Why the Back of a Quilt Top Frays
The back of a pieced quilt top is a grid of seam allowances, raw edges, and intersections — none of which are ever seen, but all of which need to hold together through years of washing and use. Fraying happens when the warp and weft threads at a cut edge start to unravel. Most quilting cottons are plain-weave fabrics with 60–80 threads per inch, which makes them moderately prone to this at the narrow ¼-inch seam allowance standard in quilting.
Fabrics most prone to fraying, worst to best:
- Flannel — loose, fluffy weave; frays aggressively and almost always needs finishing
- Linen and linen-cotton blends — fray heavily and unpredictably
- Loosely woven homespun and shot cottons — beautiful, structurally treacherous
- Standard quilting cotton — manageable with pressing alone in most cases
- Batiks — tightly woven (often 80–100+ TPI), least prone to fraying
Bias-cut edges are the worst offenders regardless of fabric, because there’s no continuous thread running parallel to the cut. Lots of triangles or curves in your pattern? Fraying control becomes more important, not less.
Fraying is mostly a non-issue in a wall hanging that never gets washed. It’s a real problem in baby quilts, lap quilts, and bed quilts — anything going through the laundry regularly. Open-pressed seams expose both raw edges without any protection, so they need finishing more than side-pressed seams do.
How to Stop Fraying on the Back of a Quilt Top: 6 Methods
Method 1: Press Seams to One Side
This is where to start. It costs nothing extra and handles most fraying situations on its own.
- Sew your seam at ¼ inch (6mm) with a straight stitch set to 2.0–2.5mm (10–12 stitches per inch).
- Set the seam first: with the fabric still folded right sides together, press along the stitching line. This melds thread into fabric and removes puckering.
- Open the top layer and press the seam allowance toward the darker fabric — this prevents shadow-through on the quilt front.
- Flip and confirm the allowance is fully folded to one side on the wrong side.
When you press to one side, the folded allowance physically encases one raw edge against the other. Neither edge is fully exposed. It’s not a perfect seal, but it’s enough to stop casual fraying in most quilting cottons — and it’s why generations of quilters never bothered with anything else.
At intersections, press opposing seams in opposite directions so they nest together. This reduces bulk and keeps the allowances locked in place, which also reduces fraying at those high-stress points.
Method 2: Zigzag Stitch Finishing
If your machine has a zigzag function, you’re already equipped. Set the stitch width to 3.0–4.0mm and the length to 2.5–3.0mm. A 75/11 or 80/12 universal needle works well for standard quilting cotton.
One non-negotiable rule: sew the seam first with a straight stitch, then zigzag the allowance. Never the other way around.
An overcast foot (sometimes called an overlock foot) makes a noticeably cleaner finish than a standard foot — it has a small wire or pin in the center that keeps the fabric edge from curling as you stitch. Position the raw edge so the right swing of the zigzag just clears the fabric.
For everyday quilts in standard cotton, pressing to one side is usually enough. But for quilts that’ll see heavy washing — or if you’re working with flannel or linen — combining both methods gives you real peace of mind without much extra time.
Method 3: Liquid Seam Sealants
Liquid sealants are most useful when you’re pressing seams open and both raw edges are exposed.
- Sew and press the seam open. Let it cool completely.
- Apply a thin, continuous bead of sealant about ⅛ inch (3mm) from the fabric surface along each raw edge.
- Spread with a cotton swab if it beads up.
- Let dry 15–30 minutes before handling.
Fray Check is the most widely available option and works well, but it’s not water-soluble before it dries — so mistakes are permanent. Fray Block is the better choice if you’re worried about that; it washes out cleanly before it’s fully cured.
The main failure mode with any sealant is over-application. Too much wicks into the body of the fabric, stiffens it, and can create visible patches on the quilt front. Always test on a scrap first. Apply less than you think you need.
Method 4: Serging or Overlocking
Serging gives you the cleanest, most durable edge finish — but the order of operations matters. Always sew the seam first at ¼ inch (6mm), then serge the allowance. Serging before piecing lets the knife trim unpredictably and destroys your seam allowance accuracy.
Use a 3-thread overlock stitch for quilt seam allowances. The 4-thread stitch is more secure but adds bulk you don’t want inside a pieced top. Set the serger knife to trim no more than 1/16 inch (1.5mm) off the edge. 40–60 weight polyester cone thread matched to the darker fabric is the right choice here. (Gutermann Mara 120 cone)
Serging is the best method for flannel, linen blends, and any other high-fray fabric. The tradeoff is equipment cost — if you don’t already own a serger, the zigzag method gets you 90% of the way there.
Method 5: Hong Kong Seam Finish
This is the premium option, borrowed from fine dressmaking. It encases each raw seam allowance in a strip of lightweight fabric, leaving zero exposed threads. Time-consuming, yes — but for an heirloom quilt meant to last a hundred years, it’s worth every minute.
- Cut 1-inch (2.5cm) wide bias strips from batiste, lawn, or thin quilting cotton.
- Sew and press the main seam open.
- Fold a bias strip in half, wrong sides together (don’t press — keep it soft).
- Align the raw edges of the folded strip with the raw edge of the seam allowance and stitch ¼ inch (6mm) from the edge.
- Wrap the strip around the raw edge and stitch in the ditch or hand-stitch to secure.
- Repeat on the other allowance.
Method 6: Pre-Washing Your Fabric
Pre-washing is prevention rather than finishing. Wash fabrics in warm water (100°F / 38°C), dry on medium heat, then clip (don’t pull) any frayed threads from the edges before pressing and cutting. The fabric has now done its worst fraying in a controlled environment, and subsequent laundering will produce far less. Combine this with any of the methods above for best results.
Which Method Is Right for Your Quilt?
| Quilt Type | Best Method(s) |
|---|---|
| Baby / everyday lap quilt | Press to one side + zigzag |
| Bed quilt (heavy use) | Press to one side + serge |
| Flannel or linen blend | Pre-wash + zigzag or serge |
| Heirloom / art quilt | Hong Kong finish or liquid sealant |
| Quick project, standard cotton | Press to one side alone |
Tools That Make a Real Difference
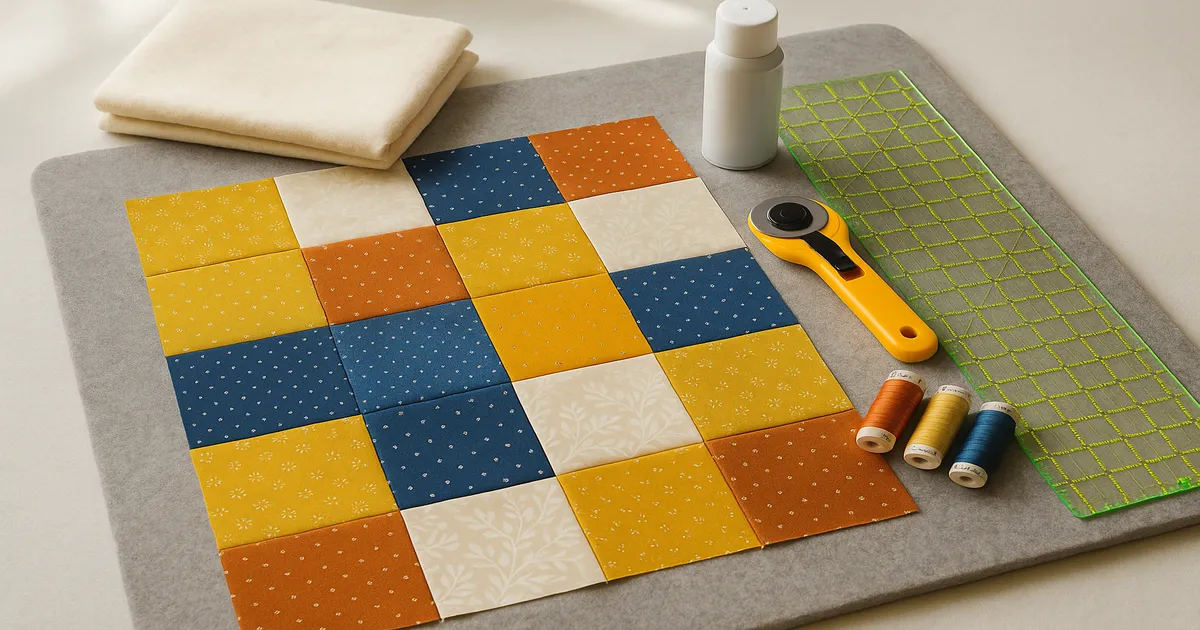
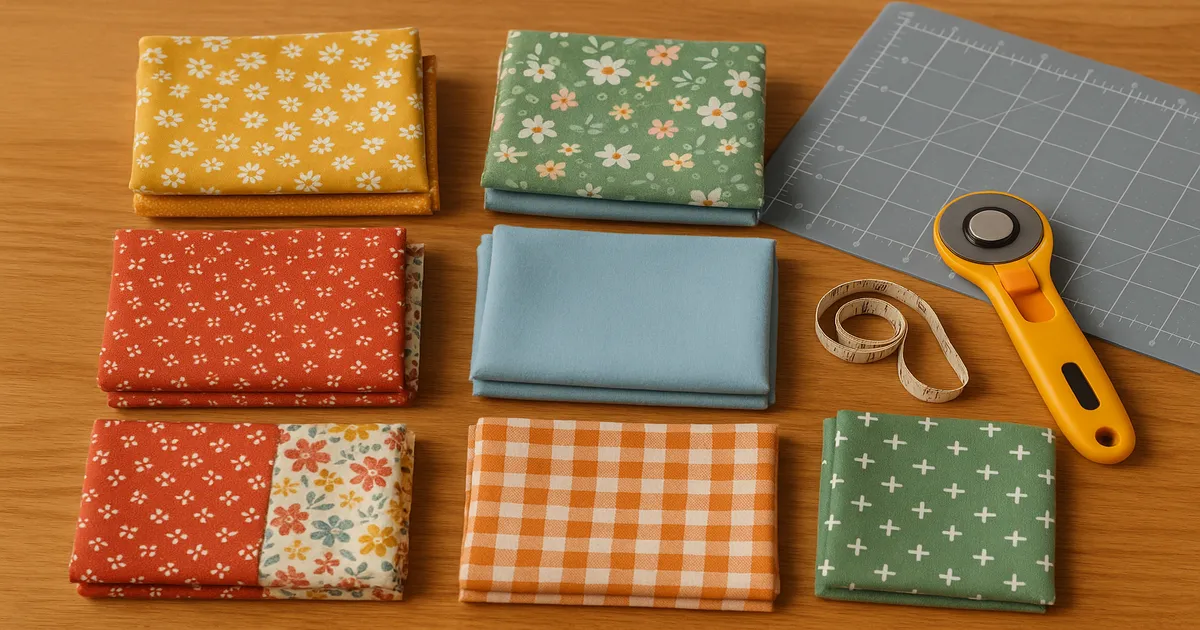
A sharp rotary cutter blade is one of the best fraying-prevention tools you own. Dull blades drag and tear threads rather than cutting cleanly, and a ragged cut edge starts fraying before it ever reaches your machine. Replace blades every 6–8 hours of cutting time — more often than most people do it. Pair with a self-healing cutting mat (minimum 18 × 24 inches / 46 × 61cm) and an acrylic quilting ruler. The Olfa 45mm Rotary Cutter is a reliable workhorse that holds an edge well.
A ¼-inch quilting foot keeps seam allowances accurate and consistent. Fraying into an already-narrow allowance is catastrophic, so accuracy here isn’t optional.
For thread, 50-weight 100% cotton is the standard for piecing — fine seams, minimal bulk. For quilts that’ll take a beating, 40-weight polyester is slightly stronger. Change your needle every 8–10 hours of sewing; a dull needle makes ragged holes that fray faster. Use a 75/11 Microtex needle for batiks — the sharper point pierces the tight weave without deflecting threads.
Spray starch or a starch alternative before cutting is underrated. It stabilizes the fabric and reduces fraying at cut edges, especially on bias pieces.
Mistakes That Make Fraying Worse
Relying on quilting stitches alone. This only works when quilting lines are no more than ½ to ¾ inch (12–19mm) apart. Wider spacing leaves seam allowances completely unsupported.
Applying Fray Check before sewing. It stiffens the fabric, causes uneven feeding, and makes a mess. Always sew first.
Too much liquid sealant. It wicks into the fabric body, stiffens it, and leaves visible patches on the quilt front. Less is more.
Serging before piecing. Ruins seam allowance accuracy. Piece first, always.
Cutting off-grain. Off-grain edges have more bias and fray far more aggressively. Use a ruler and rotary cutter, align the grain carefully, and don’t rush the cutting stage.
Heavy steam on bias edges. Steam stretches bias edges, which worsens fraying and distorts your blocks. Use a dry iron or minimal steam, and support the fabric on a wool pressing mat.
Frequently Asked Questions
Do you need to finish seam allowances on a quilt top?
Not always. For standard quilting cotton in a densely quilted project, pressing seams to one side is usually sufficient. For flannel, linen blends, or any quilt that’ll be washed frequently with low-density quilting, some form of seam finishing is genuinely worth the extra time.
Will quilting stitches stop seam allowances from fraying?
They help, but only if the quilting is dense enough. Lines spaced ½ to ¾ inch (12–19mm) apart do stabilize seam allowances effectively. Wider spacing leaves sections of allowance unsupported, and those sections will fray with washing. Don’t count on sparse quilting to do the job of proper seam finishing.
Is it better to press quilt seams open or to the side to prevent fraying?
Pressing to the side wins for fraying prevention. The folded allowance encases the raw edges against each other, reducing exposure. Open seams lie flatter and reduce bulk at intersections, but both raw edges are fully exposed — so open-pressed seams need additional finishing (a sealant or zigzag) to match the protection you get from side-pressing alone.
Can you use Fray Check on quilt seams without it showing through to the front?
Yes, if you apply it correctly. The key is a thin, controlled bead applied only to the raw edge of the seam allowance — not flooded onto the fabric. Over-application causes wicking, which is what creates visible stiff patches on the quilt front. Always test on a scrap of the same fabric first.
How do you stop flannel quilt seams from fraying?
Flannel needs more aggressive treatment than standard cotton. Use a ½-inch (12mm) seam allowance instead of ¼ inch to give yourself more margin, pre-wash before cutting, and finish the seam allowances with a zigzag stitch or serger. Pressing to one side alone isn’t enough for most flannels — the loose weave just keeps unraveling. Pre-washing combined with serging gives you the most durable result.