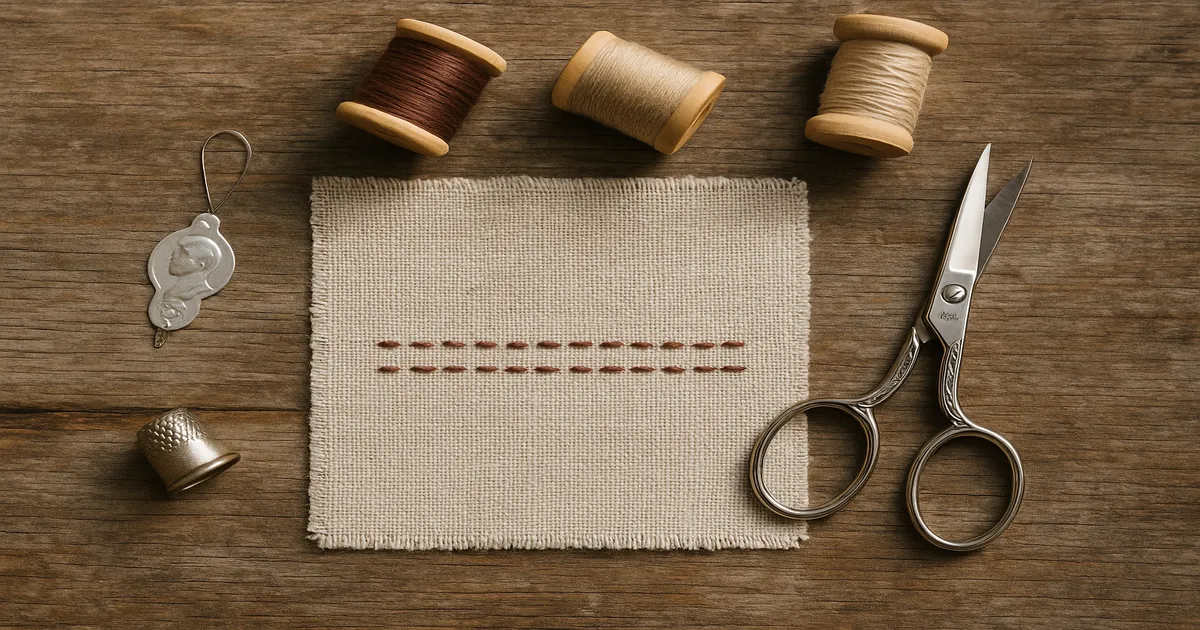
Quick Answer: Cleaner backstitch comes down to three things — consistent stitch length, even thread tension, and re-entering the exact previous hole every single time. Mark your stitch line before you start, wax your thread, and switch to a shorter needle (Betweens are my pick) for better control. If your project needs near-invisible seams or real leather strength, prick stitch or saddle stitch will serve you better than backstitch altogether.
Backstitch is the workhorse of hand sewing, and knowing how to make backstitch cleaner is one of those skills that quietly improves everything you make — garments, embroidery, leather goods, repairs. The stitch itself isn’t complicated. Getting it to look good is where most people hit a wall, and it’s almost never the stitch’s fault. It’s technique, tools, and a handful of habits nobody bothered to mention.
What Makes a Backstitch Actually Clean?
A clean backstitch ticks all five of these boxes:
- Consistent stitch length — every stitch the same size, no exceptions
- Straight line — stitches follow your intended path without wandering
- Even tension — thread lies flat, no puckering on top, no looping underneath
- Flush surface contact — stitches sit against the fabric, not floating above it
- Solid top line — no gaps, no dotted-line effect
Miss any one of these and the whole line looks off, even if the rest is perfect.
Backstitch holds up so well because of how it’s built. Each stitch interlocks with the previous one — the needle re-enters the last hole, so the thread forms a continuous chain on the underside. If one stitch breaks, the rest don’t unravel. It’s the hand-sewn equivalent of a machine straight stitch, and textile conservators have found backstitched seams in Egyptian and Viking textiles that are still holding after thousands of years. That’s not a stitch you want to rush.
Tools That Make a Real Difference
Needle Choice
| Fabric | Needle Type | Size Range |
|---|---|---|
| Quilting cotton, linen, broadcloth | Sharps or Betweens | 7–9 |
| Fine silk or chiffon | Milliner’s/Straw | 10–12 |
| Denim, canvas, heavy layers | Chenille | 18–22 |
| Leather or vinyl | Leather needle | 18–22 |
| Embroidery backstitch | Embroidery/Crewel | 5–9 |
Use Betweens even when you’re not quilting. They’re shorter than Sharps, which gives you noticeably more control over needle angle and stitch placement. Most tutorials default to Sharps, but professional tailors and couture sewists almost universally reach for shorter needles when precision matters. It’s a small switch with a big payoff.
Thread and Why Waxing Isn’t Optional
For seams, 50-weight cotton or polyester is the right call. Aurifil 50wt Cotton Thread works beautifully on natural fiber fabrics; Gutermann Sew-All handles most everything else. For embroidery, use 1–2 strands of floss for fine outlines and up to 6 strands for bold decorative work.
Wax your thread. Every single time. Run it across a block of beeswax — Dritz Beeswax with Holder is the classic, and it works — then press the thread between your fingers to work the wax into the fibers. This reduces friction, prevents tangling, and makes each stitch pull through smoothly. It’s the single habit that separates okay hand stitching from professional-looking hand stitching.
Supporting Tools Worth Having
- Water-soluble fabric marker (Dritz or Clover) for marking stitch lines on light fabrics
- Tailor’s chalk for dark fabrics
- Seam gauge — a 6-inch (15cm) metal ruler with a sliding marker, invaluable for measuring consistent spacing while you’re learning
- Embroidery hoop (4–8 inch / 10–20cm) to keep fabric taut during decorative work
- Thimble — metal for your middle finger, leather for your index if you prefer
- Sharp-pointed scissors for clean thread ends at the finish
How to Do Backstitch Correctly: Step by Step
Setup
Keep your thread to 18 inches (45cm) maximum. Longer lengths tangle, lose tension consistency, and fray at the needle eye. Anchor with a quilter’s knot — wrap the thread around the needle two or three times, then pull the needle through the wraps. This creates a flat, compact anchor that won’t pop through fabric the way a simple overhand knot sometimes does.
Press your fabric before you start. Even a small wrinkle causes stitch drift.
The Core Motion
- Bring the needle up at your starting point (Point A). Pull through until the knot catches on the underside.
- Insert the needle backward — behind Point A by one stitch length. For fine seams, that’s 1/8 inch (3mm). General sewing: 3/16 inch (5mm). Heavy fabrics: 1/4 inch (6mm). This is Point B.
- Bring the needle up ahead of Point A, the same distance forward as you went backward. This is Point C. The spacing must be equal on both sides.
- Insert the needle back into Point A — the exact hole you just came up from. Emerge one stitch length ahead at Point D.
- Repeat. Each stitch fills the gap left by the previous forward movement.
Tension and Finishing
Use a two-step pull: draw the thread almost all the way through, pause to adjust fabric tension with your non-dominant hand, then complete the pull. This stops the fabric from chasing the thread and puckering.
Every 5–6 stitches, do the thumbnail test — press your thumbnail across the stitch line. Stitches that slide are too loose; fabric that bunches is too tight. You want slight resistance without distortion.
To finish, skip the knot on the underside. Take two tiny stitches in the same spot, then pass the needle under those stitches before cutting. It locks the thread flat with no bulk.
How to Make Backstitch Cleaner: Techniques That Actually Work
Mark Your Line First
Draw a light line with a water-soluble marker or tailor’s chalk and stitch directly on it. For curves, trace a template or use a flexible ruler. This one step eliminates wandering lines almost entirely — it’s the lowest-effort, highest-impact fix on this list.
Use a Card Stock Spacer for Consistent Length
Cut a small piece of card stock with a notch at exactly your target stitch length — say, 3/16 inch (5mm). Use it as a spacing guide every few stitches until your muscle memory kicks in. It feels fussy at first. It works.
The Poke-and-Park Method
Insert the needle into the fabric and stop. Park it there while you reposition your grip, then complete the stitch. This prevents fabric from shifting mid-stitch, which is one of the main causes of uneven lines.
Needle Angle Discipline
Keep the needle perpendicular to the fabric when inserting and emerging. Angled needles cause stitches to slant and create a messier underside. After inserting backward, peek at the underside before pulling through — the needle tip should be at a consistent distance from the last stitch every time.
Build a Rhythm
Experienced sewists use a rhythm: in-back, through-forward, pull — like a metronome. Set a deliberate pace and stick to it. Speed comes with repetition, but rhythm has to be intentional from the start. Stitching to music around 60–80 BPM sounds silly until you try it.
Common Mistakes and How to Fix Them
Inconsistent stitch length. Almost always means no reference point and too much rushing. Mark your line and use the card stock spacer. Slow down until the spacing becomes automatic.
Dotted-line effect on the top surface. You’re not re-entering the correct hole. Before each backward insertion, look back and identify the exact hole of the last stitch. Use a magnifier on fine fabric — there’s no shame in it.
Puckering or looping. Usually a thread-length or grip problem. Limit thread to 18 inches (45cm), hold the fabric taut with your non-dominant hand, and use the two-step pull on every stitch.
Stitches slanting. Practice on grid-printed cloth and consciously keep the needle at 90 degrees. Wrist rotation during insertion is the culprit — once you’re aware of it, it’s easy to correct.
Thread twisting and tangling. Every four or five stitches, let the needle hang freely so the thread can untwist on its own. Wax your thread. Keep it under 18 inches (45cm). These three things together eliminate most tangling.
Skipping stabilizer on delicate fabrics. Loosely woven linen, gauze, or muslin can’t support backstitch tension without help. Hoop the fabric for embroidery, or baste a piece of lightweight tear-away stabilizer to the underside before stitching garment seams.
Backstitch Alternatives Worth Knowing
Sometimes backstitch isn’t the right tool. Here’s what to reach for instead.
| Stitch | Best For | Stretch? | Strength |
|---|---|---|---|
| Backstitch | General seams, embroidery outlines | No | High |
| Prick stitch | Invisible seams, zipper insertion | No | Medium-High |
| Saddle stitch | Leather, heavy canvas | No | Very High |
| Running stitch | Basting, gathering only | No | Low |
| Catch stitch | Knit hems, interfacing | Yes | Medium |
| Slip stitch | Invisible hems, lining attachment | No | Low-Medium |
Prick stitch uses the same backward-insertion motion as backstitch, but the needle re-enters only 1–2 fabric threads back. This leaves almost nothing visible on the right side — just a tiny prick mark every 1/4 inch (6mm) or so. It’s the couture standard for hand-set zippers, and once you’ve seen it done well, you’ll understand why tailors bother.
Saddle stitch is what you want for leather and heavy canvas. Pre-punch your holes with a stitching awl and use waxed linen thread. The two-thread construction means if one thread breaks, the other holds the seam — it’s genuinely hard to beat for durability.
Catch stitch is the go-to for knit hems because it has actual give. Backstitch on a knit seam will snap the moment the fabric is pulled — don’t do it.
Half backstitch is worth a mention for curved seams. The needle re-enters only halfway back — typically 1/4 inch (6mm) forward, 1/8 inch (3mm) back — which gives the seam a small amount of stretch and makes it better suited to curves or fabrics with minimal give.
Frequently Asked Questions
Why does my backstitch have gaps or look uneven?
Gaps almost always mean you’re not re-entering the exact previous hole — the needle is landing slightly off each time. Look back at the last stitch hole before inserting the needle, every single time. Inconsistent length is usually a rushing problem; slow down and use a chalk line or spacing guide until your eye calibrates.
What’s the difference between backstitch and prick stitch?
Both use the same backward-insertion motion, but prick stitch re-enters only 1–2 fabric threads back instead of a full stitch length. The result is nearly invisible on the right side — just a tiny prick mark every 1/4 inch (6mm) or so. It’s slower, but it’s the right choice when invisibility matters more than speed.
Can I use backstitch on stretchy or knit fabric?
No — not as a structural stitch. Backstitch has no stretch, so it’ll snap the moment a knit seam is pulled. Use catch stitch for hems on knits, and for seams on stretch fabric, use a machine stretch stitch or a hand whip stitch with some slack built in.
How do I stop my thread from twisting and tangling?
Three things: wax your thread with beeswax or Thread Heaven, keep your thread length to 18 inches (45cm) maximum, and every four or five stitches, let the needle hang free so the thread can untwist naturally. Thread twists as you sew — that’s just physics — so you have to manage it actively.
What’s the strongest hand-sewing stitch for seams?
For fabric, backstitch is the strongest hand-sewn seam stitch. For leather and heavy canvas, saddle stitch edges it out — the two-thread construction means if one thread breaks, the other holds the seam together. Waxed linen thread on pre-punched holes is genuinely hard to beat for durability.