Quick Answer: The single most important factor in garment embroidery is fabric selection. Look for 100% cotton or a cotton-poly blend at 170 GSM or higher, with a tight, stable weave or knit structure. Purpose-made wearable blanks — garments built specifically to accept embroidery — will give you far more predictable results than pulling something off a retail rack.
Knowing how to pick high-quality clothing to embroider is the skill that separates frustrating projects from ones that actually look professional. A garment can look great on a hanger and completely fall apart under an embroidery needle — puckering, distorting, or taking permanent needle-hole damage that no technique will fix. The good news is that once you know what to look for, evaluating a garment takes about two minutes.
What Makes a Garment Embroidery-Ready?
Three things matter most: fiber content, fabric weight, and construction quality.
A dense embroidery design can contain anywhere from 3,000 to 15,000+ stitches. All those needle penetrations, combined with thread tension pulling in multiple directions, add real structural stress to the fabric. It has to handle that without warping. Fabrics that are too thin, too stretchy, or too loosely woven simply can’t — and no amount of clever stabilizing will fully compensate.
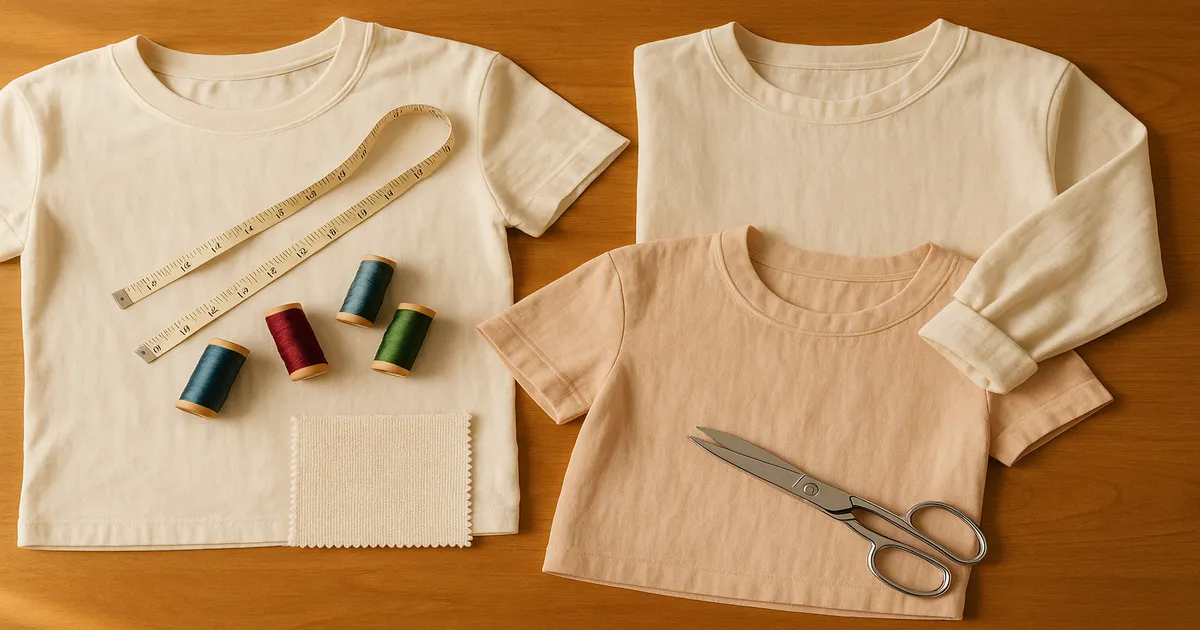
Wearable blanks are worth understanding here. These are garments manufactured specifically for decoration, with tighter weaves, reinforced stress points, and consistent GSM ratings. Brands like Gildan, Bella+Canvas, Port Authority, and Comfort Colors all make them. Standard retail clothing varies wildly in construction — sometimes even within the same brand’s product line. If you’re doing machine embroidery especially, blanks give you a known quantity to work with, and they’re usually cheaper per unit too.
Step 1 — Check the Fiber Content First
The care label is your first stop. That little tag tells you exactly how the fabric will behave under a needle.
Best Fibers for Embroidery
- 100% cotton is the gold standard. It accepts needle penetration cleanly, holds stabilizer well, and doesn’t distort under thread tension. For woven garments, look for at least 60 threads per inch.
- Cotton-polyester blends (60/40 or 50/50) are excellent alternatives — durable, colorfast, and very embroidery-friendly. The slight reduction in absorbency barely affects stabilizer adhesion in practice.
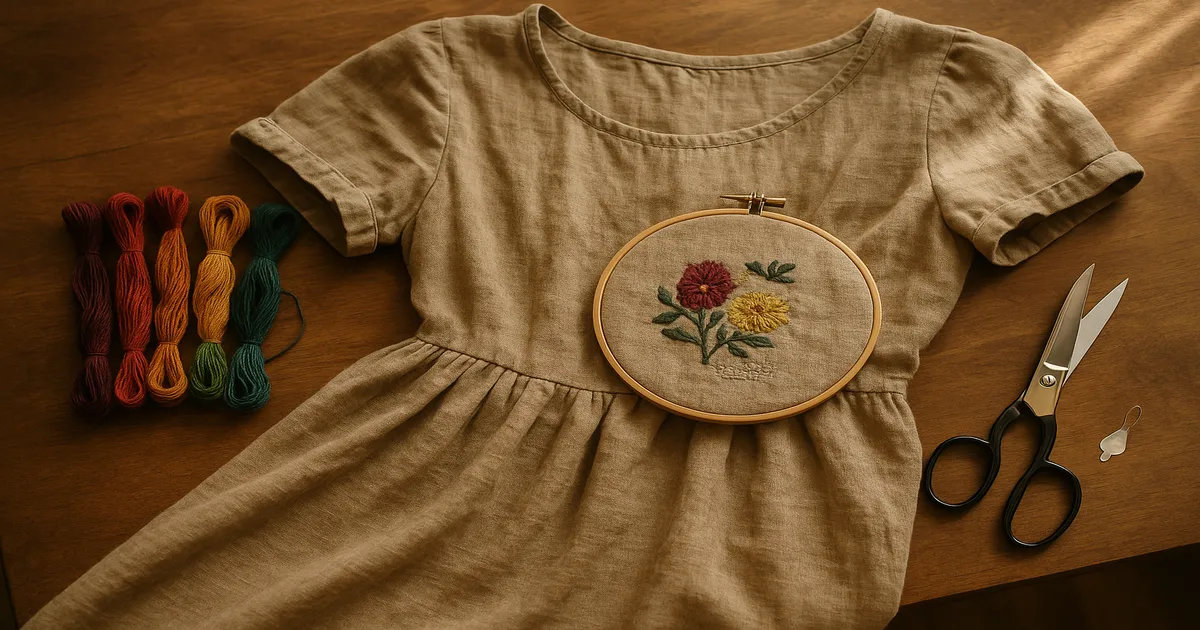
- Linen and linen blends give beautiful results, especially for botanical or heirloom designs. Pair with a size 80/12 needle and tear-away stabilizer.
- Wool and wool blends work well on structured pieces like jackets and caps. The natural fiber crimp grips thread beautifully — go up to a size 90/14 needle.
Fibers to Approach with Caution
Rayon, silk, and bamboo blends drape beautifully, but they’re prone to distortion under tension. Silk in particular demands a very fine needle (size 60/8 or 65/9), a low-stitch-density design, and a genuinely light touch. I wouldn’t put any of these on a first embroidery project — save them for when you’re confident in your technique.
Fibers to Avoid as a Beginner
- High-stretch fabrics with more than 5% elastane — They require specialized stretch stabilizers and real experience to prevent puckering.
- Velvet, velour, and pile fabrics — The hoop crushes the pile and needle paths become unpredictable.
- Sheers (chiffon, organza) — Needle holes are visible outside the design area, and stabilizer removal is a nightmare.
- Waterproof or coated fabrics — Needle holes are permanent, and the coating blocks stabilizer adhesion entirely.
Step 2 — Assess Fabric Weight (GSM and oz/yd²)
GSM and oz/yd² are the most reliable indicators of whether a garment can actually support embroidery. Here’s what to aim for by garment type:
| Garment Type | Ideal Weight (oz/yd²) | GSM Equivalent |
|---|---|---|
| T-shirts (hand embroidery) | 5.0–6.5 | 170–220 GSM |
| T-shirts (machine embroidery) | 6.0–7.5 | 200–255 GSM |
| Polo shirts | 6.5–8.0 | 220–270 GSM |
| Sweatshirts/hoodies | 8.0–12.0 | 270–400 GSM |
| Denim jackets | 10.0–14.5 | 340–490 GSM |
| Canvas tote bags | 10.0–16.0 | 340–540 GSM |
Fabrics under 150 GSM will struggle to support machine embroidery thread tension without significant stabilization. You can make them work, but you’re fighting the material the whole way.
The Light Test and Pinch Test
If you’re shopping in person and the label doesn’t list GSM, these two quick checks tell you a lot:
Light test: Hold the fabric up to a window or bright light. If you can clearly see your hand through it, the fabric is too thin for machine embroidery without heavy stabilization.
Pinch test: Pinch a small section between your thumb and forefinger, hold for a second, then release. Good embroidery-ready fabric springs back with minimal wrinkling. If it stays creased or feels papery, keep looking.
Step 3 — Evaluate the Weave or Knit Structure
Woven fabrics — denim, canvas, twill, Oxford cloth — have a stable grid structure that resists distortion. They’re genuinely easier to embroider and a better starting point if you’re new to garment work.
Knit fabrics (jersey T-shirts, sweatshirts, fleece) have interlocking loops that stretch in multiple directions. They’re absolutely embroiderable, but they need stabilizer to keep the design from pulling and warping. To tell them apart: pull the fabric in both directions. Woven fabric barely stretches on the straight grain. Knit fabric gives noticeably in at least one direction.
2-way vs. 4-way stretch matters more than most people realize. Two-way stretch (one direction only) is manageable with a cutaway stabilizer. Four-way stretch — athletic wear, most spandex blends — requires specialized stabilizer and experience. Not a beginner project.
To check weave tightness, use the light test again. Hold the fabric up to a bright source and look at the weave itself. You shouldn’t be able to see individual holes between the threads. Visible gaps mean a loose weave with poor structural integrity for embroidery.
Step 4 — Check Construction Quality and Plan Your Placement
Seams, Stitch Count, and Pre-Shrinking
Quality garments use 5/8-inch (16mm) seam allowances on major seams. Narrow allowances are a sign of cost-cutting that usually extends to the fabric itself. Check the seam stitching — 10 to 12 stitches per inch (SPI) is a solid quality baseline. Fewer than that, and the construction is suspect throughout.
If the garment isn’t labeled pre-shrunk, wash and dry it before embroidering. Even 3–5% shrinkage after the fact will distort a finished design. This step is non-negotiable.
Standard Placement Dimensions
- Left chest logo: 3.5–4 inches (89–102mm) wide maximum
- Center chest: up to 12 inches (305mm) wide
- Upper back: up to 14 inches (356mm) wide
- Sleeve cap: 2.5–3.5 inches (64–89mm) wide — curvature limits your space
Avoid placing designs over seams where possible. Embroidering over seams is doable, but it increases needle breakage risk significantly. The embroidery area also needs at least 1 inch (25mm) of fabric extending beyond the hoop frame on all sides — if the placement zone sits too close to a seam, cuff, or finished edge, you’ll have trouble hooping cleanly.
How to Pick High-Quality Clothing to Embroider: Recommended Blanks, Stabilizers, and Needles
Best Beginner-Friendly Garment Blanks
- Gildan 5000 Heavy Cotton T-Shirt — 5.3 oz/yd² (180 GSM), 100% cotton, affordable, and widely available. A solid practice blank.
- Gildan 18000 Heavy Blend Crewneck Sweatshirt — 8.0 oz/yd² (271 GSM), 50/50 cotton-poly. Excellent for machine embroidery.
- Port Authority K500 Polo — 65/35 poly-cotton piqué, 6.0 oz/yd² (203 GSM). The industry standard for corporate embroidery work.
- Comfort Colors 1717 — 6.1 oz/yd² (207 GSM), garment-dyed cotton with great weight and texture.
- Bella+Canvas 3001 — Popular, but at 4.2 oz/yd² (145 GSM) it’s on the lighter end. Use a cutaway stabilizer and keep designs under 8,000 stitches.
Choosing the Right Stabilizer
- Cutaway stabilizer — Stays in the garment permanently. Best for knits and anything with stretch. Use 2.0–2.5 oz weight for most garments.
- Tear-away stabilizer — Removed after stitching. Best for woven fabrics with stable structure. Use 1.5–2.0 oz weight for medium-weight wovens.
- Wash-away (water-soluble) stabilizer — Dissolves in water. Used as a topping on textured fabrics like fleece or terry cloth to keep stitches from sinking into the pile.
Matching Needle Size to Fabric
| Fabric Type | Needle Type | Size |
|---|---|---|
| Lightweight cotton (T-shirts) | Embroidery or ballpoint | 75/11 |
| Medium-weight cotton/poly | Embroidery | 80/12 |
| Denim/canvas | Denim/jeans needle | 90/14 or 100/16 |
| Knits/stretch fabrics | Ballpoint or stretch | 75/11 or 80/12 |
| Silk/delicate fabrics | Microtex/sharp | 60/8 or 65/9 |
Common Mistakes When Choosing Clothing to Embroider
Going too lightweight. Anything under 150 GSM will struggle under machine embroidery tension. You’ll get puckering around the design that no amount of re-hooping will fix. If you’re set on a lighter garment, use a cutaway stabilizer and keep the stitch count low.
Skipping the pre-wash. Post-embroidery shrinkage is a real problem. Even 3–5% can visibly warp a finished design. Wash it, dry it, then embroider. Ten minutes of planning saves a lot of heartbreak.
Underestimating stretch content. A garment that feels sturdy on the shelf can behave completely differently once it’s under tension in a hoop. Always check the fiber content label — don’t just go by feel.
Not doing a test stitch-out. This is the mistake I see most often, and it’s the one that costs people the most. Always run your design on a swatch — or at minimum on a similar scrap — before embroidering the actual garment. Look for puckering, thread breakage, design distortion, and any visible needle holes outside the design area. A five-minute test can save a thirty-dollar shirt.
Frequently Asked Questions
What is the best fabric for machine embroidery on clothing?
100% cotton or a 60/40 cotton-polyester blend at 170 GSM or higher is your best starting point. These fabrics accept needle penetration cleanly, hold stabilizer well, and don’t distort under thread tension. For beginners, a mid-weight cotton blank like the Gildan 5000 or Comfort Colors 1717 is hard to beat.
Can you embroider on stretchy fabric like jersey or spandex?
Yes, but it requires a cutaway stabilizer and some experience. Standard jersey (2-way stretch) is manageable with the right stabilizer and needle. High-stretch spandex blends with more than 5% elastane — and anything with 4-way stretch — are genuinely difficult and not recommended until you’re comfortable with the basics.
What GSM should a T-shirt be for embroidery?
For hand embroidery, 170–220 GSM works well. Machine embroidery puts more stress on the fabric, so aim for 200–255 GSM. Lighter shirts can be used with heavy stabilization and low stitch counts, but they’re working against you from the start.
What is a wearable blank and where can I buy one?
A wearable blank is a garment manufactured specifically to accept embroidery or other decoration — built with consistent fabric weight, tighter construction, and reinforced stress points. Brands like Gildan, Bella+Canvas, Port Authority, and Comfort Colors produce them. You can order through wholesale suppliers like S&S Activewear, SanMar, or alphabroder, or in smaller quantities through Amazon.
Do you need to wash a garment before embroidering it?
If it’s not labeled pre-shrunk, yes — always. Natural fibers like cotton can shrink 3–5% in the first wash. Embroider first and then the garment shrinks, and the design will pucker and distort in ways you can’t fix. Wash it, dry it, then embroider.