Quick Answer: Embroidery machine tangling — that messy bird’s nest on the underside of your fabric — almost always comes down to one of four things: incorrect upper threading (especially with the presser foot up), a bobbin problem, a tension imbalance, or a bad needle. The fix is usually systematic and takes under five minutes. Because modern machines run at 400–1,200 stitches per minute, even a tiny threading error can create dozens of tangled stitches before you notice anything’s wrong.
If you’ve ever stared at a rat’s nest of thread under your hoop wondering why your embroidery machine is tangling, you’re in very good company — it’s the most common complaint at every skill level, from first-timers to people who’ve been embroidering for decades. The good news: the cause is almost always something simple. Let’s work through it systematically.
What Is a Bird’s Nest and Why Does It Happen?
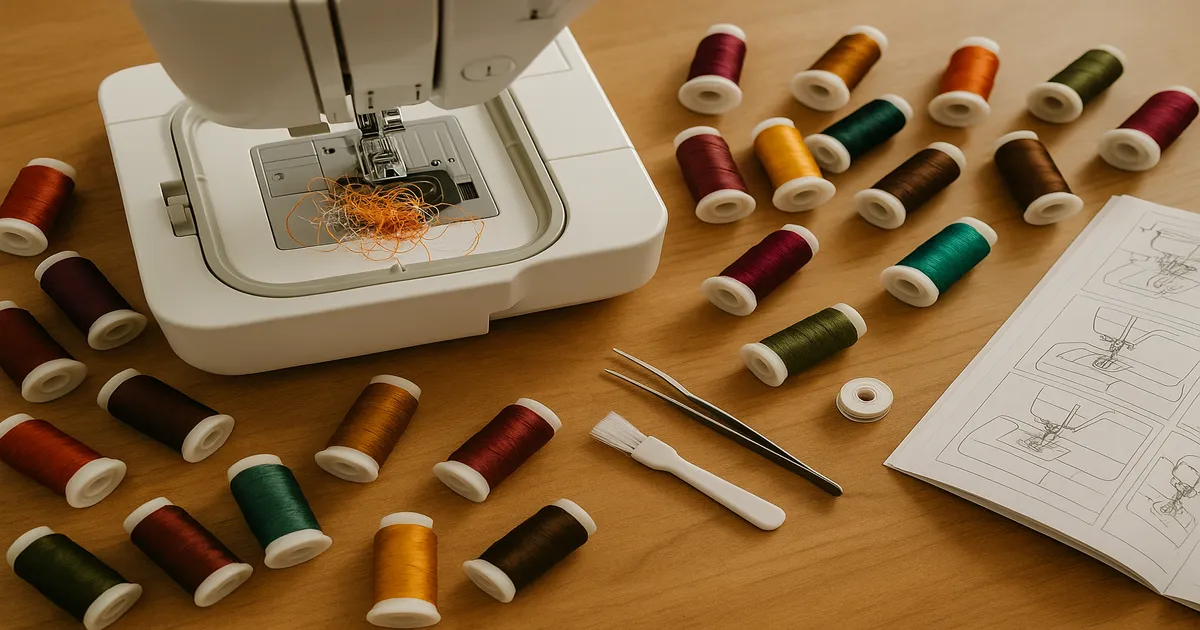
Every embroidery machine uses two threads: an upper thread through the needle and a lower thread from the bobbin. On each stitch, the needle punches down through the fabric, forms a small loop of upper thread below the needle plate, and the hook catches that loop and wraps it around the bobbin thread. When everything’s working, those two threads lock together neatly inside the fabric layers.
When something disrupts that loop — wrong tension, a missed thread guide, a slightly bent needle — the hook either misses it entirely or catches it at the wrong angle. The upper thread keeps feeding, has nowhere to go, and piles up underneath. That’s your bird’s nest.
Any of these will break the loop:
- Upper thread not seated in the tension discs (almost always because the presser foot was up during threading)
- Bobbin inserted in the wrong direction or wound unevenly
- A needle that’s bent, dull, or seated too low in the clamp
- Fabric shifting in the hoop, moving the needle’s entry point relative to the hook
A quick note on hook types: Most modern home embroidery machines use a rotary hook, which spins continuously in one direction and is fairly forgiving of minor tension variations. Older machines often use an oscillating hook that rocks back and forth — these are more sensitive to threading errors and need more precise setup. If you’re on an older machine and tangling constantly, that context matters.
Step-by-Step: How to Fix Embroidery Machine Tangling
Step 1: Stop Immediately
The moment you hear the machine struggling or see thread bunching, stop. Cut the power if you need to. Stitching through a bird’s nest can bend the needle, damage hook timing, or jam the bobbin case — turning a two-minute fix into a service call. Use small embroidery scissors to cut the tangled thread away rather than pulling on it.
Step 2: Re-Thread the Upper Thread — Completely
This is where most tangling problems live. Re-threading halfway doesn’t count. Pull the thread completely off the machine — spool and all — and start fresh.
The single most important rule: the presser foot must be down when you thread. When the foot is up, the tension discs are open and the thread slides through without seating. You’ll think you’ve threaded correctly, but there’s no tension on the thread at all. Lower the foot first, every single time. I cannot stress this enough.
Follow your machine’s numbered thread path in exact sequence, seat the thread in the take-up lever, and thread the needle front-to-back (on most machines — check your manual if you’re unsure).
Step 3: Check and Re-Insert the Bobbin
Remove the bobbin and bobbin case entirely. Check that:
- The bobbin is wound evenly and tightly, filled to no more than 80–85% capacity
- There are no nicks or burrs on the bobbin
- The thread feeds in the correct direction — usually counterclockwise on home machines
- The thread clicks into the tension slot and you feel slight, consistent resistance when you pull it
Pre-wound bobbins are worth using while you’re troubleshooting — they eliminate most bobbin-related variables right off the bat. Fil-Tec Magna-Glide pre-wound bobbins are a reliable option and widely available.
Also: bobbins are not universal. Class 15, L-style, and M-style bobbins look similar but are not interchangeable. Using the wrong bobbin type for your machine is a surprisingly common cause of tension problems.
Step 4: Test and Adjust Thread Tension
Run a test stitch on a scrap of the same fabric and stabilizer you’re using for your project. Flip it over and read the underside:
- Upper thread visible on the back = upper tension too tight, or bobbin too loose
- Bobbin thread pulling to the top = upper tension too loose, or bobbin too tight
- Loops piling up underneath = classic bird’s nest; upper thread almost certainly not seated in the tension discs
Adjust upper tension in increments of 0.5 on a digital scale and re-test each time. Change one thing at a time — otherwise you’ll never know what actually fixed it.
Step 5: Inspect and Replace the Needle
Pull the needle and look at it closely, ideally under a magnifying glass. A needle that’s even slightly bent will deflect on the downstroke and miss the hook’s timing window. If there’s any doubt, replace it. Needles are cheap.
Push the new needle all the way up into the clamp until it stops, then tighten. A needle seated even 1mm too low causes timing problems and tangling. Replace your needle every 4–6 hours of stitching time — set a phone reminder if you need to.
Step 6: Check Your Hooping and Stabilizer
Fabric that shifts even slightly during stitching can cause the needle to miss the hook. When you tap the hooped fabric, it should feel like a drum — firm, with zero give. The inner ring should sit flush with or just slightly below the surface of the outer ring.
If you’re working on a design with more than 10,000 stitches on a lightweight fabric, a single layer of stabilizer probably isn’t enough. Double up.
Step 7: Clean the Bobbin Area and Hook Race
Remove the needle plate and use a soft lint brush — never compressed air, which pushes lint deeper into the mechanism — to clean the hook race, bobbin area, and feed dogs. One session of dense embroidery deposits a surprising amount of lint. If your machine’s manual calls for oiling, add one drop of sewing machine oil (Liberty Oil) to the hook race only.
Step 8: Run a Test at Reduced Speed
Before resuming your project, set the machine to 50–60% of maximum speed and run a test design. Confirm clean stitch formation on both sides before gradually increasing speed.
Thread, Needles, and Stabilizers: Getting the Materials Right
Thread Types and Their Tangling Risk
| Thread Type | Weight | Tangling Risk |
|---|---|---|
| Polyester embroidery | 40 wt | Low |
| Rayon embroidery | 40 wt | Medium (slippery) |
| Cotton embroidery | 30–40 wt | Low–Medium |
| Metallic | 40 wt | High |
| Pre-wound bobbin (polyester) | 60 wt | Low |
40-weight polyester is the workhorse of machine embroidery — consistent, low-stretch, and forgiving. Madeira Polyneon 40wt is a solid go-to. Rayon looks gorgeous but is slippery enough to slip out of guides; always use a thread net over the spool. Metallic thread is a whole protocol unto itself (see the Pro Tips section below).
Choosing the Right Needle
Use a standard embroidery needle (130/705H-E) for most 40-weight thread — the elongated eye protects thread from friction. For metallic thread, you need a metallic needle (130/705H-MET) with its larger, Teflon-coated groove. Using a standard needle with metallic thread is one of the fastest ways to create a bird’s nest.
Size by fabric:
- 75/11 — lightweight fabrics like organza or batiste
- 80/12 — quilting cotton, fleece, standard medium-weight fabrics
- 90/14 — denim, canvas, toweling
Matching Stabilizer to Your Project
Cut-away stabilizer is the right call for anything stretchy — it stays permanently attached and keeps the fabric from distorting. Tear-away works well on stable woven fabrics. For pile fabrics like velvet and terry cloth, water-soluble topping keeps stitches from sinking into the pile and creating the drag that causes tangling.
The mistake I see most often: grabbing whatever stabilizer is already on the table regardless of the design. If your design is over 10,000 stitches, match the stabilizer weight to the load.
Pro Tips to Prevent Embroidery Machine Tangling
Lower the presser foot before you touch the thread. Do it before you even reach for the spool. Make it muscle memory. This one habit prevents the most common cause of bird’s nests.
Use the bobbin drop test. After inserting the bobbin, hold the thread end and gently bounce the bobbin case. It should drop slowly — about 1–2 inches per bounce under its own weight. Drops freely? Tension too loose. Doesn’t move? Too tight. Faster and more intuitive than any gauge.
Re-thread at the start of every session. Even if you didn’t change the thread. Thread can slip out of guides or loosen in the tension discs overnight. This one habit eliminates a surprising number of problems.
Always run a scrap sandwich test. At least 50 stitches on the exact same fabric and stabilizer before starting your actual project. Check the underside. Non-negotiable for any new fabric and thread combination.
Special protocol for metallic threads:
- Slow the machine to 40–50% speed
- Use a metallic needle — Schmetz 130/705H-MET is the standard
- Apply a thread lubricant like Dritz Sewer’s Aid directly to the thread
- Place the spool horizontally on the machine rather than upright on the spool pin
That horizontal placement alone dramatically reduces metallic thread breakage. It’s not intuitive, but it works.
Clean the bobbin area every bobbin change — not just when you can see lint. Dense embroidery deposits enough lint in a single session to affect hook timing. A quick brush-out takes thirty seconds.
Listen to your machine. A subtle change in pitch or a slight thwacking sound often precedes a bird’s nest by 10–15 stitches. If something sounds off, stop and check before the tangle happens.
Frequently Asked Questions About Embroidery Machine Tangling
Why does my embroidery machine keep making a bird’s nest underneath the fabric?
A bird’s nest forms when the upper thread isn’t interlocking correctly with the bobbin thread — almost always because the thread isn’t seated in the tension discs. The most common cause is threading with the presser foot up. Re-thread completely with the foot down, check your bobbin direction, and run a test stitch on scrap fabric before continuing.
Why is my embroidery machine tangling at the very start of every design?
Tangling at the start almost always means the bobbin thread wasn’t brought up to the surface before beginning, or the thread tail wasn’t held during the first few stitches. Lower and raise the needle once before starting to bring the bobbin thread up, then hold both thread tails for the first 5–6 stitches.
How do I fix thread bunching on the underside of my embroidery?
Cut the tangled thread away carefully with embroidery scissors — don’t pull. Re-thread the upper thread completely with the presser foot down, confirm the bobbin is inserted in the correct direction, and run a tension test on scrap fabric. Read the underside of the test stitch to determine whether you need to adjust upper or bobbin tension.
Why does my embroidery machine only tangle when I use metallic thread?
Metallic thread is twisted and stiffer than standard embroidery thread, which creates more friction through the needle eye and guides — especially with a standard needle. You need a metallic needle, the machine slowed to 40–50% speed, thread lubricant on the thread, and the spool placed horizontally. All four changes together make a dramatic difference; doing just one or two usually isn’t enough.
Could a digitizing problem cause my embroidery machine to tangle?
Yes, and it’s an underrated cause. Poorly digitized designs with excessive stitch density create so much thread buildup that even a perfectly set-up machine will struggle. If you’re using a free design file and tangling persists after fixing your threading and tension, open the file in digitizing software — Wilcom, Hatch, or Embrilliance — and check the stitch density. Reducing density or adding proper underlay often solves it.