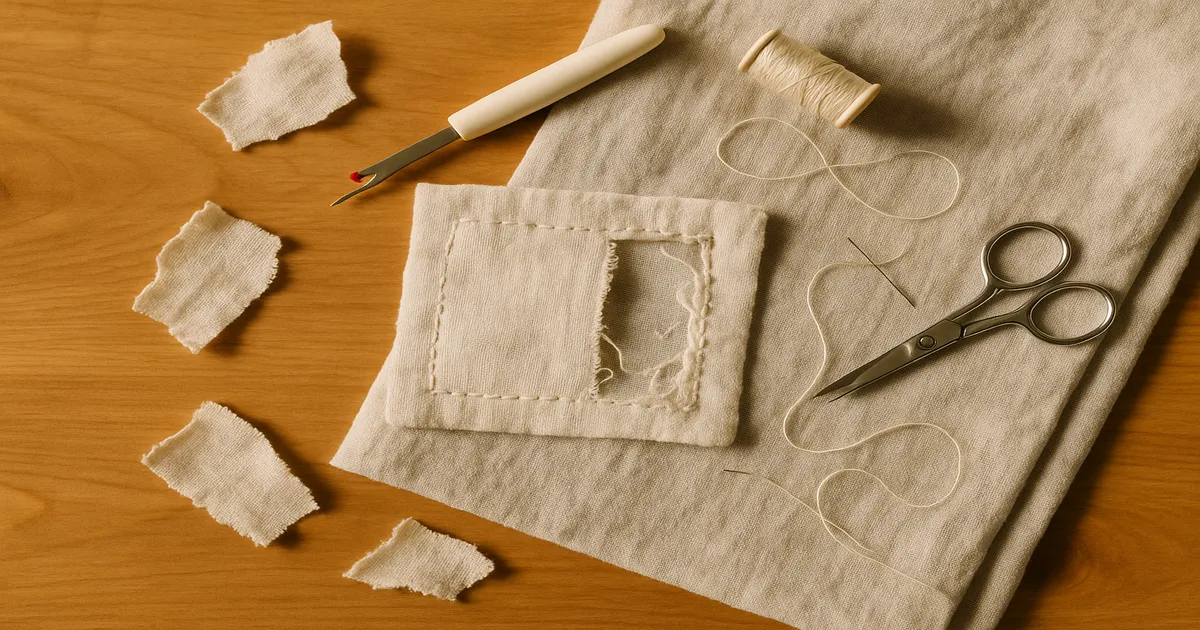
Quick Answer: Yes — removing a patch is almost always possible. Sewn-on patches come off with a seam ripper and patience; iron-on patches release with heat; the dreaded combination of both requires tackling the stitching first, then the adhesive. Most woven fabrics like denim recover beautifully. Silk and chiffon? That’s a different conversation entirely.
So you’ve got a patch that needs to come off. Maybe it’s a scout badge that’s been on the vest for three years, a placement mistake you caught five minutes after ironing, or a vintage jacket you’re trying to restore. Whatever the reason, the question “is it possible to take this patch off?” has a genuinely reassuring answer: almost certainly yes.
That said, “possible” and “invisible” aren’t the same thing. How clean the removal goes depends on three things — how the patch was attached (sewn, iron-on, or both), what fabric it’s on, and how long it’s been there. Denim is your best-case scenario. Silk is your worst. This guide covers all three attachment methods so you can figure out exactly what you’re dealing with and handle it without wrecking the garment.
Can You Remove a Patch Without Damaging the Fabric?
Removal is straightforward when you’re working with a single attachment method on a sturdy woven fabric like denim, canvas, or twill. A recently applied iron-on patch on a cotton jacket often peels away cleanly and leaves minimal residue. A machine-stitched patch on denim will show needle holes afterward, but steam closes most of them.
Things get harder when patches have been on for years — adhesive cures over time and gets more stubborn — or when the fabric is delicate. The iron-on-plus-sewn combination used on most scout badges, military insignia, and uniform emblems is the trickiest scenario. Loosely woven fabrics may show permanent needle holes. Silk and chiffon can be permanently damaged by the needle holes alone, so if that’s what you’re working with, skip straight to the section on professional tailors before you touch anything.
Types of Patches and How They’re Attached
Sewn-on patches are stitched around the perimeter by hand or machine. The most common stitches are straight stitch, zigzag, and satin stitch borders. Satin stitch — that dense, smooth embroidered edge on quality patches — is the most time-consuming to remove because the thread is layered three to four deep. Standard straight-stitch attachment is the fastest to deal with.
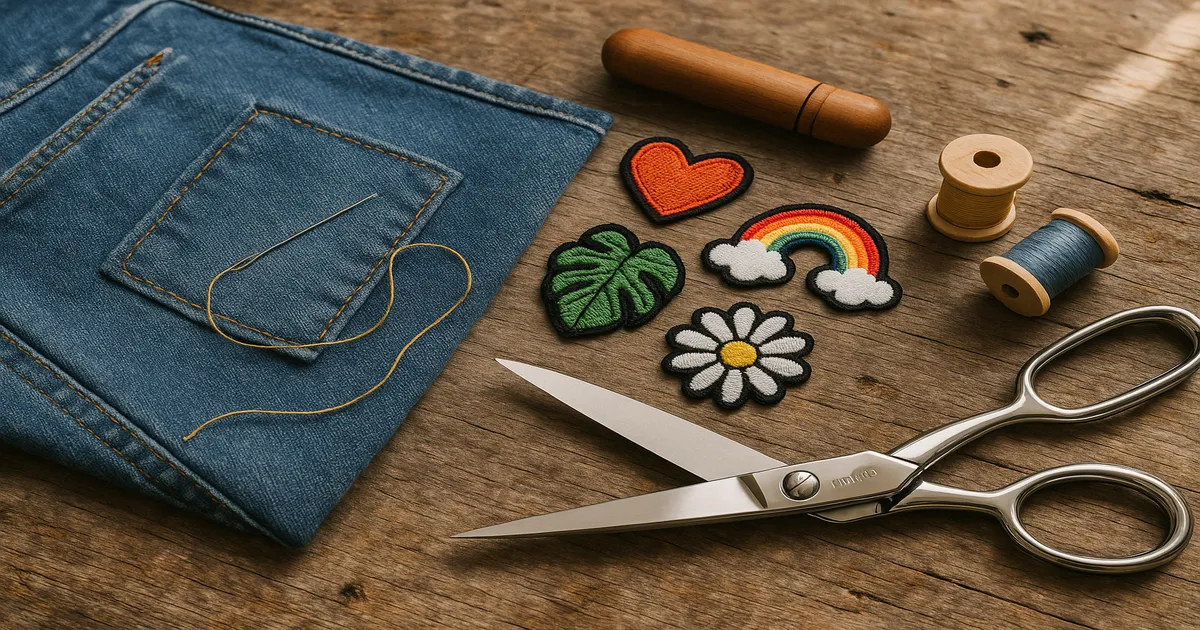
Iron-on patches use a thermoplastic adhesive backing — typically a polyamide or polyester-based hot-melt that softens with heat and re-hardens as it cools. That’s the key principle behind removal: reactivate it with heat, peel while it’s still warm. Fighting a cold iron-on patch is a losing battle every time.
Iron-on plus sewn is what you’ll find on scout badges, uniform patches, and workwear emblems — iron-on adhesive to hold the patch in place during application, then machine stitching around the border to make it permanent. This is the scenario most parents and hobbyists are actually dealing with, and it requires both removal methods in the right order.
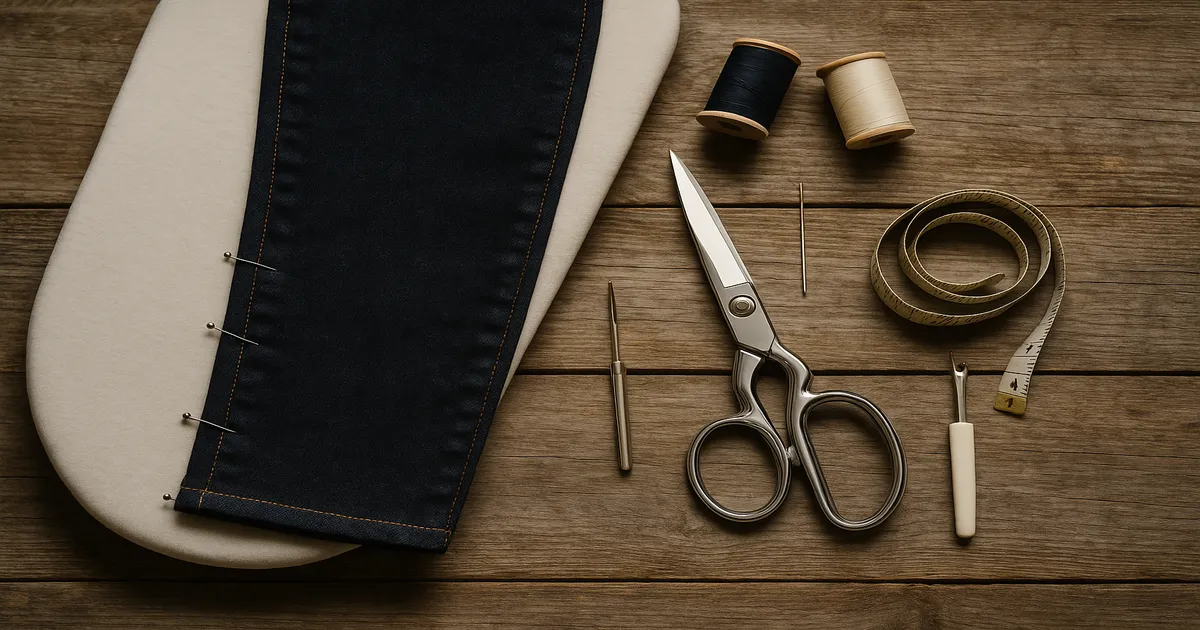
Tools You Need Before You Start
The essentials:
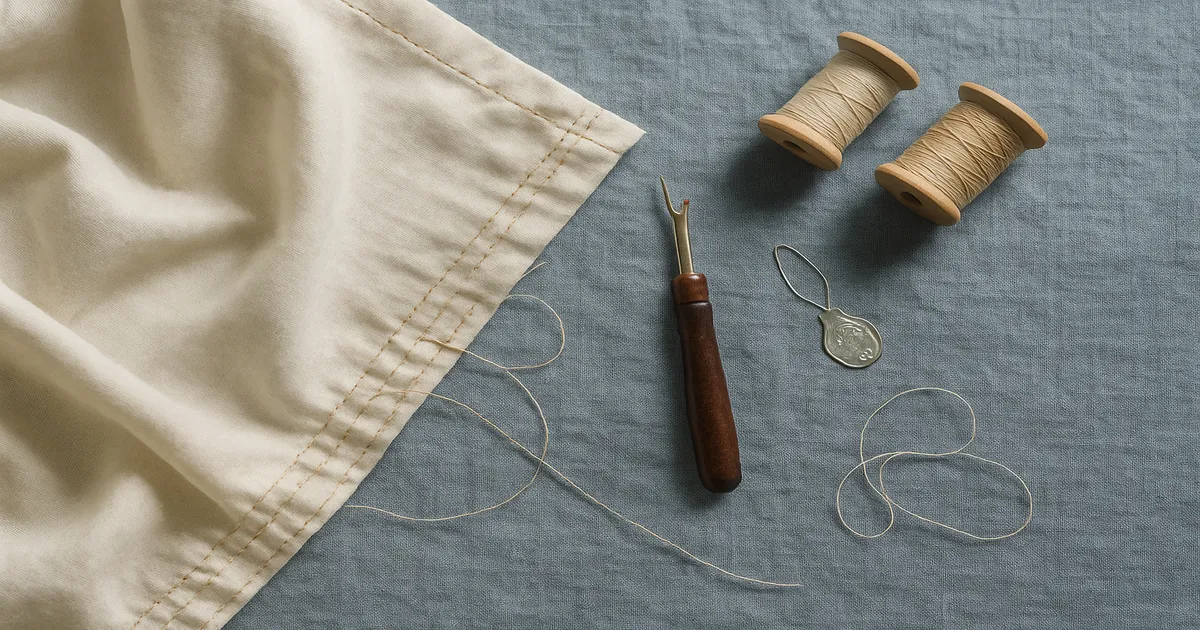
- Seam ripper — sharp and fine-pointed; the Clover 4716 is my go-to. Replace them often — a dull one does more damage than good.
- Embroidery scissors — 3.5–4 inch (89–102mm), sharp all the way to the tip
- Fine-tipped stainless steel tweezers — for pulling thread fragments
- Steam iron with variable temperature settings
- Pressing cloth — 100% cotton muslin, undyed
- Daylight LED lamp — 5,000–6,500K color temperature makes individual stitches dramatically easier to see
- Lint roller — grabs tiny thread ends that tweezers can’t grip
Nice to have: An illuminated seam ripper is genuinely useful for dark thread on dark fabric. A magnifying headband is non-negotiable if you’re working with fine thread and your eyes aren’t what they used to be — no judgment. And a fabric eraser can smooth minor surface disturbance after the patch is off.
Fabric risk at a glance:
| Fabric | Removal Risk | Notes |
|---|---|---|
| Denim / canvas / twill | Low | Most forgiving; needle holes close well with steam |
| Cotton quilting fabric | Low–medium | Handles seam ripping well; test solvents first |
| Fleece / knits | Medium | Use scissors only — seam rippers catch loops |
| Polyester / nylon | Medium | Test solvents carefully; watch heat settings |
| Silk / chiffon | High | Needle holes may be permanent; see a tailor |
How to Remove a Sewn-On Patch
Step 1: Assess the stitching. Before you touch the seam ripper, look at both sides of the fabric. What stitch was used — straight, zigzag, or satin? The bobbin thread on the wrong side is almost always easier to cut than the top thread, so that’s where you’ll start.
Step 2: Work from the wrong side. Turn the garment inside out and slide your seam ripper under every 3rd to 5th bobbin thread — cut it, skip two or three, cut again. Don’t cut every single stitch. It’s slower, more tedious, and dramatically increases your chances of nicking the base fabric. For satin stitch borders, the bobbin threads look like a tight ladder on the back — cut across that ladder every ½ inch (12mm).
Step 3: Pull thread tails from the right side. Flip back to the right side and use tweezers to grab the now-loosened top thread. In most cases it pulls free in one long continuous piece — genuinely satisfying. Pull parallel to the grain to avoid distorting the weave.
Step 4: Remove remaining fragments. Tweezers get most of them. For stubborn short ends, press a strip of painter’s tape firmly over the area and lift — it grabs everything tweezers miss, especially on textured fabrics.
Step 5: Close needle holes with steam. Lightly mist the area with water, place your pressing cloth over it, and press firmly with a hot iron for 15–20 seconds without sliding. The steam causes cotton fibers to swell and the holes shrink — on denim, they often disappear almost entirely.
How to Remove an Iron-On Patch
Step 1: Reactivate the adhesive. Check your fabric’s care label, then set your iron to the highest temperature the fabric can safely handle — for cotton, that’s typically 320–380°F (160–193°C). Place a damp pressing cloth over the patch and press firmly for 10–15 seconds. No sliding. You’re softening the adhesive, not ironing the garment.
Step 2: Peel while it’s still warm. The moment you lift the iron, use tweezers or your fingernails to lift one corner and peel at a low 30–45 degree angle to the fabric surface. Peeling at a steep angle pulls fabric threads up with the patch. If resistance increases, stop, re-apply heat, and continue. Never force a cold patch.
Step 3: Deal with the residue. There will almost certainly be a ghostly residue left behind. While the fabric is still slightly warm, press a clean piece of dry muslin over it and iron again — the adhesive transfers to the muslin. Repeat with fresh muslin until nothing more transfers. This trick eliminates the need for solvents in a lot of cases.
For stubborn residue, dab (never rub) with one of these:
- Isopropyl alcohol, 70–90%
- Acetone-free nail polish remover
- Goo Gone Fabric Cleaner
- White vinegar for delicates
Always test on a hidden seam allowance first. Work from the outside of the residue toward the center.
Step 4: Launder before wearing. Solvents left in the fabric can irritate skin and may affect the fabric finish over time. Wash according to the care label.
How to Remove a Combined Iron-On and Sewn Patch
The stitching must come out before you attempt to peel the adhesive. If you try to peel with stitching still in place, the thread acts as an anchor and you’ll tear fabric fibers trying to force it. Stitching first, adhesive second — no shortcuts.
Here’s a tip that’s genuinely useful for merit badges specifically: before you start seam ripping, press the badge with your iron through a damp pressing cloth for about 10 seconds. You’re not trying to peel it yet — you’re just softening the adhesive layer underneath. This makes the fabric more pliable and reduces tension on the stitches, so the seam ripper glides through with less drag and less risk of snagging the base fabric.
Once all the stitching is out, proceed with the iron-on removal method above. The adhesive on scout badges is usually cooperative once the stitching is gone.
Mistakes That Damage Fabric During Patch Removal
Using a dull seam ripper. A dull tip drags and pulls fabric threads instead of cutting cleanly. Seam rippers cost $3–6 and should be replaced regularly.
Forcing a cold iron-on patch. Cold thermoplastic adhesive is at maximum grip strength. This is the single most common way people tear their fabric. Heat first, always.
Rubbing adhesive residue. Rubbing spreads it deeper into the weave. Dab. Always dab.
Ironing over adhesive residue. Heat permanently sets adhesive into fabric fibers. Get the residue off before you touch the iron to that area again.
Rushing through embroidered patches. Dense satin stitch borders are three to four thread layers deep. Work in 10–15 minute sessions — fatigue is when you accidentally cut base fabric threads.
Skipping the solvent test. Isopropyl alcohol can bleach dyed denim. Acetone destroys some synthetic finishes. Test on an interior seam allowance every single time.
Frequently Asked Questions About Removing Patches
Is it possible to take a patch off without leaving a mark?
Often yes, especially on denim, canvas, and tightly woven cotton. The steam technique — mist lightly, press through a damp cloth for 15–20 seconds — closes most needle holes and lifts adhesive ghosting. On loosely woven or delicate fabrics, some evidence will likely remain no matter how careful you are.
How do you get adhesive residue off fabric after removing a patch?
Start with the muslin transfer method: press a piece of clean dry muslin over the warm residue with a medium-hot iron and it often lifts right off. For what remains, dab with isopropyl alcohol, Goo Gone Fabric Cleaner, or acetone-free nail polish remover. Test your solvent on a hidden seam allowance first, and launder the garment afterward.
How do you remove a scout merit badge from a vest?
Scout badges use both iron-on adhesive and machine stitching, so you need both methods in order. Press the badge through a damp cloth for 10 seconds to soften the adhesive and relax the fabric, then seam-rip the stitching using the every-third-stitch method. Once all thread is out, re-apply heat and peel the adhesive layer, then use the muslin transfer trick to clean up any residue.
Will needle holes show after removing a sewn-on patch?
It depends on the fabric. On tightly woven fabrics like denim and canvas, steam-pressing after thread removal closes most holes almost completely. On loosely woven or knit fabrics, some evidence will likely remain. The steam technique gives you the best possible result regardless — always worth doing.
When should you take a patch to a professional tailor instead?
For silk, chiffon, vintage garments, or anything irreplaceable, the $15–40 a skilled tailor charges for patch removal is absolutely worth it. Needle holes in silk are permanent. Don’t gamble with something you can’t replace.
One last practical note: if you’re removing a patch to replace it with a new one, photograph the original placement first. Uniform patch placement is often regulated, and it’s surprisingly easy to forget exactly where something sat once it’s off.