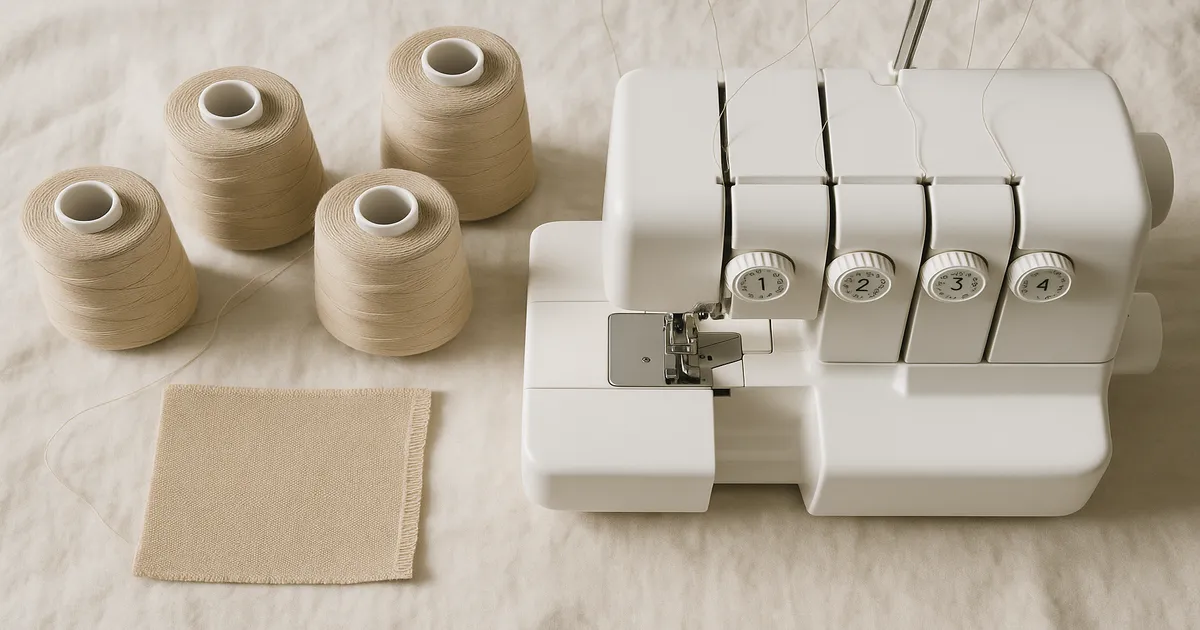
Quick Answer: If you’re asking “what is wrong with my serger,” the answer is almost always one of three things: a threading error, a tension imbalance, or a dull needle. Before you touch a single dial, rethread the machine completely with the presser foot raised — that one step fixes the majority of serger problems.
If you’ve ever stared at a tangled mess of loops, a seam that looks like it lost a fight, or a machine that sounds like it’s chewing gravel, you’re not alone. Sergers are frustrating precisely because the machine is doing so many things at once — trimming, encasing, and overcasting in a single pass, at speeds up to 1,500 stitches per minute. Something as small as a thread skipping one guide can unravel the whole thing (literally).
Here’s what we’ll cover:
- Skipped or missing stitches
- Thread breaking
- Tension loops on the wrong side
- Fabric puckering, tunneling, or wavy edges
- Knife not cutting
- Grinding or rattling noises
- Thread bunching at the start of a seam
Find your symptom and jump to that section. But if you haven’t rethreaded yet — go do that first.
What Is Wrong with My Serger? Start Here
Needles, Loopers, and the Knife
A serger doesn’t use a bobbin. Instead, it uses loopers — curved metal arms that carry thread around the fabric edge, interlocking with the needle thread to form a stitch. The upper looper swings across the top of the fabric, the lower looper passes underneath, and the needle (or needles, on a 4-thread machine) anchors everything together. The knife trims the seam allowance — typically ⅛ to ¼ inch (3–6mm) — a fraction of a second before the stitch forms.
It’s an elegant system when it’s working. When it’s not, that same complexity is the problem.
Why Sergers Are Harder to Troubleshoot Than Regular Machines
A conventional sewing machine has one needle, one bobbin, and a handful of guides. A serger has 3–5 separate thread paths, each passing through 8–15 guides, tension discs, and loops before reaching the needle or looper. Miss one guide on any thread and you’ll see it immediately in your stitch. This isn’t a design flaw — it’s just the nature of the machine. Once you accept that troubleshooting is methodical rather than mysterious, it gets a lot less intimidating.
Tension Across Multiple Threads
On a 4-thread serger, you’re balancing tension on the left needle, right needle, upper looper, and lower looper simultaneously. Change one and it affects how the others behave. If the upper looper is pulling too hard, it drags the lower looper thread up to the top of the fabric. Getting this right starts with correct threading — not with the tension dials.
Skipped or Missing Stitches
Check Needle Insertion First
Push the needle all the way up into the clamp until it physically stops. Even 1mm too low will cause skipped stitches. The flat side of the needle shank must face the back of the machine — same as a conventional machine. It sounds obvious, but it’s easy to get wrong when you’re replacing a needle in a hurry.
Is Your Needle Dull?
Run your fingernail lightly across the tip. Any roughness, or any visible bend when you hold it up to the light, means it’s done. I replace serger needles every 6–8 hours of sewing time — it sounds excessive until you see how fast a dull needle causes problems.
| Needle Size | Best For |
|---|---|
| 9/65 | Sheers — organza, chiffon |
| 11/75 | Lightweight — silk, cotton lawn, light jersey |
| 14/90 | Medium — quilting cotton, ponte, denim shirting |
| 16/100 | Heavy — denim, canvas, fleece |
For knits, use a stretch or ballpoint needle. The rounded tip slides between fibers instead of piercing them — that’s what prevents skipped stitches on jersey.
Rethread Before You Do Anything Else
- Raise the presser foot — this opens the tension discs so thread seats properly.
- Remove all thread completely.
- Rethread following your manual’s color-coded diagram, one thread at a time.
- Make sure each thread passes through every guide in sequence.
- With the foot still raised, pull each thread gently — it should slide freely. Lower the foot; now there should be resistance.
Thread Keeps Breaking
Which Thread Is Breaking?
Watch the machine as it breaks, or check where in the thread path the break happens. Needle thread breaking usually means a missed guide, a burr on the needle plate, or tension set too tight. Upper or lower looper thread breaking points to a snag somewhere along the looper path — or a thread quality issue.
Check the Thread Path for Snags
Pull a length of thread slowly through each guide by hand. Feel for any roughness or unexpected resistance. A burr inside a looper eye is the worst-case scenario — you’ll need a magnifying glass to spot it, and it usually means a trip to a technician.
Also check your spool orientation. Cross-wound thread (wound diagonally) should feed off the top of a vertical pin. Parallel-wound thread (wound straight across) should feed off the side. Getting this backwards creates uneven tension and snapping.
Use the Right Thread
Cheap or old thread breaks constantly at serger speeds. The brands I keep going back to are Maxi-Lock and Gutermann Mara 120. Stick with 40-weight polyester for general seaming. For rolled hems, drop to 60-weight. If your cones are slippery or loosely wound, slip a thread net over them — it controls the feed and stops the thread from unraveling in a tangled heap mid-seam.
Serger Tension Problems: Loops on the Wrong Side
How to Read Your Stitch
Turn your test seam over and look at both sides. The upper and lower looper threads should interlock right at the fabric edge — you shouldn’t see upper looper thread on the underside, or lower looper thread on top.
| Symptom | Likely Cause |
|---|---|
| Upper looper thread visible on underside | Upper looper too tight, or lower looper too loose |
| Lower looper thread visible on top | Lower looper too tight, or upper looper too loose |
| Needle thread loops on underside | Needle tension too tight |
| Everything looks loose and loopy | All tensions too loose |
| Fabric puckers along the stitch line | All tensions too tight |
The 4-Color Thread Test
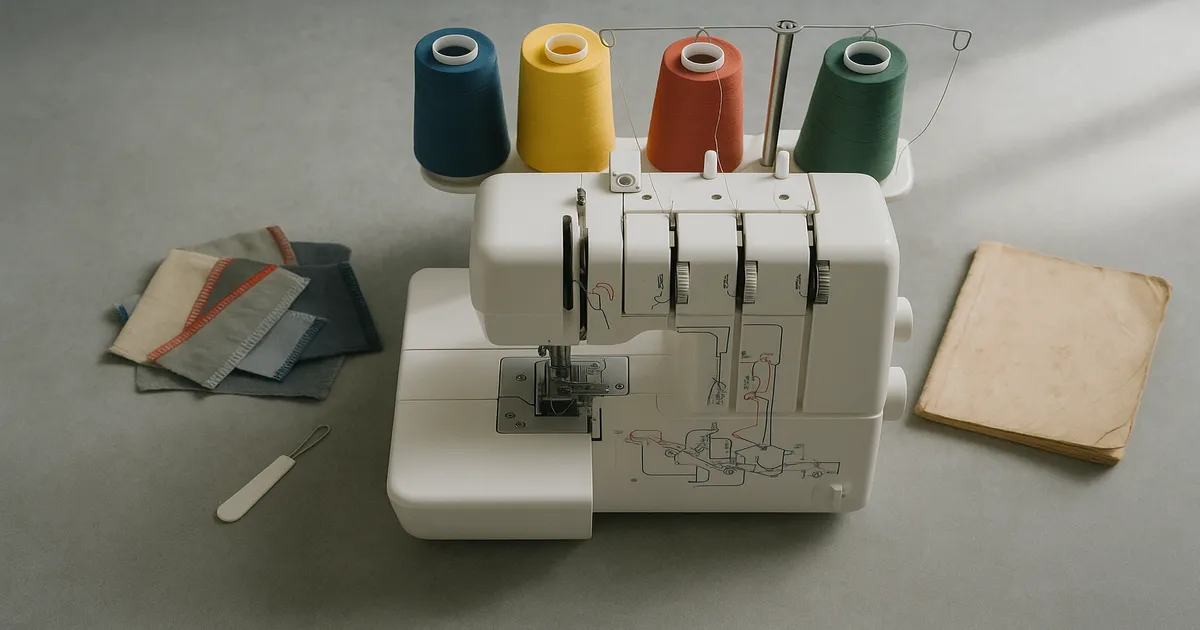
Thread each position in a different color — red for the left needle, blue for the right needle, yellow for the upper looper, green for the lower looper. Sew a test seam and you can instantly see which thread is misbehaving. This is the single most useful troubleshooting trick I know.
Adjusting Tension Step by Step
- Set all tensions to the manufacturer’s default (usually 3–4 on a 0–9 scale).
- Sew a 6-inch (15cm) test seam on a scrap of your actual project fabric.
- Identify the problem thread using your color test.
- Adjust one thread at a time, in 0.5-unit increments.
- Sew another test seam after each change.
- If you’ve moved more than 2 full units from the default without improvement, stop and rethread before continuing.
Fabric Puckering, Tunneling, or Wavy Edges
Why Lightweight Fabrics Pucker
Puckering and tunneling happen when tension is too tight for the fabric weight, or when the feed dogs pull fabric faster than it can naturally flow. Chiffon, silk, and lightweight jersey are the usual culprits. To fix it: reduce differential feed to the 0.7–0.9 range, lower overall tension by 1–2 units, increase stitch length to 3.0–3.5mm, and slip a piece of tissue paper under the fabric as a stabilizer — tear it away after sewing.
Differential Feed Explained
Differential feed controls the ratio between the front and rear feed dogs. At 1.0 (neutral), both move at the same rate. Below 1.0, the front feed dog moves slower, which stretches the fabric slightly as it feeds — exactly what lightweight fabric needs to lie flat. Above 1.0, the front feed dog moves faster, easing the fabric in and preventing stretching on knits.
Fixing an Unwanted Lettuce Edge
If your knit is coming out wavy and ruffled when you don’t want it to, the feed is stretching the fabric as it sews. Increase differential feed to 1.5–2.0, shorten the stitch length to 2.0–2.5mm, and hold the fabric taut — but don’t pull it. Guiding and yanking are two different things, and pulling causes its own problems.
| Fabric | Differential Feed | Stitch Length |
|---|---|---|
| Woven cotton | 1.0 | 2.5–3.0mm |
| Knit/jersey | 1.5–2.0 | 2.5–3.0mm |
| Chiffon/silk | 0.7–0.9 | 2.0–2.5mm |
| Fleece | 1.5 | 3.0–4.0mm |
| Denim | 1.0–1.2 | 3.0–3.5mm |
Other Common Serger Problems
Knife Not Cutting
First, check whether the knife disengagement lever has been accidentally switched off — many sergers have this feature for decorative stitching and it’s easy to bump. If the knife is engaged but still not cutting cleanly, the lower (stationary) blade is probably dull. It’s a consumable part that needs replacing every 6–12 months with regular use. Keep a couple of spares on hand.
Grinding or Rattling Noises
Nine times out of ten, grinding means thread has wrapped itself around the looper mechanism. Remove all thread, grab a small flashlight, and look carefully around the looper area. Use angled tweezers to pull out any wrapped thread or needle fragments. If the machine is just running rough and noisy, it probably needs oil — 1–2 drops of clear sewing machine oil in the ports specified in your manual, every 8–10 hours of use. Never use WD-40. It’s a degreaser, not a lubricant, and it will damage your machine. If grinding continues after cleaning and oiling, take it to a technician.
Thread Bunching at the Start of a Seam
Don’t start sewing right at the fabric edge. Let the machine sew 2–3 inches (5–7cm) of thread chain first, then slide the fabric under the foot. You can also hold the thread tails behind the presser foot as you begin. Either method prevents the bird’s nest tangle that forms when there’s nothing for the threads to anchor to.
Mistakes That Cause Most Serger Problems
Threading with the presser foot down. When the foot is down, the tension discs are closed — thread can’t seat properly between them, and nothing will look right no matter how many times you adjust the dials. Foot up, always, before you thread.
Skipping threading guides. That tiny wire loop near the needle area? It matters. Missing even one guide causes the thread to feed at the wrong angle, which shows up as skipped stitches, breaking thread, or tension that won’t behave no matter what you do.
Adjusting tension before rethreading. Most tension problems aren’t tension problems — they’re threading problems wearing a tension costume. Rethreading takes three minutes. Chasing a phantom tension issue takes an afternoon.
Not cleaning regularly. Sergers generate enormous lint because they cut fabric while sewing. Clean the knife area and looper compartment after every project.
Ignoring the needle. A dull needle causes more problems than almost anything else. Replace it more often than you think you need to.
Frequently Asked Questions About Serger Problems
Why does my serger keep breaking thread?
The most common causes are a threading error, tension set too tight, or thread that can’t handle serger speeds. Check which thread is breaking — needle or looper — then run it slowly through the path by hand to feel for snags or burrs. Switching to quality 40-weight polyester cone thread like Maxi-Lock or Gutermann Mara fixes this more often than you’d expect.
How do I fix tension loops showing on the wrong side?
Rethread completely with the presser foot raised, then use the 4-color thread test to identify exactly which thread is misbehaving. Adjust that one thread in 0.5-unit increments, sewing a test seam after each change. Don’t touch multiple tension dials at once — it just creates new problems.
Why is my serger skipping stitches on knit fabric?
Almost always, it’s the wrong needle type. Knits need a stretch or ballpoint needle — the rounded tip slides between fibers instead of piercing them. Also confirm the needle is inserted all the way up and that you’ve rethreaded with the foot raised. Differential feed set too low can also contribute on stretchy fabric.
How often should I oil and clean my serger?
Clean the knife area and looper compartment after every project. Oil the machine every 8–10 hours of sewing time, using 1–2 drops of clear sewing machine oil in the ports specified in your manual. The exact oiling points vary by model, so check your manual rather than guessing.
Can I use regular sewing thread in a serger?
Yes, but it’s not ideal. Regular spool thread works for occasional use, but it runs out fast and isn’t always wound for high-speed feeding. Cheap or old thread is especially prone to breaking. For best results, use 40-weight polyester on cones designed for serger use — your machine will run smoother and you’ll spend a lot less time troubleshooting.