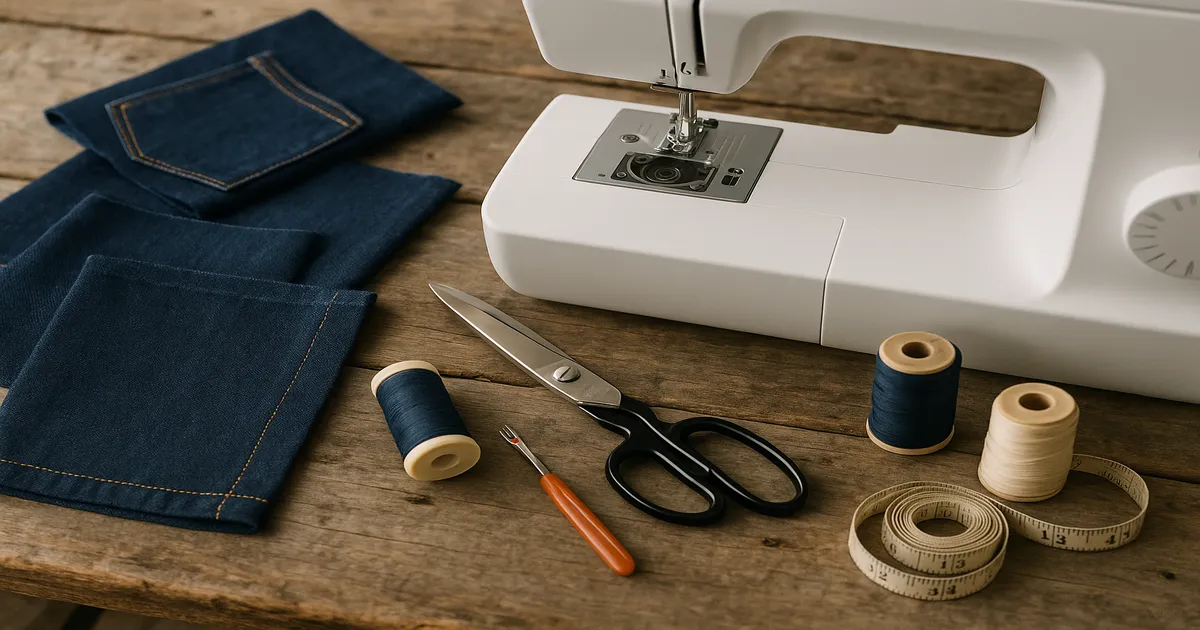
Quick Answer: Yes, you can sew jeans on a home sewing machine — you just need the right needle, thread, and some patience. It’s an intermediate-to-advanced project that combines curved seams, flat-felled seams, zipper installation, and topstitching all in one garment. Budget 10–20 hours for your first pair, including a muslin fitting, and you’ll end up with jeans that actually fit your body.
Learning how to sew jeans with a sewing machine is one of those projects that sounds scarier than it is. The individual techniques aren’t mysterious — it’s the combination of all of them, plus denim’s unforgiving density, that trips people up. Get the prep right and the sewing follows naturally.
Can You Sew Jeans on a Home Sewing Machine?
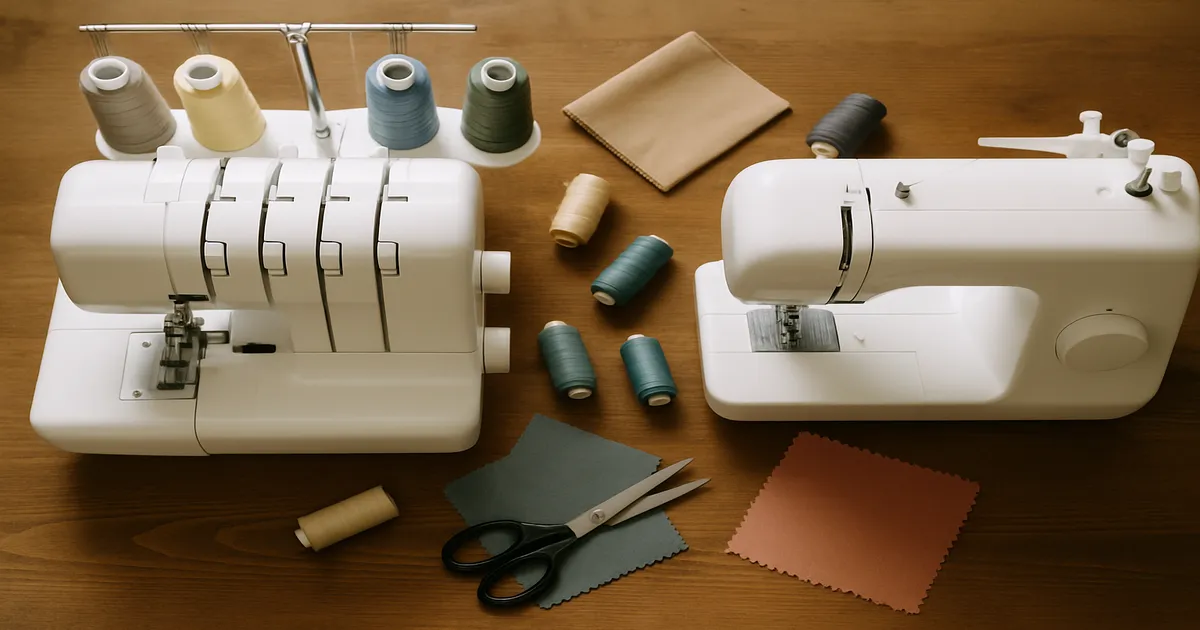
Any modern home machine with a reasonably strong motor can handle denim. You don’t need an industrial Juki — but you do need the right tools around it.
Jeans sit firmly in intermediate-to-advanced territory. You should already be comfortable with zipper insertion, curved seams, and topstitching before you start. If you’ve made trousers and installed a zip, you’re probably ready.
Realistically, allow 10–20 hours for a first pair — and that includes sewing a muslin. Experienced makers who’ve done it a few times can get that down to 6–8 hours. Don’t try to cram it into a weekend if it’s your first time.
Materials and Tools You Need
Choosing the Right Denim
Denim is sold by weight per yard, and that number matters more than most people realize.
- 10–11 oz: Lighter, drapier, easier to sew through multiple layers. A good starting point.
- 12–14 oz: Traditional jeans weight — what your favorite RTW jeans are probably made from. Noticeably harder to sew through thick seam intersections.
- Stretch denim (1–3% elastane): More forgiving for fit. Requires a stretch needle rather than a standard denim needle.
For pocket bags, use lightweight cotton muslin or pocket drill — not denim. Denim pocket bags add unnecessary bulk and make the front of your jeans look lumpy. You’ll need roughly 2.5–3.5 yards (2.3–3.2m) of 60-inch (152cm) wide denim for a standard adult size, plus an extra half yard if you’re above a US 16.
Thread: Construction vs. Topstitching
These are two different products and you need both. Construction thread is standard 50-weight all-purpose polyester — something like Gutermann Sew-All — used for all the seams nobody will see. Topstitching thread is 30–40 weight, noticeably heavier, and goes through your needle (and ideally your bobbin too) for all the visible stitching. Gutermann Tera 30 in gold or amber is the classic choice and it looks exactly right on denim.
Needles
Use Schmetz Jeans needles — they have an extra-sharp, stiff point that punches through tightly woven denim without deflecting.
- 90/14: Single layers of 10–11 oz denim
- 100/16: The everyday workhorse for 12 oz denim
- 110/18: For 14 oz denim and anywhere you’re sewing through 6–8 layers (waistband, fly base)
Change your needle every 6–8 hours of sewing, or the moment you hear a popping sound as it pierces the fabric. Denim destroys needles faster than almost any other common fabric, and a dull needle causes skipped stitches — which in a jeans seam is a real problem.
Presser Feet
- Walking foot: Non-negotiable for side seams, inseams, and waistband attachment.
- Zipper foot: For fly installation — adjustable is better than fixed.
- Edge-stitch foot: For precise 1/8-inch (3mm) edgestitching on flat-felled seams and pocket edges.
- Jeans/topstitching foot: Has a groove underneath that lets heavy bobbin thread pass without creating tension problems.
Hardware
Use a YKK #4 or #5 metal jeans zipper in 6–7 inches (15–18cm). For the waistband button, get a hammer-on jeans button in 17mm or 20mm — they look far more authentic than a sewn shank button. Copper rivets should be 9mm; you’ll need 6–10 depending on your design. Interface the waistband with a firm woven sew-in interfacing like Pellon SF101 — not knit interfacing, which will stretch and cause the waistband to lose its shape.
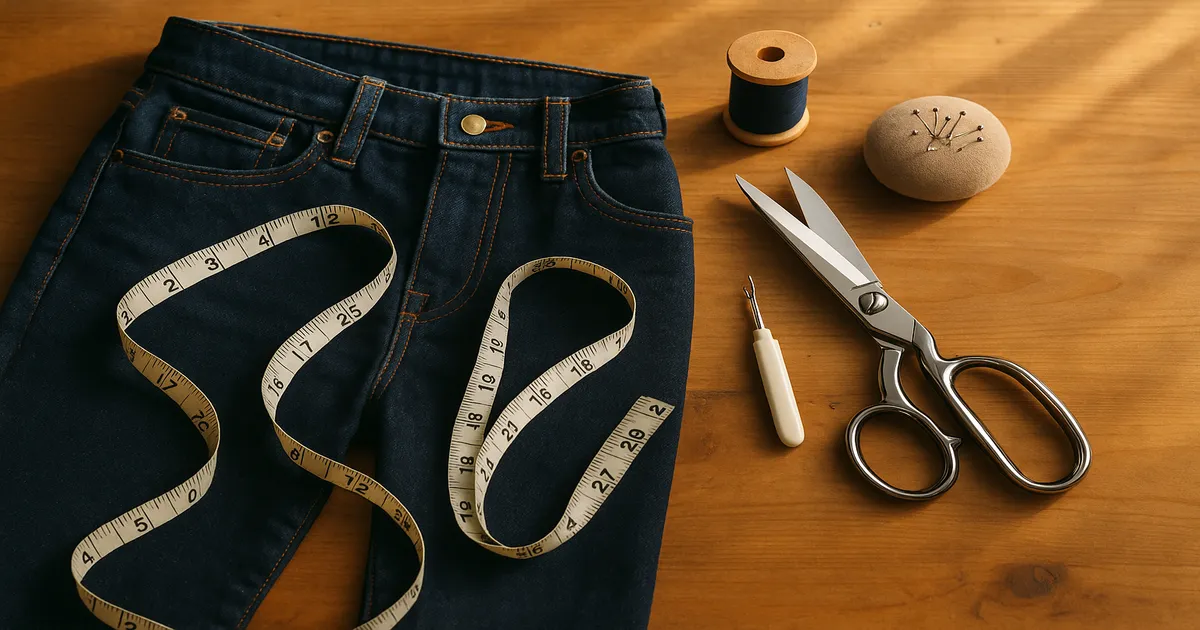
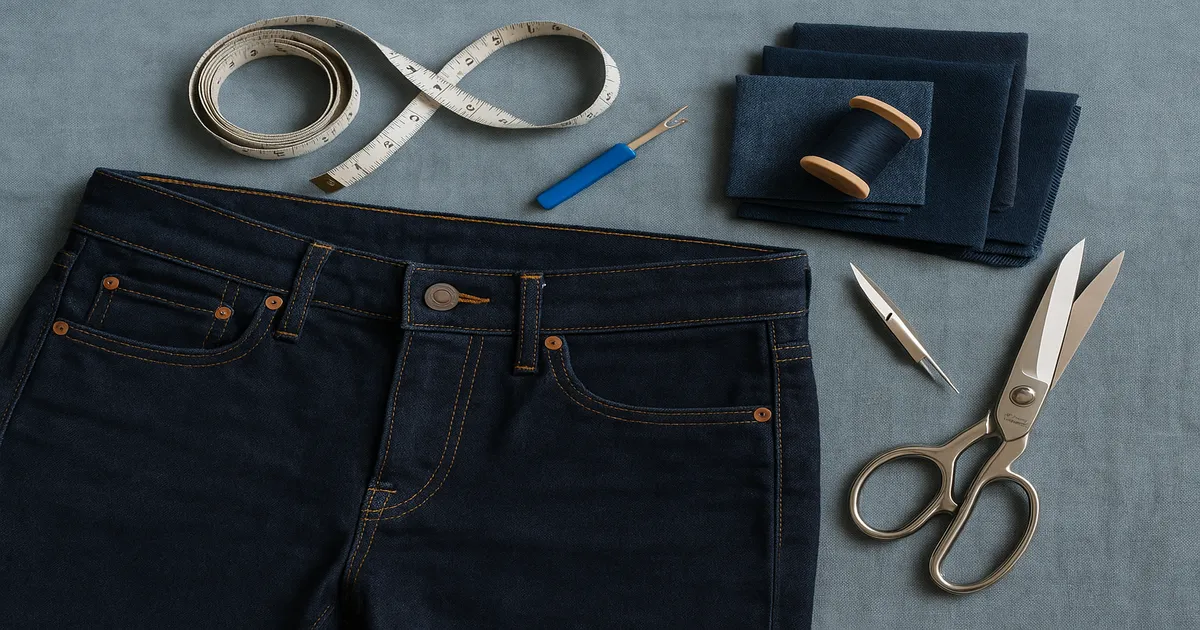
Other notions worth having: Wonder Clips for thick layers, tailor’s chalk for marking topstitching lines, and a seam ripper (you will use it). For pressing, you need a high-quality steam iron, a pressing ham for curved seams, a seam roll for flat-felled seams, and a wooden clapper to flatten seams while the steam is still in them.
Choosing and Preparing Your Pattern
Best Jeans Patterns for Home Sewers
Three patterns come up again and again in experienced maker circles: Closet Core Ginger Jeans, Megan Nielsen Ash Jeans, and Thread Theory Jutland Pants. All three have clear instructions written for home sewers and solid fitting guidance. If you’re making a fitted women’s style, start with the Ginger — the fly construction instructions are particularly thorough.
Measurements You Need
Jeans require more measurements than most garments. Take all of these before you touch the size chart:
- Waist (natural waist)
- High hip (3–4 inches/7.5–10cm below natural waist)
- Full hip (7–9 inches/18–23cm below natural waist)
- Front rise and back rise (measured separately — this is where most fit problems live)
- Inseam and outseam
- Thigh circumference
Don’t assume you’re the same size across brands. Jeans patterns grade between sizes differently than blouse patterns.
Sew a Muslin First
This is the step most people skip, and it’s why so many first jeans projects end up abandoned. Good denim costs real money, and jeans fit is notoriously difficult to adjust after the garment is constructed. Sew your first version from cheap cotton twill or canvas, fit it properly, transfer all your adjustments to the pattern pieces, and then cut your denim. It adds a few hours but saves the whole project.
Pre-Washing Your Denim
Wash your denim twice in hot water and dry on high heat before cutting. Denim can shrink 3–8% in length and up to 3% in width on that first wash. Skip this step and your finished jeans will shrink and distort the first time they go through the laundry. After the second wash and dry, press the fabric thoroughly with a hot steam iron before laying out your pattern pieces.
How to Sew Jeans with a Sewing Machine: Step by Step
Step 1: Sew the Front Pockets
Sew the pocket bag to the facing piece, right sides together, with a 3/8-inch (1cm) seam allowance along the curved edge. Clip the curve every 1/2 inch (1.3cm), press the bag away from the facing, then baste the pocket unit to the front jean panel within the seam allowance. Topstitch the pocket opening with two rows: 1/8 inch (3mm) from the edge and again at 1/4 inch (6mm), using topstitching thread in both needle and bobbin.
Step 2: Install the Fly Zipper
This is the most technically demanding part of the whole project. Take it slowly — pressing at each sub-step is what makes it look clean.
- Fold the right front fly extension to the wrong side along the fold line and press. Topstitch a curved line approximately 1.5 inches (3.8cm) from the center front fold.
- Place the zipper face-down on the right fly extension, teeth aligned to the fold. Sew with a zipper foot, 1/8 inch (3mm) from the teeth.
- Sew the left fly facing to the left front, right sides together, along the center front edge. Press to the wrong side and edgestitch at 1/8 inch (3mm).
- Attach the left side of the zipper tape to the left fly facing.
- Draw your J-shaped topstitching line on the right front panel with chalk — roughly 3/8 inch (1cm) from center front, curving to about 3.5 inches (9cm) from the waistline at the base. Stitch along this line.
- Sew a bar tack at the fly base: 1/4 inch (6mm) wide, 3/8 inch (1cm) tall.
Step 3: Sew the Crotch Seams
Sew the front crotch curve at 5/8-inch (1.6cm) seam allowance, then reinforce with a second row of stitching 1/8 inch (3mm) inside the first. Clip the curve at 1/2-inch (1.3cm) intervals. Repeat for the back crotch seam — the back curve is steeper, so ease carefully and clip generously.
Step 4: Construct and Attach the Back Pockets
Fold the top edge of each pocket 1/4 inch (6mm) to the wrong side, press, fold again 5/8 inch (1.6cm), and stitch across at 1/2 inch (1.3cm) from the fold. Press the remaining three sides 3/8 inch (1cm) to the wrong side, mitering the bottom corners. Position on the back panel, clip in place, then edgestitch at 1/8 inch (3mm) and topstitch a second row at 1/4 inch (6mm). Finish with bar tacks at all four corners.
Step 5: Sew the Side Seams as Flat-Felled Seams
Flat-felled seams are what make jeans jeans — they enclose all raw edges and add real structural strength.
- Sew the side seam right sides together at 1-inch (2.5cm) seam allowance.
- Press both seam allowances toward the back.
- Trim the under (back) seam allowance to 1/4 inch (6mm).
- Fold the upper allowance over the trimmed one, enclosing it completely. Press flat.
- Edgestitch at 1/8 inch (3mm) from the folded edge, catching all layers.
The finished seam shows two parallel rows of topstitching on the right side, spaced about 3/8 inch (1cm) apart.
Step 6: Sew the Inseams
Sew the inseams using the same flat-felled method, pressing the seam allowances toward the front this time. The inseam curves more than the outseam, so use your walking foot and go slowly.
Step 7: Join the Legs at the Crotch
Turn one leg right side out and insert it into the other leg (which stays wrong side out), matching the inseam, crotch point, and notches. Sew from the front fly base around to the back waist edge at 5/8-inch (1.6cm) seam allowance, then reinforce with a second row. This seam takes more stress than any other in the garment — the reinforcement is not optional.
Step 8: Attach the Waistband
Interface the waistband with woven sew-in interfacing cut on the straight grain. Sew the interfaced side to the jeans, right sides together, at 5/8 inch (1.6cm). Grade the seam allowances, press the waistband up, fold the free inner edge 5/8 inch (1.6cm) to the wrong side, and fold the waistband over to the inside. Stitch in the ditch from the right side to catch the inner edge, then topstitch along the top at 1/4 inch (6mm).
Step 9: Hem and Install Hardware
Try the jeans on and mark your hem, allowing 1 inch (2.5cm) for the hem allowance. Fold up 1/2 inch (1.3cm), press, fold again 1/2 inch (1.3cm), press, and stitch at 3/8 inch (1cm) from the folded edge. Topstitch from the right side for a clean finish. Set copper rivets at pocket corners with a rivet setter and rubber mallet, install the waistband button with a button setter, and attach belt loops at each side seam, center back, and on either side of the fly — 5–7 loops total.
Machine Settings and Techniques for Denim
Stitch length: 3.0–3.5mm for construction seams, 3.5–4.0mm for topstitching. Longer stitches look better on denim and are less likely to perforate the fabric along the seam line.
Tension: When you load heavy topstitching thread, loosen your upper tension slightly — start by dropping it one full number from your normal setting and test on a scrap before you touch the real thing.
Thick seam intersections: The worst spots are where the waistband meets the fly, or where the crotch seam crosses the inseam. Slow down to almost a crawl at these points and use a hump jumper (or a folded scrap of denim) to level the presser foot as you approach and leave the bulk. A level foot means even pressure, which means no skipped stitches.
Pressing: I can’t overstate this. Pressing is not optional and it’s not just for aesthetics — unpressed denim seams sit wrong, bulk up in the wrong places, and make every subsequent step harder. Press every seam before you cross it with another seam, and finish with a clapper to flatten the seam while the steam is still in it. Denim holds a crease beautifully once you’ve put in the work.
Common Mistakes When Sewing Jeans
Skipping the muslin. Jeans fit is complex and expensive denim deserves a test run. This is the single most common reason a jeans project gets abandoned.
Wrong needle or thread. A universal needle will deflect against denim’s tight weave, causing skipped stitches. Standard all-purpose thread for topstitching will look thin and disappear into the fabric. Use a Schmetz Jeans needle sized for your fabric weight, and use actual topstitching thread.
Not pre-washing. Two hot washes and high-heat dries before cutting. Non-negotiable.
Rushing the fly. There are a lot of sub-steps, and each one needs to be pressed before you move to the next. If something looks wrong at step 3, stop and fix it — unpicking a few stitches now is far better than realizing the fly is twisted at step 9.
Skipping crotch seam reinforcement. That seam is under constant stress every time you sit or stand. A single row of stitching will eventually fail. Always double-stitch it.
Inconsistent topstitching. Wobbly topstitching is visible from across the room. Use your edge-stitch foot, mark your lines with chalk first, and sew slowly. If your machine has a needle-down function, use it — it lets you pivot and reposition without losing your line.
Frequently Asked Questions
Can a beginner sew jeans on a home sewing machine? Technically yes, but I’d recommend building up to it. Make a pair of trousers and install a zip first. Jeans involve multiple advanced techniques happening simultaneously, and if you’re troubleshooting basic zipper installation at the same time as flat-felled seams, it gets overwhelming fast.
What sewing machine is best for sewing denim? Any machine with a strong motor and the ability to take a 110/18 needle will work. Brands like Janome, Brother, and Bernina all have mid-range machines that handle denim well. The needle, presser foot, and thread matter more than the machine brand.
How do I stop my sewing machine from skipping stitches on denim? Nine times out of ten, it’s a dull or wrong needle. Switch to a fresh Schmetz Jeans needle in the correct size for your fabric weight. Also check that you’re using a hump jumper at thick seam intersections and that your presser foot pressure is set correctly for heavy fabric.
Do I need a special sewing machine to sew jeans? No. A standard home machine handles denim fine with the right needle and thread. An industrial machine is faster and more powerful, but it’s not necessary for a home project.
How much denim do I need to sew a pair of jeans? For a standard adult size up to US 14, plan on 2.5–3 yards (2.3–2.75m) of 60-inch (152cm) wide fabric. Go up to 3.5 yards (3.2m) if you’re above a US 16 or if your pattern includes a lot of pieces. Always buy a little extra — denim is unforgiving if you cut something wrong.