Quick Answer: Zipper ends don’t line up because of one of three things — the zipper was cut or positioned incorrectly, the installation sequence was wrong, or the fabric shifted during stitching. Each cause has a specific fix, and once you know which end is off, you’re already halfway there.
If you’ve sewn in a zipper, zipped it closed, and found one side sitting higher than the other — welcome to the club. It’s one of the most common problems in garment sewing, and also one of the most fixable. Why are my zipper ends not lining up? Almost always, the answer lives in the prep work, not the zipper itself. Zippers are precision-engineered; when the surrounding fabric isn’t equally precise, misalignment is the predictable result.
Here’s how to figure out exactly what went wrong — and how to fix it.
Why Zipper Ends Don’t Line Up: The Three Root Causes
- Incorrect positioning or cutting — the zipper wasn’t centered on the seamline, or the seam allowances don’t match on both sides
- Wrong installation sequence — stitching in opposite directions on each side, or skipping the basting step
- Fabric shifting during stitching — feed dogs pushing layers in different directions, or slippery fabric drifting under the presser foot
How to Tell Which End Is Off
Before you touch a seam ripper, figure out exactly what’s wrong:
- Top ends don’t meet — the opening is uneven at the neckline, waistband, or bag top
- Bottom ends don’t meet — the bottom stop sits higher on one side than the other
- Both ends are off — usually a systemic problem like mismatched seam allowances or fabric that shifted throughout
- The pull sits at an angle — the tape was applied at a slight diagonal
Each of these points to a different root cause. Diagnose first, then fix.
Understanding How Zippers Are Built
A zipper has fixed hardware at both ends. The bottom stop anchors the teeth so the pull can’t slide off; the top stops prevent the pull from going past the opening. Those stops are set at precise intervals relative to the tape length, which means the zipper is your fixed reference point — the fabric has to meet it, not the other way around.
How Zipper Type Affects Alignment Risk
- Coil zippers (nylon or polyester) — the most forgiving; the flexible coil can shift slightly without visible misalignment
- Molded plastic (vislon) zippers — rigid individual teeth make precise placement non-negotiable
- Metal zippers — each tooth is individually set; the least forgiving of the three
- Invisible zippers — alignment errors hide inside the seam but still cause puckering and gaping at the opening
- Separating (jacket) zippers — highest risk by far, because both halves are installed independently and must meet perfectly at the bottom box and pin
Zipper Weight Numbers (#3, #5, #8, #10)
The number refers roughly to the width of the closed teeth in millimeters. A #3 is narrow and lightweight — dress zippers. A #5 is the workhorse for most garment and bag work. #8 and #10 are for outerwear and heavy bags. Heavier zippers have slightly larger tolerances for error, but they’re stiffer and harder to ease into a seam. YKK tapes have a built-in woven grid that’s genuinely useful as a stitching guide — more on that below.
Diagnosing Your Zipper Misalignment
Top ends don’t meet. The opening looks fine at the bottom but fans open or overlaps at the top. The zipper was positioned too high on one side, or the top stop wasn’t placed at the same distance from the cut edge on both sides. A facing or waistband pulling one side up during finishing can also cause this.
Bottom ends don’t meet. One side of the bottom stop sits visibly higher than the other. This is almost always a seam allowance problem — one side was stitched at ⅝ inch (16mm) and the other at something slightly different.
Both ends are off. When everything is misaligned, it’s systemic. Fabric shifted during stitching (especially on slippery or stretchy material), seam allowances were inconsistent from top to bottom, or you stitched in opposite directions on each side — which pushes the layers in opposite directions and creates a subtle twist.
The pull sits at an angle. The tape itself was applied at a diagonal. This happens when the zipper is pinned parallel to the seam instead of perpendicular, or when one end was anchored and the other drifted before stitching.
How to Install a Centered Zipper Without Misalignment
Step 1: Prepare and Press the Seam
Stitch the seam below the zipper opening at 2.5mm stitch length, then baste the zipper opening closed at 4.0–5.0mm. Don’t backstitch at the transition — leave a clean break so removal is easy. Press the seam open. An unpressed seam creates a ridge that tilts the tape off-center before you’ve even started, so don’t skip this.
Step 2: Mark Your Reference Points
Use a water-soluble marker or chalk to mark the top stop position, the bottom stop position, and the center of the seam at both ends. These are your anchors. Everything else adjusts to meet them.
Step 3: Position and Pin the Zipper
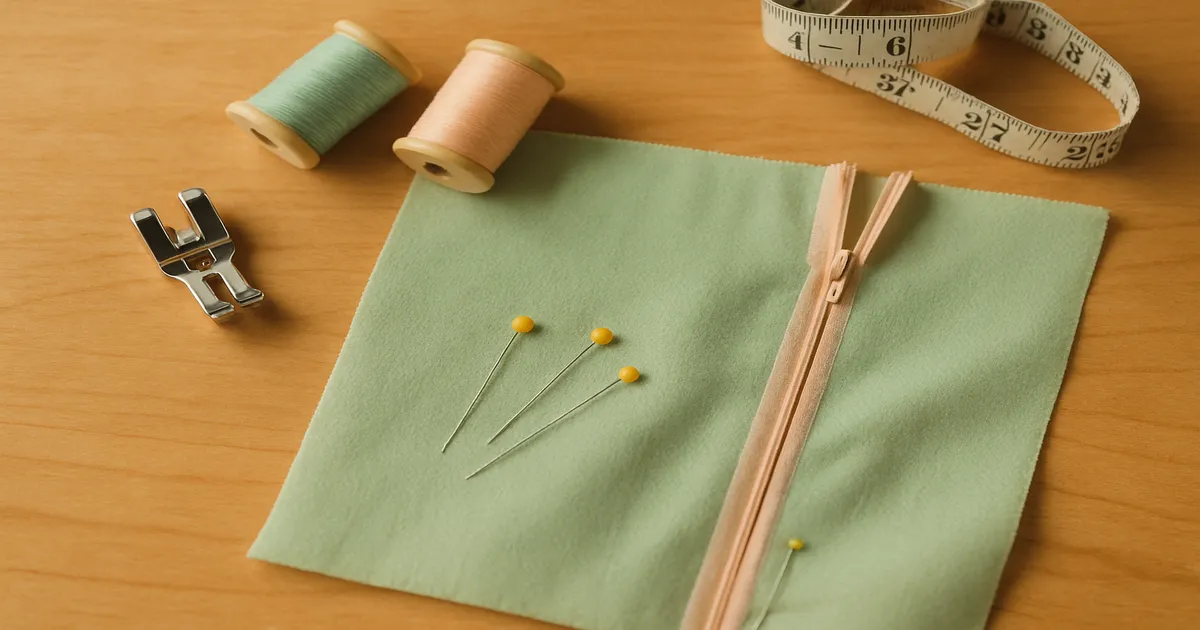
Place the closed zipper face-down on the wrong side of the fabric, centered over the basted seam. The top stop should sit ⅛ inch (3mm) below the cut edge if the opening will have a waistband or facing. Pin perpendicular to the zipper tape — not parallel. Perpendicular pins get removed before the presser foot reaches them and prevent tape drift. Use at least one pin per inch (25mm).
Step 4: Hand-Baste Before You Machine Stitch
This is the step most people skip, and it’s the reason most zipper problems happen. Using a hand needle and contrasting thread, baste ¼ inch (6mm) from the center seam through all layers. It holds the tape in place while you remove pins and maneuver under the presser foot. Five minutes of basting saves thirty minutes of ripping.
Alternatively, apply a strip of ¼-inch double-sided basting tape to the zipper tape before positioning it — the zipper simply can’t drift. Either method works; both together is nearly foolproof.
Step 5: Machine Stitch in the Right Direction
Use an adjustable zipper foot and stitch from the bottom of the zipper to the top on both sides. Same direction on both sides — this is what prevents the fabric from being pushed in opposite directions. Stitch 3/16 to ¼ inch (5–6mm) from the center seam, and pivot at the bottom to stitch across the stop with 3–4 stitches perpendicular to the seam.
Step 6: Remove Basting and Check Alignment
Remove the basting stitches from the seam opening with a fine seam ripper. Zip it closed and check from the right side: do the top edges align? Is the pull centered? Does the bottom stop sit at the same height on both sides? Catch any problems now, before the facing goes on.
Special Case: Separating (Jacket) Zippers
Both halves go in independently, which means twice as many opportunities for error. A ⅛-inch (3mm) discrepancy at the bottom box is visible every single time someone zips the jacket.
Mark the seamline — not the cut edge — on both front pieces, then mark the top and bottom stop positions using the same measurement from the same reference point on both pieces. Stitch the right side first. Then zip the zipper closed, lay both front pieces flat on your cutting table, and use the zipper’s position to guide pinning the left side. You’re letting the zipper align itself rather than trying to measure your way to perfection. Baste, check, then machine stitch.
Tools That Prevent Zipper Misalignment
Buy zippers longer than you need and shorten from the top — this preserves the factory bottom stop, your most critical alignment point. Create a new top stop by stitching back and forth over the coil 6–8 times at 1.5mm stitch length, then trim the tape ½ inch (13mm) above it.
For slippery or stretchy fabrics, apply ¼-inch fusible stay tape to the seam allowance on the wrong side before you do anything else. It takes the stretch out of the equation entirely. On silk or charmeuse, place a strip of tissue paper between the presser foot and the fabric — it stops the foot from dragging and tears away cleanly after stitching.
Needle and thread matter more than people think:
| Fabric | Needle |
|---|---|
| Standard wovens | Universal 80/12 |
| Medium-weight wovens | Universal 90/14 |
| Fine silk, tightly woven | Microtex 70/10 |
| Knits | Stretch 75/11 |
| Denim, canvas, metal zippers | Jeans 90/14–100/16 |
Use 50-weight all-purpose polyester thread for most work, 30-weight for heavy outerwear zippers. Match thread to the zipper tape color — the stitching line is visible on the tape side.
Pro Tips for Perfect Zipper Alignment
Use the zipper tape grid. Quality tapes — especially YKK — have a woven grid built right in. Those lines run perfectly parallel to the teeth. Stitch along one of them and you’re guaranteed a straight, consistent seam without measuring at every pass.
Zip it closed before machine stitching. After basting both sides, zip the zipper and look at the project from the right side. The two halves of the opening should meet cleanly with no offset. If they don’t, re-baste now. Two minutes versus thirty.
Press after stitching. Press the finished zipper from the wrong side using a pressing cloth. This sets the stitches, flattens the tape, and corrects minor puckering that can make alignment look worse than it is. I’ve seen “misaligned” zippers turn out to be perfectly fine once pressed — the unpressed fabric was just bunching.
Let the feed dogs do the work. Pulling fabric through the machine stretches the seam allowance and bows the tape. Guide with light fingertip pressure only, or use a stiletto to keep your fingers clear of the needle.
Frequently Asked Questions
Why are my zipper ends not lining up even though I measured carefully?
Measuring carefully isn’t enough if you’re measuring from the cut edge instead of the seamline. Cut edges can be uneven, stretched, or inconsistently trimmed. Always measure from the stitched or marked seamline using a seam gauge, and check both sides at multiple points before you sew.
Why does one side of my zipper sit higher than the other?
Almost always a seam allowance mismatch — one side was stitched or cut slightly narrower than the other, so the zipper tape ends up at different heights. Measure both seam allowances before installation and correct any discrepancy before you sew.
Should I stitch both sides of a zipper in the same direction?
Yes, always stitch from the bottom of the zipper to the top on both sides. Stitching in opposite directions causes the feed dogs to push the fabric layers in opposite directions, creating a twist that throws one end out of alignment.
How do I fix a zipper that’s already sewn in and misaligned?
Remove the zipper stitching with a seam ripper, re-press the seam, and reinstall. Before you re-stitch, measure both seam allowances at multiple points to confirm they match, then hand-baste the zipper in place before machine stitching. Skipping the baste is usually what caused the problem the first time.
How do I stop a zipper from shifting while I sew it in?
Hand-basting plus double-sided basting tape is the most reliable combination. Apply the tape to the zipper tape, press the zipper into position, then baste by hand before machine stitching. The tape holds the zipper while you baste; the basting holds everything while you machine stitch.