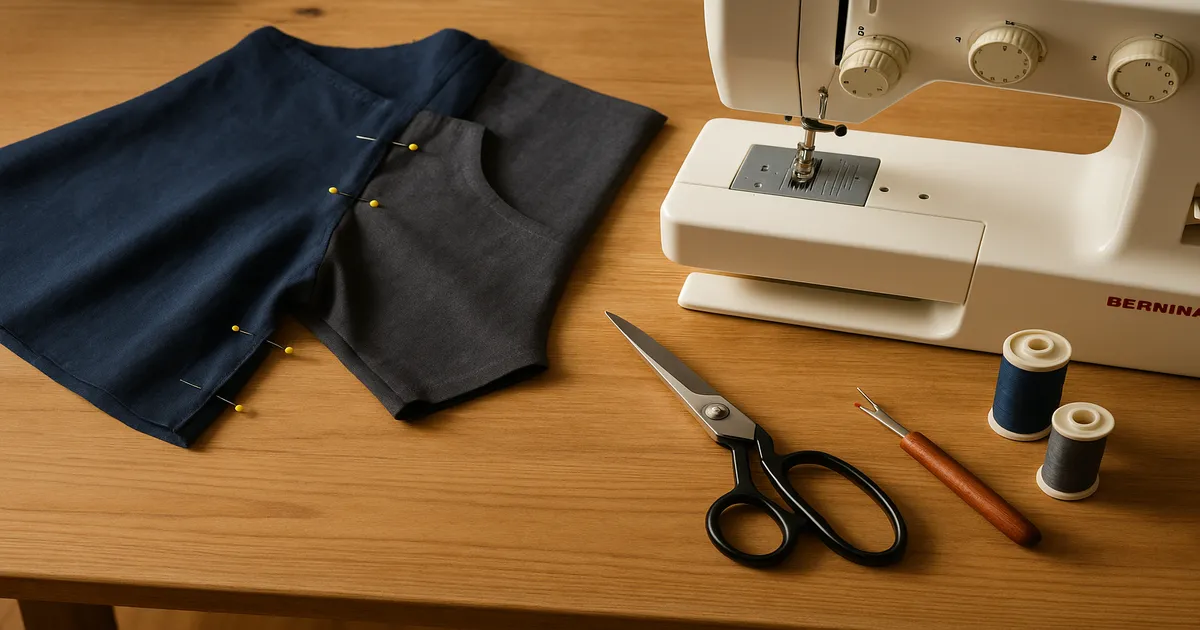
Quick Answer: To sew the crotch of pants, sew both inseams first, then nest one leg inside the other with right sides together and stitch the crotch curve from front waistband to back waistband in a single continuous pass. Reinforce the crotch point with a second line of stitching 1/8 inch (3mm) inside the first, clip the seam allowance every 1/2 inch (12mm), finish the raw edges, and press over a tailor’s ham. The crotch point is the highest-stress seam in the entire garment — skip the reinforcement and you’ll be repairing a blown seam within weeks.
The crotch seam is the one place in pants construction where shortcuts will always catch up with you. Learning how to sew the crotch of pants properly — not just getting it closed, but doing it in the right sequence with the right reinforcement — is what separates pants that last years from pants that split the first time you bend down. It’s not complicated, but it does require a specific order of operations, and the reasons behind that order matter.
What Is the Crotch Seam and Why Does It Matter?
The crotch seam is actually two seams working together: the inseam, which runs up the inside of each leg, and the crotch curve (sometimes called the fork seam), which arcs from the front waistband down through the crotch point and back up to the rear waistband. They meet at the crotch point — the lowest point where both legs converge — and that junction is where almost all the stress concentrates.
Every time you sit, squat, or take a long stride, the fabric at the crotch point is being pulled in multiple directions simultaneously. No other seam in a pair of pants takes that kind of multidirectional stress. Levi Strauss understood this in 1873 — U.S. Patent No. 139,121 was specifically for a copper rivet at the crotch point of work jeans. (It was eventually removed in the 1940s after cowboys complained about sitting around campfires. Fair enough.)
The crotch curve is also a compound curve — it bends in more than one plane at once. That’s why you can’t sew it like a side seam and call it done. It needs to be clipped so it can open up and lie flat, and pressed over a curved surface so it holds its shape. A flat ironing board will distort it every time.
Tools and Materials You’ll Need
Thread, Needle, and Notions
Match your needle and thread to your fabric — this matters more on the crotch seam than anywhere else because of the stress load.
| Fabric | Needle | Thread |
|---|---|---|
| Lightweight woven | Universal 70/10 or Microtex 75/11 | 50-wt cotton or polyester |
| Medium woven (cotton, linen) | Universal 80/12 | 50-wt cotton or 40-wt polyester |
| Denim (8–14 oz) | Denim/Jeans 90/14–100/16 | Heavy-duty 30-wt or jeans thread |
| Stretch woven (ponte, scuba) | Stretch 75/11 or 90/14 | 100% polyester |
| Knit (jersey, interlock) | Ballpoint or Stretch 75/11–80/12 | 100% polyester |
| Wool suiting | Universal 80/12 | 50-wt cotton or wool thread |
For stretch fabrics, 100% polyester thread is non-negotiable. Cotton thread has no give and will snap right along with a straight stitch — it’s not a tension issue, it’s physics.
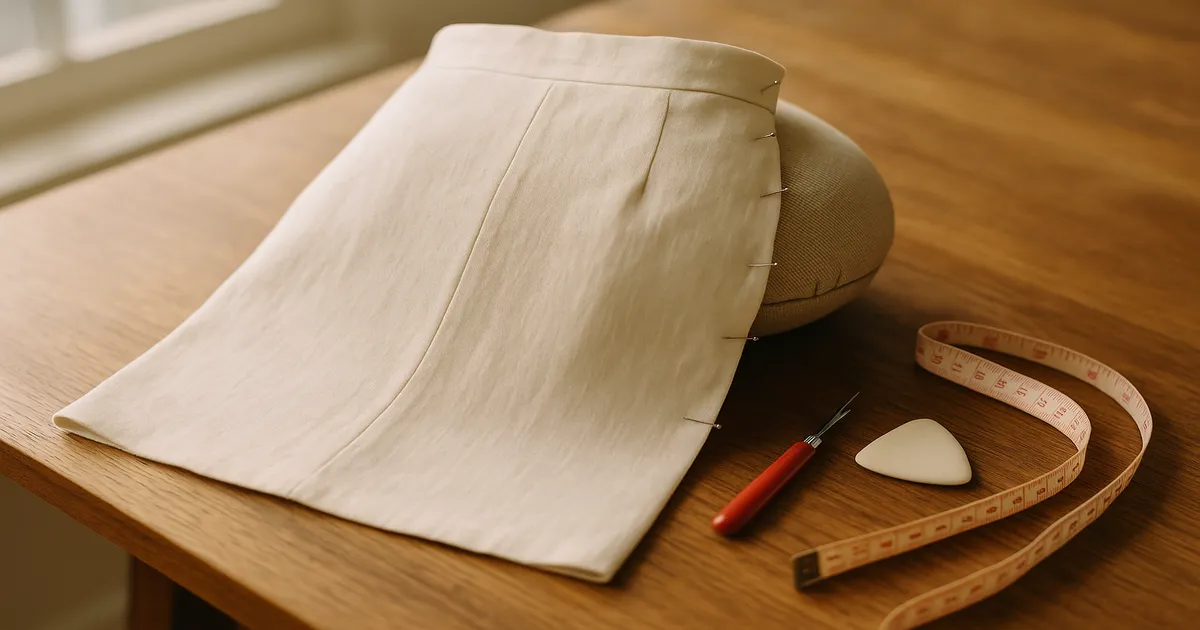
A tailor’s ham is the one tool most home sewists skip and then regret. You genuinely cannot press a compound curve properly without one. A tightly rolled towel works in a pinch, but a real ham costs around $15 and lasts forever.
Wonder clips do a better job than pins on tight curves — they don’t distort the fabric and you can space them closely without fighting pin heads. Keep a roll of 1/4-inch (6mm) twill tape on hand too, especially for stay-taping the crotch point on stretch fabrics.
For denim or any thick fabric where you’re sewing through several layers at the inseam junction, a walking foot makes a real difference — it feeds all layers evenly instead of letting the bottom layer creep forward.
How to Sew the Crotch of Pants: Step by Step
Step 1: Prepare Your Pattern Pieces
Before sewing anything, confirm your front and back crotch curves are correctly cut. The back crotch curve is always longer and more dramatically curved than the front — usually by 1–2 inches (2.5–5cm). Mark the crotch point on both pieces with tailor’s chalk or a tiny 1/8-inch (3mm) snip notch, and transfer any notches along the seam. You’ll use those notches to match the inseam junction accurately later.
Step 2: Sew Both Inseams First
This is the construction sequence rule beginners most often get backwards: sew both inseams before you touch the crotch seam. Trying to close the inseams after the crotch is sewn makes matching the junction accurately nearly impossible — and it’s just miserable to work with.
With right sides together, sew each leg’s inseam separately:
- Seam allowance: 5/8 inch (15mm) for most commercial patterns
- Stitch length: 2.5mm for wovens; narrow zigzag (0.5–1mm width, 2.5mm length) for stretch fabrics
- Press inseams open for medium to heavy fabrics, or to one side for lighter weights
Step 3: Nest the Legs Together
Turn one leg right-side out. Leave the other wrong-side out. Slide the right-side-out leg inside the wrong-side-out leg so the right sides are facing each other. This is the nest-and-slide method, and it’s the only reliable way to join the legs without twisting or misalignment.
Match your points in this order:
- Inseam junction (anchor-pin this first — see the Pro Tips section below)
- Crotch point
- Waistband edges, front and back
- All notches along the curve
Clip or pin every 1/2 inch (12mm) around the tightest part of the curve.
Step 4: Sew the Crotch Seam
Sew from the front waistband edge to the back waistband edge in one continuous pass, maintaining a 5/8-inch (15mm) seam allowance. Use a 2.0–2.5mm stitch length — shorter than your normal stitch, because this is a curved, high-stress seam and shorter stitches hold better under tension.
Slow down as you approach the crotch point. At the inseam junction itself, backstitch or lock stitch for at least 1/2 inch (12mm) in each direction. If you need to, use your handwheel for the tightest inch of the curve. There’s no prize for speed here.
Step 5: Reinforce the Crotch Point
Don’t skip this step. Three solid options:
Double stitch (most practical): Sew a second line of stitching 1/8 inch (3mm) inside the first, running about 2 inches (5cm) on either side of the crotch point. Fast, effective, almost no added bulk.
Bar tack: From the right side after construction, sew a dense zigzag — 3–4mm width, 0.3mm length, about 15–20 stitches — directly over the crotch point. This is what RTW manufacturers use.
Stay tape: Cut 3 inches (7.5cm) of 1/4-inch (6mm) twill tape, center it over the crotch point on the seam allowance side, and catch it in the reinforcement pass. Especially useful for stretch fabrics or anything prone to fraying.
Step 6: Clip the Seam Allowance
- On the concave curve (the tight inner curve near the crotch point): make straight clips perpendicular to the stitching, every 1/2 inch (12mm), cutting to within 1/8 inch (3mm) of the stitch line
- On the convex curve (the gentler arc toward the back): cut small V-shaped notches to remove the excess fabric that would otherwise bunch
- Don’t clip through the double-stitched reinforcement zone — clip up to it on both sides
Step 7: Finish the Seam Allowance and Press
A 3-thread overlock is the best finish here — it holds the seam allowances together and encases the raw edge in one pass. No serger? Zigzag the raw edges together at 3–4mm width, 2.5mm length. Press the finished seam toward the back of the garment — that’s the industry standard and it reduces visible bulk from the front.
Then place the crotch seam over the curved end of your tailor’s ham and press from the wrong side with steam. The ham’s curve matches the compound curve of the seam so you’re setting the shape, not fighting it. Let it cool completely before moving the garment — that’s what actually sets the press.
Sewing the Crotch Seam on Stretch and Knit Fabrics
A straight stitch has zero give. The moment stretch fabric moves at the crotch — which it will, constantly — the thread snaps. Use one of these instead:
- Narrow zigzag: 0.5–1mm width, 2.5mm length — the most widely available option and perfectly adequate
- Lightning bolt stitch: If your machine has it, this is genuinely excellent for seams that need both strength and stretch
- Serger (3- or 4-thread overlock): The gold standard for knits; sews and finishes in one pass
Even on stretch fabrics, you don’t want the crotch point itself to stretch out of shape — that causes the seam to distort and sag over time. A 3-inch (7.5cm) piece of twill tape centered over the crotch point on the seam allowance side, caught in during your reinforcement pass, keeps the point stable without restricting the rest of the seam.
Common Mistakes When Sewing the Crotch Seam
Skipping reinforcement. The seam will blow out within 5–10 wears. It’s not a question of if. Double-stitch it, bar-tack it, stay-tape it — pick one, but do something.
Not clipping the seam allowance. An unclipped crotch seam pulls, puckers, and is genuinely uncomfortable to wear. The clips take two minutes.
Sewing inseams after the crotch seam. I’ve seen this in beginner tutorials and it makes me wince. Inseams first. Always.
Drifting off the seam allowance on the curve. Mark your seam line directly on the fabric with chalk, or use a seam guide. A seam that’s too narrow at the crotch point is a structural problem waiting to happen.
Using too long a stitch length. Anything over 2.5mm on the crotch seam is too long. Shorter stitches, full stop.
Mismatching the inseam junction. If the two inseams don’t line up at the crotch point, one leg will twist. Use the anchor-pin trick below.
Pro Tips for a Stronger Crotch Seam
The anchor-pin trick. Before you pin anything else along the crotch seam, push a single pin straight through both inseam junctions — perpendicular to the seam, through both layers — and leave it there while you pin the rest of the curve. Remove it just before the needle reaches it. The junction will be perfect.
Do a try-on pass before you finish. Sew the crotch seam at the full seam allowance, then put the pants on before you serge or trim anything. The crotch seam is the single hardest seam to let out after the edges are finished — serging removes seam allowance you can’t get back.
Make a muslin. Especially for pants. The rise, the curve shape, the crotch depth — these are the most body-specific measurements in garment sewing, and they’re nearly impossible to alter gracefully once the pants are constructed. A muslin in cheap cotton saves you from ruining expensive fashion fabric.
Consider a flat-felled seam for denim and workwear. For jeans or anything that’s going to take real abuse, a flat-felled crotch seam is the most durable option available to a home sewist. It encases all raw edges, lies completely flat, and doesn’t require a serger. It takes longer, but on denim it’s the right call.
Frequently Asked Questions
Why does my crotch seam keep ripping?
Almost always: no reinforcement at the crotch point, a stitch length that’s too long, or both. Double-stitch at least 2 inches (5cm) on either side of the crotch point and drop your stitch length to 2.0–2.5mm. That combination fixes the problem in the vast majority of cases.
Do you sew the inseam or crotch seam first when making pants?
Inseams first, always. Sew both inseams separately, then join the two legs at the crotch. Sewing the crotch first and then trying to close the inseams makes it nearly impossible to match the junction accurately.
How do you reinforce the crotch point of pants?
The most practical method is a second line of stitching 1/8 inch (3mm) inside the first, running about 2 inches (5cm) on either side of the crotch point. A bar tack (dense zigzag, 3–4mm width, 0.3mm length) sewn from the right side also works well. For stretch fabrics, add a 3-inch (7.5cm) piece of twill tape centered over the crotch point on the seam allowance side.
Can you sew the crotch seam without a serger?
Absolutely. Sew the seam with your regular machine, then zigzag the raw edges together (3–4mm width, 2.5mm length) to finish them. It won’t look quite as tidy as a serged finish, but it’s structurally sound. The reinforcement at the crotch point has nothing to do with the serger — that’s just a second line of stitching, and any machine can do it.
How do you clip a crotch seam without cutting through the stitching?
Use sharp scissors and cut perpendicular to the seam line, not at an angle. Stop 1/8 inch (3mm) from the stitching — that small margin is what holds everything together. If you’re nervous, sew your reinforcement line first so there’s a buffer between the clips and the original seam. Space clips every 1/2 inch (12mm) around the concave curve; you don’t need to go closer than that.