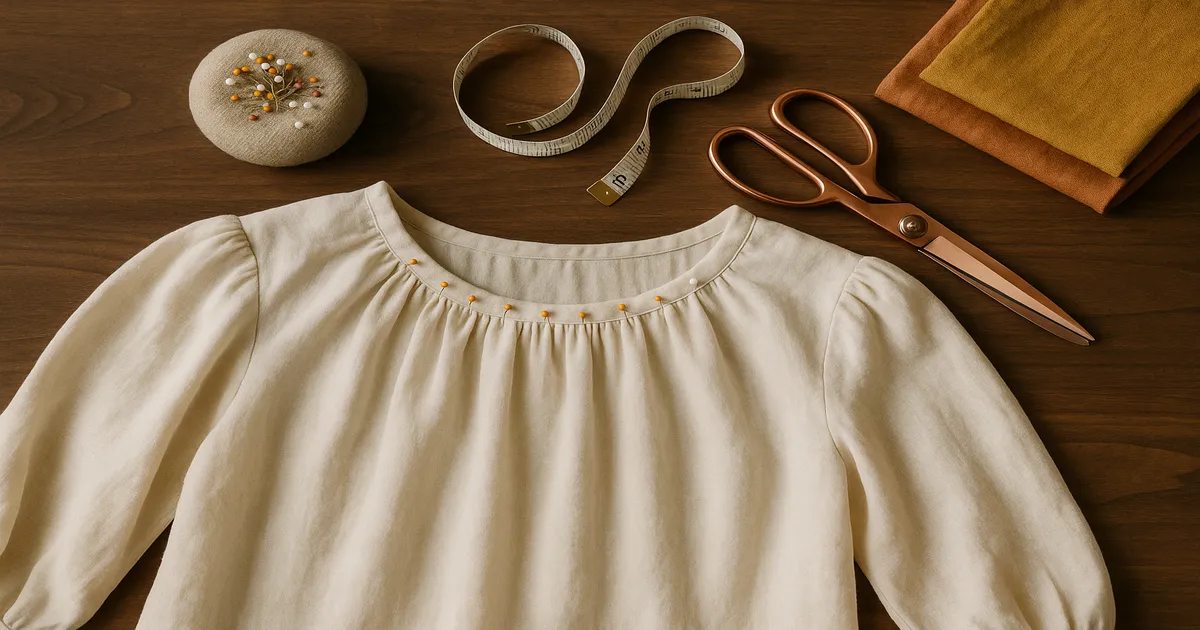
Quick Answer: Yes — almost certainly. Commercial patterns are drafted for a standardized dress form, not your actual body, so gaping, pulling, or twisting at the neckline is the rule rather than the exception. Whether you’re fixing a fit problem or changing the style entirely, modifying the blouse neckline is manageable, and the result is a blouse that actually looks like it was made for you.
The question “should I modify the blouse neckline?” comes up constantly in sewing communities, and the honest answer is: probably yes. The neckline sits right at eye level and frames your face — it’s one of the first things anyone notices about a garment. Getting it right is worth the extra effort.
Should You Modify Your Blouse Neckline?
When Modification Is Necessary
If your blouse neckline gaps at center front, pulls uncomfortably, sits off to one side, or just doesn’t look right in the mirror, you need a fit-based modification. Pattern companies draft to a standardized dress form with roughly a 14-inch (35.5 cm) neck circumference and a B-cup figure. If your body differs from that — and most people’s does — the neckline will show it.
Design-based modifications are a different animal. Maybe the pattern has a crew neck and you want a V-neck, or you want to add a keyhole at the back. That’s a style choice, not a fit problem, and the process is slightly different.
When to Leave the Neckline Alone
Occasionally a pattern fits beautifully straight out of the envelope. If you’ve made it before and the neckline sits flat, stays centered, and doesn’t gap or pull, leave it alone. Don’t modify for the sake of modifying.
Why Commercial Blouse Necklines Often Need Adjustment
Pattern companies draft to an idealized body that doesn’t match most real people. That 14-inch neck circumference and B-cup standard was established decades ago and hasn’t changed much since. Couture dressmakers never accepted slightly-off necklines as normal — every toile fitting in a Parisian atelier included neckline assessment as a primary checkpoint before anyone touched the fashion fabric. Home sewists deserve the same standard.
One thing beginners often miss: the neckline doesn’t exist in isolation. It’s structurally connected to the shoulder seam, the armscye (armhole), and the bust dart. Change the neckline curve and you may affect where the shoulder seam sits; shift the shoulder seam and the armhole position changes too. This is why diagnosing the actual problem before you start cutting matters so much.
Knit fabrics add another layer of complexity. Stretch changes how a neckline behaves — a neckline that fits perfectly in a woven might be unwearable in a knit, and vice versa. The ease calculations are different, the stabilization needs are different, and the finishing options are different. More on all of that below.
Step 1: Diagnose Your Neckline Problem
Don’t pick up your seam ripper until you know what you’re dealing with. Each symptom points to a specific cause:
- Gaping at center front or back → neckline is too wide or too deep for your frame
- Pulling or tightness → neckline is too small or sits too high
- Neckline sits off-center or twists → usually a forward-shoulder issue, not a neckline problem per se
- You just want a different look → design change, not a fit fix
Gaping: Fabric stands away from your chest or collarbone instead of lying flat. Sometimes it’s subtle — a little lift at center front. Either way, the fix is raising or narrowing the neckline curve.
Too tight or too high: You feel constricted, the neckline digs into your neck, or the fabric pulls across your chest when you lift your arms. Less common than gaping, but just as uncomfortable. The fix is lowering or widening the curve.
Twisting or off-center: If the neckline consistently pulls toward one shoulder, resist the urge to just tug it back into place. That’s a shoulder alignment issue. The fix involves rotating the bodice pattern piece, not redrawing the neckline curve.
Step 2: Make a Muslin Before You Touch Your Fashion Fabric
I cannot stress this enough. Cutting directly into fashion fabric to test a neckline modification is how you ruin a $40-per-yard silk charmeuse. Muslin costs $1–3 per yard. The math is obvious.
Preparing your muslin:
- Use a medium-weight muslin or similar woven fabric
- Cut the neckline seam allowance at ½ inch (12 mm) instead of the standard ⅝ inch — this gives you extra room to adjust
- Baste the neckline at a long stitch length (4.0–5.0 mm) so you can remove and re-sew it easily
- Wear the undergarments you’ll actually wear with the finished blouse — bra style and strap placement matter more than people expect
Mark your adjustments on the muslin with a Clover Chaco Liner or washable fabric marker while wearing it (or have someone mark it for you). Transfer those changes to your flat pattern using dressmaker’s carbon paper and a tracing wheel. A Dritz Vary-Form Curve is invaluable here for capturing the exact new curve shape.
Step 3: Common Fit-Based Neckline Modifications
Reducing a Gaping Neckline
- Pin out the excess fabric on your muslin, distributing the adjustment evenly. Most adjustments fall between ¼ inch and ¾ inch (6–19 mm) per adjustment point.
- Transfer the pinned amount to your flat pattern piece.
- Using a Fairgate French Curve , draw a new neckline that arcs higher at center front, narrower at the shoulder, or both — depending on where the gap is.
- Re-true the seam allowance to a consistent ⅝ inch (15 mm) along the new curve.
- Redraw the facing pattern to match. This step gets skipped constantly and causes endless problems.
Enlarging a Too-Tight Neckline
- Lower center front by drawing a new curve ¼ to 1 inch (6–25 mm) below the original.
- Widen at the shoulder by moving the shoulder point toward the armhole by the same amount.
- Blend the new curve smoothly into the original shoulder seam using your French curve.
- Check that you’ve left at least 1 inch (25 mm) between the new neckline shoulder point and the armhole notch — go closer than that and you start compromising the armhole.
- Redraw the facing.
Correcting a Neckline That Twists or Sits Off-Center
For forward shoulders, rotate the entire front bodice pattern piece ¼ to ½ inch (6–12 mm) at the shoulder, pivoting from the armhole. This shifts the shoulder seam toward the back and re-centers the neckline without touching the neckline curve itself. For uneven shoulders, adjust the left and right pattern pieces independently.
Step 4: Design-Based Neckline Modifications
Converting a Crew Neck to a V-Neck
- Mark center front on your pattern piece with a vertical line.
- Decide on depth: a modest V drops 2–3 inches (5–7.5 cm); a deeper V drops 4–6 inches (10–15 cm) or more.
- Mark the V-point at your chosen depth.
- Draw straight lines from the original shoulder neckline points down to the V-point. Use a ruler — V-neck lines should be perfectly straight, not curved.
- Add a ⅝-inch (15 mm) seam allowance along the new lines.
- Create a mitered facing 2–2.5 inches (5–6.5 cm) wide that follows the V shape. Clip to within ⅛ inch (3 mm) of the V-point before turning.
- Understitch ⅛ inch (3 mm) from the seam to keep the facing from rolling out.
Before you sew, apply a 1-inch (25 mm) square of fusible interfacing to the wrong side of the V-point and shorten your stitch length to 1.5 mm for about ½ inch (12 mm) on either side of the point. Skipping this is how V-points fray and tear.
Converting to a Scoop Neck
Use a French curve or a large dinner plate to draw the new curve — drop 1.5–3 inches (4–7.5 cm) at center front and widen ½ to 1 inch (12–25 mm) at each shoulder. Blend smoothly into the original shoulder seam point. Scoop necklines are prone to stretching out during construction, so stabilize the seamline with a ¼-inch (6 mm) strip of Dritz Stay Tape before you sew.
Adding a Keyhole or Placket Opening
Mark the keyhole position at center back, extending 2–4 inches (5–10 cm) below the neckline seam. Cut a narrow rectangular slash to the keyhole depth, then clip diagonally to each corner at the bottom. Apply a continuous lap placket using a strip cut 1¼ inches (3.2 cm) wide and twice the length of the opening. Finish with a button and loop or hook-and-eye at the top.
Neckline Finishing Methods
Your finishing method should match your fabric and the formality of the garment:
| Finish | Best For | Key Measurement |
|---|---|---|
| Sewn-on facing | Woven blouses, structured fabrics | 2–2.5 in (5–6.5 cm) wide |
| Bias binding | Lightweight wovens, casual blouses | Cut 1.5 in (4 cm) wide; finished at ⅜ in (9 mm) |
| Ribbed knit band | Knit fabrics, T-shirts | Cut at 80–90% of neckline measurement |
| Hong Kong finish | Unlined jackets, raw-edge facings | Bias strips 1.5 in (4 cm) wide |
| Serged and turned | Casual knits | Serge, fold ⅜ in (9 mm) to inside |
Sewn-on facing: Interface with a lightweight fusible at 20–30 g/m² — heavier than that and the neckline feels stiff. Understitch at ⅛ inch (3 mm) from the seam after pressing toward the facing.
Bias binding: Great for lawn, voile, or silk where a facing would add bulk. Cut on the true bias at 1.5 inches (4 cm) wide for a finished width of ⅜ inch (9 mm). A Clover Bias Tape Maker speeds this up considerably.
Ribbed knit band: Cut the band at 80–90% of the neckline measurement — the negative ease is what keeps it snug without being tight. Use a walking foot to prevent stretching the band as you sew.
Hong Kong finish is worth knowing for unlined jackets with raw-edge facings — clean, professional, minimal bulk. For casual knits, serge the neckline edge and fold ⅜ inch (9 mm) to the inside; it’s quick and it works.
Mistakes to Avoid When Modifying a Blouse Neckline
Skipping the muslin. Already said it, saying it again. Muslin is $1–3 per yard. Fashion fabric is $15–50+. Make the toile.
Forgetting to adjust the facing. Every single time you modify the neckline, the facing must be redrawn to match. Lay the facing piece on top of your modified bodice, trace the new neckline, and maintain a consistent 2–2.5 inch (5–6.5 cm) facing width all the way around. If the facing doesn’t match, you’ll get puckers and visible facing on the outside — neither of which is fixable after the fact.
Not stay-stitching before construction. Stay-stitch immediately after cutting — before anything else. Sew at ½ inch (12 mm) from the raw edge, going from shoulder to center front on each side, with the grain. Curved necklines are cut on the bias and will stretch just from being handled.
Skipping clipping and understitching. Clip the seam allowance every ½ inch (12 mm) around the neckline, cutting to within ⅛ inch (3 mm) of the stitch line. On concave curves (most necklines), straight clips work; on convex curves, cut small V-shaped notches to remove bulk. Then understitch. Both steps are non-negotiable if you want the neckline to lie flat.
Making changes too large in one step. Work in ¼-inch (6 mm) increments and test after each adjustment. You can always remove more; you can’t add fabric back. This is the voice of hard experience talking.
Frequently Asked Questions About Modifying a Blouse Neckline
How do I know if my blouse neckline needs to be modified?
Put the blouse on and look in a mirror — ideally with a second mirror behind you. If the neckline gaps away from your body, pulls or digs in, sits off-center, or won’t lie flat, it needs work. A neckline you’re constantly adjusting throughout the day definitely needs modification.
Should I modify the neckline on the pattern piece or on the cut fabric?
Always modify the pattern piece first, then cut your fabric from the corrected pattern. Modifying cut fabric is a last resort and gives you far less control. The only exception is minor adjustments on a muslin, where you’re marking changes to transfer back to the pattern.
How much can I safely lower or widen a blouse neckline?
Work in ¼-inch (6 mm) increments and test after each change. As a practical limit, keep at least 1 inch (25 mm) between the neckline shoulder point and the armhole notch — go closer and you start compromising the armhole. For depth, most necklines can drop 1–3 inches without structural issues, but beyond that you may need to add a button or placket to keep the blouse easy to put on.
Do I need different tools for modifying a knit blouse neckline versus a woven?
Yes. For knits, you’ll want a ballpoint or stretch needle (75/11 or 80/12), a walking foot for sewing the neckline band, and woolly nylon thread in your serger loopers for a stretchy, comfortable finish. The ease calculations are also different — knit neckline bands are cut at 80–90% of the neckline measurement, not 1:1 like a woven facing.
What’s the most common neckline modification mistake beginners make?
Forgetting to redraw the facing. It happens on almost every first attempt. You carefully adjust the neckline curve, cut your fashion fabric, and then sew on a facing that still matches the original pattern — and suddenly nothing lies flat. Redraw the facing every single time.