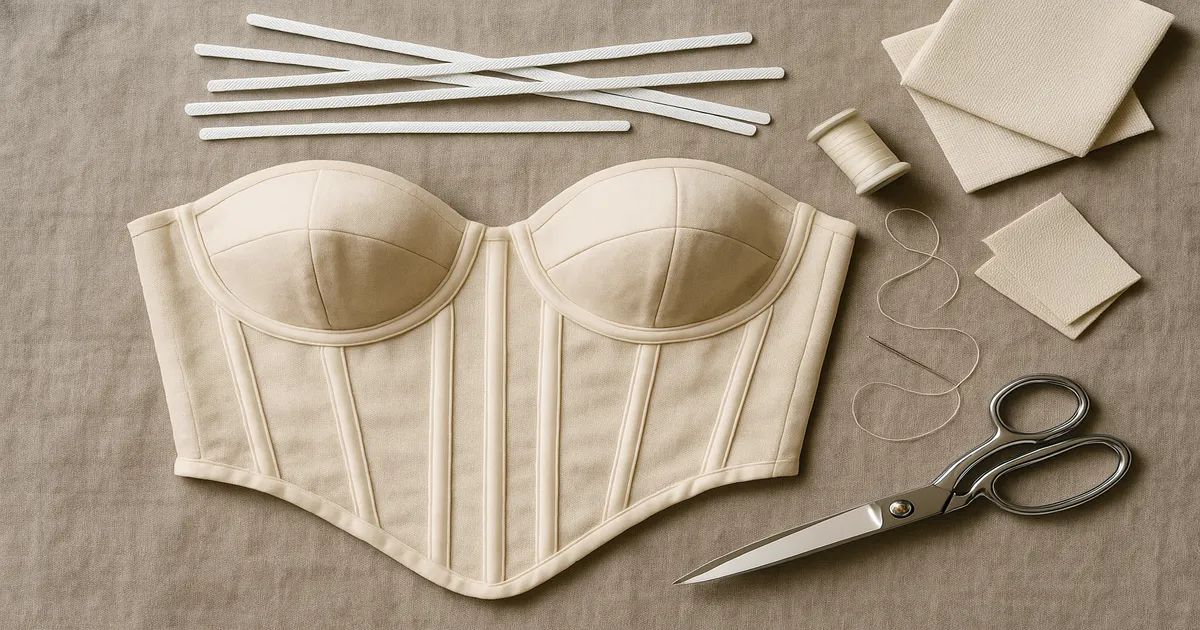
Quick Answer: To make a bustier without visible boning, sew boning channels into a dedicated structural interlining layer — not the fashion fabric or lining — then sandwich that layer between the two so the bones are completely hidden from both sides. This “three-layer” construction is the same clean-interior method used in couture bridal and eveningwear for decades. The step-by-step guide below walks you through every phase, from cutting to closure.
Making a bustier without visible boning isn’t about skipping the bones — it’s about hiding them so well that the finished garment looks like it supports itself by magic. The technique relies on a structural interlining layer that carries all the boning channels, keeping them completely separate from the fashion fabric and lining. Done right, the interior is just as polished as the exterior, which is exactly the standard couture ateliers have held since Balenciaga and Dior were putting structured bodices into bridal gowns in the 1950s.
What “No Visible Boning” Actually Means
No stitching lines, no ridges, no channels visible on either the outside or inside of the finished garment. The bones are real — usually spiral steel or flat steel — but they live in a hidden middle layer that neither the wearer nor an onlooker can see. This is different from a traditional corset, where interior boning channels are often a deliberate design feature.
The Three-Layer Sandwich Method
The construction goes: fashion fabric (outer) → structural interlining with boning channels (middle) → lining (inner). The boning channels are sewn directly over the pressed-open seams of the interlining layer, the bones are inserted, and the whole thing is sandwiched together. Simple in concept, genuinely fussy in execution — but absolutely worth it.
Materials and Tools
Choosing the Right Fabric for Each Layer
Each layer has a specific job. The wrong fabric in any one of them will undermine the whole project.
| Layer | Best Options | Notes |
|---|---|---|
| Fashion fabric | Dupioni silk, brocade, satin-back crepe, heavy lace | Interface before sewing |
| Structural interlining | Cotton coutil, 8–10 oz cotton canvas, firm woven interfacing | Cut strictly on grain |
| Lining | China silk (habotai), Bemberg rayon, poly lining | Smooth and skin-friendly |
| Fashion fabric interfacing | Pellon 906F, Vilene G700 (weft-insertion fusible) | Apply before cutting seams |
Coutil is the gold standard for the structural layer — dense, barely stretches on the bias, and holds stitching beautifully. Cotton canvas works as a budget alternative. Whatever you choose, it needs to be firm enough that you can barely stretch it on the bias. If it gives, it’s not going to do its job.
Which Boning Type to Use and Where
This is one area where I see people go wrong constantly. Boning type isn’t interchangeable by location:
- Flat steel (¼-inch/6mm or ½-inch/12.7mm): center front and center back only, where rigidity is the goal. It bends in one plane — forward and back — so it’ll buckle and gap on any curved seam.
- Spiral steel (¼-inch/6mm or ⅜-inch/9.5mm): every other seam — princess seams, side seams. It flexes with the body’s curves without distorting.
- Rigilene polyester boning (⅜-inch/9.5mm): fine for lightweight designs or less demanding fabrics, but don’t rely on it for heavy brocade or anything that needs serious structural support.
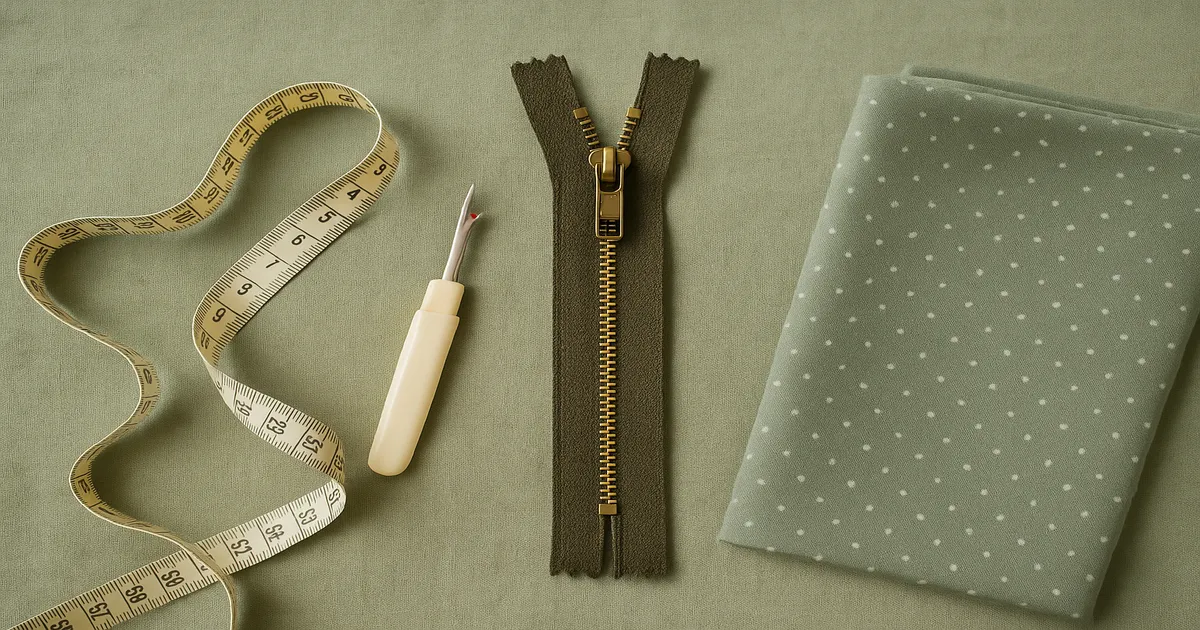
Notions, Needles, and Presser Feet
- Twin needle (3.0/90) for sewing parallel boning channel lines simultaneously
- Zipper foot and edge-stitch foot
- Microtex 70/10 or 80/12 for silk and fine fashion fabrics; Jeans 90/14 for coutil or canvas
- Metal boning tips/end caps, flat-nose pliers, metal file
- Size 00 (3/16-inch/5mm) grommets and setter if you’re lacing
- ¾-inch (19mm) or 1-inch (25.4mm) Petersham ribbon
- 1-inch (25.4mm) cotton twill tape for interior reinforcement
- Tailor’s ham, seam roll, rotary cutter and mat
- A dress form is genuinely useful here — not strictly required, but you’ll be grateful for one
Pattern Preparation
How Many Panels Do You Need?
Six panels is the minimum for a wearable bustier, but eight to ten panels give noticeably better shaping over the bust. More seams mean more boning placement options and a smoother curve across the chest. Use a ⅜-inch (9.5mm) seam allowance on vertical seams rather than the standard ⅝-inch (16mm) — it reduces bulk significantly in the channel area.
Marking Boning Placement Lines
Mark one bone per vertical seam at minimum. For a strapless bustier with a 12-inch (30.5cm) torso height, plan bones at center front, both princess seams, both side seams, and center back — six to eight bones as a baseline. The center front panel can take two bones side by side for extra rigidity, which I’d recommend for any strapless design.
Negative Ease: Why It Matters
A bustier needs negative ease — the garment is intentionally smaller than the body. Plan for 1–2 inches (2.5–5cm) of negative ease at the bust and 2–3 inches (5–7.6cm) at the waist. Size your pattern to your underbust measurement, not your full bust. Beginners who add positive ease end up with a bustier that slides down the moment they move.
How to Make a Bustier Without Visible Boning: Step-by-Step
Step 1: Cut All Three Layers Accurately
Cut three complete sets of panels: fashion fabric, structural interlining, and lining. Before cutting the fashion fabric, fuse your weft-insertion interfacing to the wrong side of every piece.
For the structural layer, use a quilting ruler and rotary cutter, and double-check the grainline on every single piece before cutting. A 5-degree off-grain cut sounds minor — it isn’t. The finished bustier will spiral around your body within an hour of wear.
Step 2: Sew and Press the Structural Layer Seams
Sew all vertical seams of the structural layer with a straight stitch at 2.0–2.2mm and a ⅜-inch (9.5mm) seam allowance. Then press every seam fully open over a seam roll. Not to one side — open. If you rush this step, your boning channels will sit at an angle and the bones won’t lie flat. This is one of those steps that feels tedious and matters enormously.
Step 3: Sew Boning Channels Over the Pressed-Open Seams
With a twin needle (3.0/90), sew directly over each pressed-open seam, centering the needle over the seam line. This creates two parallel stitching lines approximately 3/16-inch (5mm) on either side of the seam, forming a channel about ⅜-inch (9.5mm) wide — snug for standard ¼-inch (6mm) boning. For ½-inch (12.7mm) spiral steel, adjust to a 9/16-inch (14mm) channel.
Keep the channel no more than 1/16-inch (1.5mm) wider than the boning. Any more than that and the bone shifts and rattles, creating visible ridges on the fashion fabric. Don’t backstitch at the channel ends — leave 3-inch (7.6cm) thread tails and tie them off. You need those ends open for inserting the boning.
Step 4: Cut, Cap, and Insert the Boning
Measure each channel from top raw edge to bottom raw edge. Cut each bone 1 inch (2.5cm) shorter than that measurement — this gives ½-inch (12.7mm) clearance at each end so the bone can never poke through the finished edge.
- Spiral steel: crimp metal end caps on with flat-nose pliers
- Flat steel: file the ends smooth, then cap them
- Rigilene: briefly heat-seal the cut end, then fold and hand-stitch a small fabric cap
Insert each bone from the top of the channel, then close both ends with a whipstitch or bar tack using heavy-duty thread.
Step 5: Baste Fashion Fabric to the Structural Layer
Place the fashion fabric wrong-side-down onto the structural layer (boning side facing up), and baste around all outer edges at ¼-inch (6mm) with a long stitch — 4.0 to 5.0mm. From this point forward, treat these two layers as a single unit.
Step 6: Construct and Attach the Lining
Sew the lining as its own complete unit using the same seam allowances as the structural layer. Slip it inside the outer unit with wrong sides together, and baste at the top and bottom edges at ¼-inch (6mm).
Step 7: The Sandwich Press
Once everything is basted together, place the unit between two pressing cloths and press firmly with a dry iron at medium-high heat. This fuses the layers together slightly and drives out any air pockets that would otherwise cause bubbling or separation in the finished garment. Two minutes of pressing makes a visible difference — don’t skip it.
Finishing the Top and Bottom Edges
Option A: Petersham Ribbon Facing (My Go-To)
Steam-shape the Petersham ribbon to match the curve of the top edge before you apply it — it’ll ease around curves without pulling. Stitch it right sides together at ⅜-inch (9.5mm), fold to the interior, press, and slip-stitch by hand to the lining. No visible stitching on the exterior at all. This is what I use for bridal and formalwear, and honestly for most bustiers.
Option B: Self-Fabric Bias Facing
Cut 1.5-inch (38mm) bias strips from your fashion fabric. Apply as a standard facing, then understitch at 1/16-inch (1.5mm) from the seam to keep the facing rolled cleanly to the interior. Grade all seam allowances to ⅛-inch (3mm) before understitching — non-negotiable for eliminating bulk.